
Home Soundproofing Materials and Installation Cost Guide
Compare home soundproofing materials and installation cost, from DIY caulk and insulation to pro double drywall. Call (833)-365-8755 for expert guidance.

By Alexia Mabel
Learn more about Sound Proofing for guides, costs, and what to expect.
Compare Sound Proofing Pros Near You

Enter your ZIP code to compare top-rated local professionals and request free quotes.
Noise coming through walls, ceilings, or floors can turn a comfortable home into a daily source of frustration. Whether it is traffic outside, a neighbor's television, footsteps overhead, or the constant hum of HVAC equipment, unwanted sound affects sleep, concentration, and overall quality of life. The good news is that soundproofing has become far more accessible, with a range of materials and methods suited to different budgets and noise problems. Understanding how home soundproofing materials and installation cost work together helps you plan a project that delivers real quiet without wasting money on solutions that do not address your specific noise source.
This guide breaks down the most effective materials, realistic budget ranges for walls, ceilings, and floors, and the trade-offs between DIY and professional installation. You will also learn what level of noise reduction to expect from each approach, so you can make an informed decision before requesting quotes from contractors.
Understanding Noise Types and Why Materials Matter
Before comparing prices, it helps to understand that not all noise behaves the same way. Soundproofing strategies that work brilliantly for one type of noise may do almost nothing for another. Airborne noise, such as voices, music, and traffic, travels through the air and is best blocked by adding mass and sealing gaps. Impact noise, like footsteps, dropped objects, or moving furniture, travels through the building structure and requires decoupling and damping materials. Plumbing noise sits somewhere in between, often combining airborne sound from water flow with vibration transmitted through pipes and framing.
HVAC equipment introduces low-frequency noise and vibration that can be especially tricky to address. A furnace or air handler mounted near a bedroom might transmit rumble through the joists, and standard insulation alone will not solve that problem. The key takeaway is that effective soundproofing usually combines several materials: mass to block airborne sound, decoupling to break vibration paths, and sealing to close air gaps. Understanding this layering principle prevents wasted spending on a single product that promises miracle results.
Homeowners often ask whether soundproofing also improves energy efficiency or fire safety. Some materials, such as double drywall and acoustic caulk, do add minor thermal and fire benefits, but these should be treated as bonuses rather than primary reasons to invest. The primary goal remains noise reduction, and the best material choices depend on the specific noise source you are targeting.
Key Soundproofing Materials and How They Perform
The market offers a wide range of soundproofing products, but a few proven materials deliver most of the results in residential projects. Understanding what each material does, and what it costs, helps you build a sensible specification for your contractor or DIY plan. Below are the core materials worth considering for walls, ceilings, and floors.
- Mass-loaded vinyl (MLV): A dense, flexible barrier that adds mass without much thickness. It is effective for airborne noise and works well layered behind drywall or under flooring. Expect to pay roughly $1 to $2 per square foot for the material.
- Resilient channels: Metal channels that decouple drywall from the framing, interrupting the path for impact and airborne vibration. They are inexpensive (about $0.50 to $1 per linear foot) but require careful installation to be effective.
- Acoustic caulk and sealant: Specialized sealants that close gaps around outlets, baseboards, and framing. They are cheap (around $10 to $20 per tube) but critical, because even small air gaps can undermine an otherwise solid soundproofing assembly.
- Double drywall: Adding a second layer of drywall increases mass significantly. Standard 5/8-inch drywall costs about $0.50 to $1 per square foot installed, and two layers with a damping compound between them perform much better than a single thick layer.
- Acoustic insulation: Mineral wool or dense fiberglass batts absorb sound within wall cavities. Costs range from $0.60 to $1.50 per square foot, and it is often the first step in any wall or ceiling project.
These materials are most effective when combined. For example, a shared wall might use acoustic insulation in the cavity, resilient channels on the studs, a layer of mass-loaded vinyl, and double drywall with acoustic caulk at all seams. This layered approach addresses airborne noise, impact vibration, and air leaks simultaneously. A contractor quoting your project should explain which layers are included and why, so you can compare bids on an apples-to-apples basis.
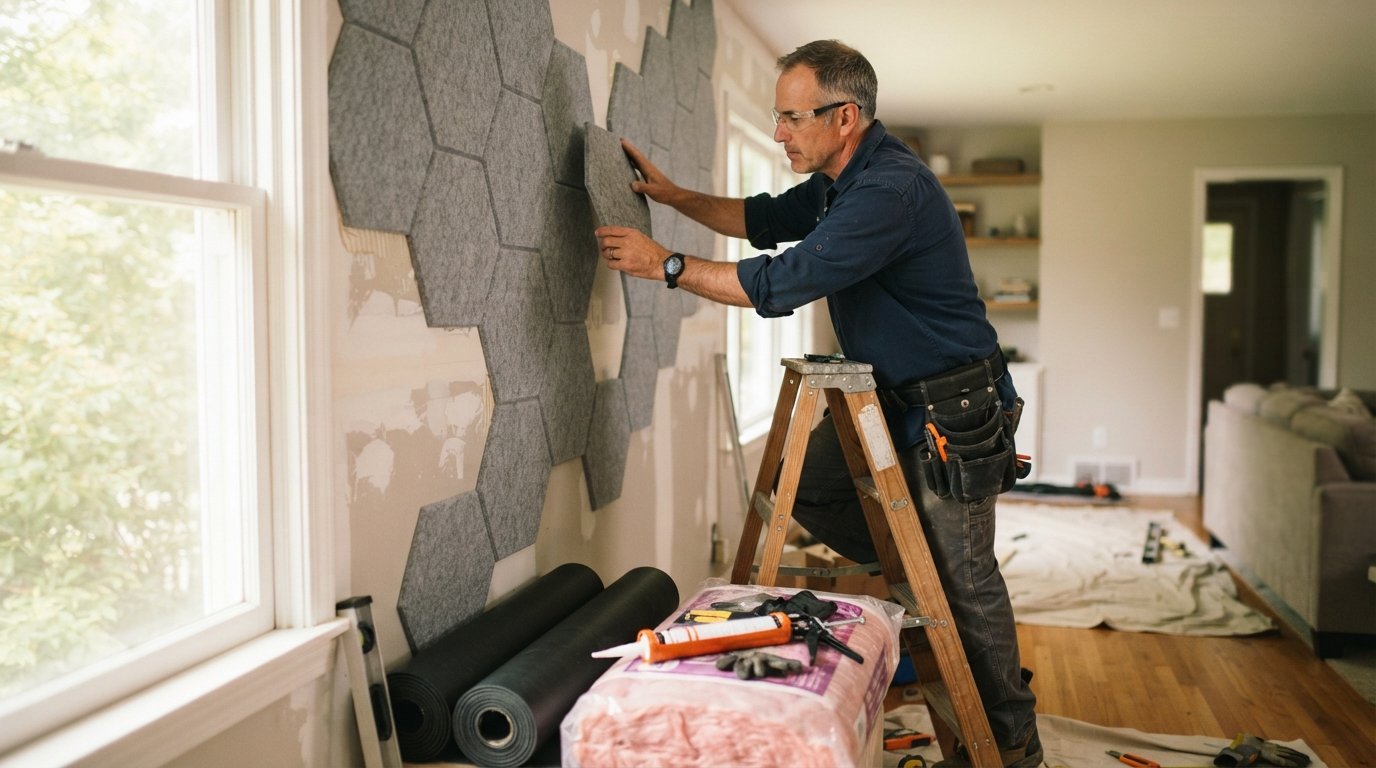
It is also worth noting that some products marketed as soundproofing panels or foam tiles mainly reduce echo within a room rather than blocking sound from passing through walls. These acoustic treatments have their place for improving sound quality inside a home theater or office, but they are not a substitute for structural soundproofing. Clarify your goal before buying: are you trying to keep sound from entering, keep it from leaving, or improve the acoustics inside the room? Each goal calls for different materials.
Budget Ranges for Soundproofing a Wall, Ceiling, or Floor
Costs vary by region, material quality, and the complexity of the installation, but national averages provide a useful starting point. For a single room, most homeowners spend between $1,000 and $5,000 depending on the scope. A basic treatment targeting one shared wall costs less, while a full-room project involving ceilings and floors pushes toward the higher end. The following ranges reflect typical material and labor costs for common scenarios.
- Single shared wall: $800 to $2,500. This usually includes acoustic insulation, resilient channels, an extra layer of drywall, and acoustic caulk. DIY can reduce the cost to $300 to $800 in materials.
- Ceiling below a noisy floor: $1,200 to $3,500. Ceiling work is more labor-intensive because of overhead installation and the need to work around lighting and HVAC penetrations.
- Floor soundproofing: $1,500 to $4,000. Options include underlayment, mass-loaded vinyl, and floating floor systems. Impact noise reduction often requires decoupling, which adds cost.
- Full room (walls, ceiling, floor): $3,000 to $8,000 or more. Comprehensive projects deliver the best results but require careful planning and professional sequencing.
These figures are guidelines, not fixed quotes. Factors that move the price include the number of electrical outlets and switches that must be extended, whether existing drywall must be removed, the height of ceilings, and local labor rates. Homes with older wiring or plumbing in the target wall may require additional work. Always obtain multiple itemized estimates so you can compare the scope of work, not just the bottom line.
When budgeting, do not overlook finishing costs. After soundproofing materials are installed, the room needs paint, trim, and possibly new flooring transitions. These finishing touches can add 10 to 20 percent to the total project cost. A well-prepared budget accounts for the full scope from demolition to final paint.
DIY vs. Professional Installation: What Makes Sense
Some soundproofing tasks are well within reach for a confident DIYer, while others are best left to professionals. The decision often comes down to the complexity of the assembly, the tools required, and the risk of making mistakes that compromise performance. Simple measures like sealing gaps with acoustic caulk, adding a door sweep, or installing acoustic panels on a wall are DIY-friendly and cost-effective. These small steps can noticeably reduce noise at minimal expense.
More ambitious projects, such as installing resilient channels and double drywall on a ceiling, demand careful measurement, drywall lifting equipment, and experience with finishing seams. Mistakes in decoupling can actually make certain noise problems worse or waste the investment entirely. Professional installation typically adds 40 to 60 percent to material costs but ensures the assembly performs as designed. For shared walls in condos or apartments, professional work also reduces the risk of code violations or damage to common elements.
If you are comparing bids, our guide on roof repair quote requests offers a useful framework for evaluating contractors, verifying licenses, and understanding itemized estimates. The same principles apply to soundproofing: ask for detailed scope descriptions, confirm insurance, and check references from similar projects. A contractor who specializes in acoustic work will explain the science behind their proposed assembly and set realistic expectations for noise reduction.
For homeowners planning a larger renovation alongside soundproofing, coordinating trades matters. If you are also updating a bathroom or relocating ductwork, sequencing the work so that soundproofing happens before drywall and finishes saves time and money. This is where a general contractor with acoustic experience can add value, even if the soundproofing budget itself is modest.
Targeting Common Noise Sources: Traffic, Neighbors, Plumbing, and HVAC
The most effective soundproofing plan starts with identifying the dominant noise source. Traffic noise usually enters through windows, exterior walls, and vents. Upgrading to laminated glass or adding a second window pane, sealing exterior wall penetrations, and using mass-loaded vinyl on shared walls facing the street can deliver significant relief. For neighbors, shared walls and ceilings are the primary paths, so decoupling and mass are the priorities. A combination of resilient channels, insulation, and double drywall is the standard remedy for party walls.
Plumbing noise often travels through pipe chases and framing. Wrapping pipes with acoustic insulation, adding mass to the surrounding wall, and sealing penetrations can reduce gurgling and flushing sounds. HVAC noise is best addressed at the source by isolating equipment with vibration pads, lining ductwork with acoustic insulation, and ensuring return air paths are not undersized. In some cases, replacing a noisy bath fan or upgrading to a quieter model is more cost-effective than soundproofing the entire ceiling.
When multiple noise sources exist, prioritize the one that bothers you most and address it first. A phased approach lets you evaluate results and adjust the plan before committing to a full-room project. It also spreads the cost over time, which is helpful for homeowners on a tight budget.
Expected Noise Reduction and Realistic Outcomes
Homeowners often expect soundproofing to eliminate noise entirely, but realistic expectations lead to better decisions. Soundproofing reduces noise by a measurable number of decibels, and perceived loudness halves roughly every 10 decibels. A basic single-wall treatment might reduce airborne noise by 10 to 15 decibels, which is noticeable but not silent. A comprehensive assembly with insulation, decoupling, mass, and sealing can achieve 20 to 30 decibels or more, often enough to make a neighbor's conversation inaudible. Impact noise is harder to reduce; floor treatments might cut footstep noise by 10 to 20 decibels, and results depend heavily on the building structure.
It is important to discuss performance expectations with your contractor before work begins. Ask what decibel reduction they expect and how they will verify gaps and seams are sealed. A reputable contractor will be candid about limitations, especially for low-frequency noise from traffic or heavy equipment, which is inherently difficult to block in wood-frame construction. In some cases, combining soundproofing with masking strategies, such as a white-noise machine or strategic furniture placement, delivers the best perceived improvement.
For families planning a move or a major renovation, resources like Moving.Homes relocation guides can help coordinate timelines and reduce stress. Soundproofing is often part of a broader home improvement plan, and timing the work with other projects can improve both results and budget efficiency.
Planning Your Project and Getting Accurate Quotes
Start by documenting the noise problem: note the time of day it occurs, the rooms affected, and whether it is airborne or impact noise. This information helps contractors recommend the right assembly. Next, set a budget range and decide whether you will DIY any portion of the work. Even if you hire a professional, handling demolition or painting yourself can reduce the total cost. When requesting quotes, ask for a line-item breakdown of materials, labor, and finishing, and confirm whether permits are required in your area.
Obtaining at least three quotes is the best way to understand the market and avoid overpaying. Be wary of unusually low bids that omit critical steps like acoustic caulking or resilient channels, as these shortcuts often undermine performance. A transparent contractor will explain why each layer matters and provide references from comparable projects. With careful planning and a clear understanding of home soundproofing materials and installation cost, you can create a quieter, more comfortable home without overspending.
Finally, remember that soundproofing is an investment in comfort and privacy. Whether you choose a simple DIY fix or a full professional installation, the right combination of materials and workmanship will pay off every day in reduced noise and improved livability.