
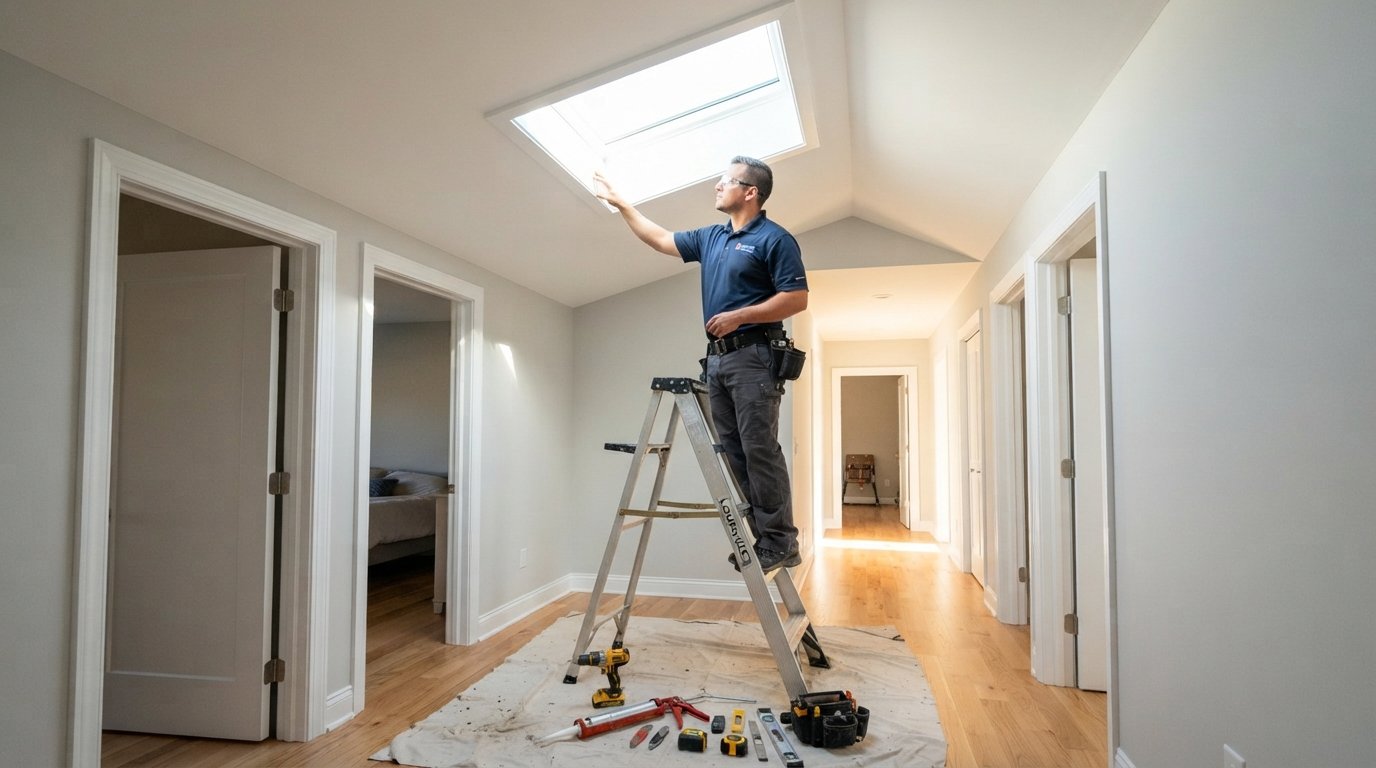
Skylight Installation Cost and Planning Guide for 2026
Plan your skylight project with our cost and planning guide. Call (833)-365-8755 for expert help finding local contractors.

By Alexia Mabel
Learn more about Window Installation for guides, costs, and what to expect.
Compare Window Installation Pros Near You

Enter your ZIP code to compare top-rated local professionals and request free quotes.
A skylight can transform a dark hallway, a windowless bathroom, or a gloomy kitchen into a bright, inviting space. But before you picture yourself basking in natural light, you need a realistic picture of what a skylight installation actually costs and what the planning process involves. The price range is wide, from a few hundred dollars for a simple tubular model to several thousand for a large, vented, custom unit. The difference comes down to materials, roof complexity, labor, and the often-overlooked details like flashing and framing. This skylight installation cost and planning guide breaks down the numbers, explains the structural and roof-type considerations, highlights leak risks, and covers energy efficiency so you can make a confident, informed decision.
What Drives the Cost of a Skylight Installation
Skylight pricing is not a single number. It is a bundle of product cost, labor, and potential structural modifications. On average, homeowners in the United States pay between $1,000 and $3,500 per skylight installed, with most projects landing around $1,800 to $2,500. Tubular skylights are at the low end, starting around $500 to $1,200 installed. Fixed skylights typically run $1,000 to $2,500, while vented models add $200 to $600 for the opening mechanism and require more labor. Custom sizes, specialty glazing, and complex roof designs can push the price past $5,000 per unit.
Labor is a major variable. Roof pitch, the number of stories, and the type of roofing material all affect how long the job takes. A simple installation on a single-story home with asphalt shingles might take half a day, while a steep roof with tile or slate can take two days or more. Expect labor to account for 40 to 60 percent of the total cost. Flashing, the metal system that seals the skylight to the roof, is often quoted separately but is non-negotiable for preventing leaks. A proper flashing kit adds $100 to $300 but can save thousands in water damage down the line.
Permits are another cost. Most municipalities require a building permit for skylight installation, especially if structural framing changes are needed. Permit fees range from $50 to $300, depending on the jurisdiction. Always factor this into your budget. If you are comparing multiple quotes, ask each contractor to itemize the skylight unit, labor, flashing, and permit fees so you can compare apples to apples. For a broader look at how solar and skylight projects can overlap in planning, see our complete guide to solar energy installation and costs.
Skylight Types and Their Cost Ranges
Not all skylights are created equal. The three main categories are fixed, vented, and tubular. Each has distinct cost and performance characteristics.
Fixed skylights are the most common and the least expensive. They do not open, so they are sealed units that provide light without ventilation. Expect to pay $1,000 to $2,500 installed for a standard 2x4-foot unit. They are ideal for hallways, stairwells, and rooms where you want light but not airflow.
Vented skylights open manually or with a motor, allowing hot air to escape and fresh air to enter. They cost $1,200 to $3,000 installed, with motorized models at the higher end. Vented units are popular in kitchens and living areas where ventilation is a bonus. Keep in mind that the opening mechanism adds complexity and potential maintenance.
Tubular skylights (also called sun tunnels) are small, tube-like devices that capture light from the roof and channel it down through a reflective tube to a diffuser in the ceiling. They are the most affordable option, typically $500 to $1,200 installed, and they require minimal roof penetration. They work well for closets, hallways, and small bathrooms where a full skylight is not feasible.
Here is a quick comparison of the three main types:
- Fixed skylight: $1,000 to $2,500 installed; no ventilation; best for pure daylighting.
- Vented skylight: $1,200 to $3,000 installed; manual or motorized; adds airflow but more parts to maintain.
- Tubular skylight: $500 to $1,200 installed; small footprint; ideal for tight spaces and budget-conscious projects.
Beyond the type, size matters. Larger units cost more for the product and require more labor to frame and flash. Custom shapes (like circular or elongated) also drive up the price. If you are planning a larger remodel that includes skylights, it helps to understand the full scope of construction costs. For projects that involve renewable energy, you might also explore free solar power quotes to see how solar could complement your energy strategy.
Structural, Framing, and Roof-Type Considerations
Before you can install a skylight, you need to ensure the roof structure can support it. Skylights are essentially holes cut into the roof, and they require proper framing to transfer loads around the opening. If the roof is framed with trusses, you may need to add a header or modify the truss design, which adds cost. Stick-framed roofs are generally easier to modify. A structural engineer or experienced contractor should assess your roof before any work begins.
Roof type also plays a big role. Asphalt shingles are the easiest and least expensive to work with. Metal roofs require special flashing and may need a professional with metal roofing experience. Tile and slate roofs are the most challenging: they are brittle, heavy, and require careful removal and replacement around the skylight, often adding $500 to $1,500 to the labor cost. Flat roofs need a different flashing approach (typically a curb-mounted unit with a pitch pan) and may require a built-up or membrane roofing specialist.
The location of the skylight on the roof matters too. A south-facing skylight provides the most light but can cause overheating in summer. North-facing skylights offer consistent, diffuse light and are less prone to glare. East and west orientations bring morning or afternoon sun, which can be desirable but may require shading. Also consider the interior: the ceiling cavity must be clear of obstructions like ducts, wiring, or plumbing. A pre-installation inspection by your contractor should identify any conflicts.
If you are adding a skylight as part of a larger renovation, such as a bathroom or kitchen remodel, the planning process should integrate the skylight with the overall framing and ventilation plan. For more detailed guidance on managing a home improvement project from start to finish, see our guide to solar energy installation for parallels in project planning and contractor selection.
Leak Risk Factors and Why Professional Flashing Matters
The number one concern homeowners have about skylights is leaks. And rightly so: a poorly installed skylight is a recipe for water intrusion, ceiling stains, and rot. The culprit is almost always flashing, the metal system that directs water around the skylight and back onto the roof. Proper flashing involves layering materials in a specific sequence: the skylight frame, step flashing, counter-flashing, and a sealant that is compatible with your roofing material. This is not a place for shortcuts or generic caulk.
Leak risk increases with improper installation, poor-quality materials, and extreme weather. Skylights on low-slope roofs are more vulnerable because water drains more slowly. Vented skylights have more seams and moving parts, so they require extra attention. Tubular skylights have a smaller roof penetration and are generally less leak-prone, but they still need proper flashing at the roof deck.
To minimize leak risk, insist on the following:
- Use a skylight unit with a factory-made flashing kit designed for your roofing material.
- Hire a contractor who has specific experience with skylight installation and can show references for similar roofs.
- Ensure the flashing is installed in the correct order: step flashing woven into shingles, counter-flashing over the top, and a continuous seal.
- Avoid relying on sealant alone; sealant is a supplement, not a substitute for proper metal flashing.
- Schedule installation in dry weather and avoid installing over existing water damage.
Even with perfect installation, skylights can develop condensation, which looks like a leak but is actually moisture from inside the home. Proper insulation and ventilation around the skylight shaft are essential to prevent this. We will cover that in the energy efficiency section.
Energy Efficiency, Glazing Options, and Condensation Control
Skylights can be energy savers or energy wasters, depending on the glazing and installation. Modern skylights use double or triple glazing with low-emissivity (low-E) coatings, argon or krypton gas fills, and warm-edge spacers. These features reduce heat loss in winter and heat gain in summer. Look for the ENERGY STAR label and check the U-factor (lower is better) and Solar Heat Gain Coefficient (SHGC). For most climates, a U-factor of 0.40 or lower and an SHGC between 0.25 and 0.40 is a good target. In hot climates, a lower SHGC (around 0.25) helps block heat; in cold climates, a higher SHGC (0.40 to 0.55) allows passive solar gain.
Glazing options include:
- Double-pane with low-E: The standard for energy efficiency, offering good insulation and UV protection.
- Triple-pane: Best for extreme cold, but heavier and more expensive.
- Laminated glass: Adds safety and soundproofing; often used in areas prone to hail.
- Tinted glass: Reduces glare and heat gain but also reduces visible light.
- Self-cleaning glass: Coated to break down dirt with sunlight and rain, reducing maintenance.
Condensation control is critical. In winter, warm, moist indoor air can condense on cold skylight glass. To prevent this, ensure the skylight is well-insulated and that the interior shaft is sealed and insulated. Some skylights come with a condensation channel that collects moisture and drains it outside. Also, make sure your home has adequate ventilation, especially in bathrooms and kitchens, to keep indoor humidity in check. A skylight installed in a bathroom should be connected to the exhaust fan system or be openable to release steam.
Energy efficiency also extends to the installation itself. A poorly sealed skylight can leak air, undermining its insulating value. Ask your contractor about air sealing around the frame and insulating the shaft. In some cases, adding a skylight can increase your home's energy performance by reducing the need for artificial lighting, but only if the unit is properly specified and installed.
Planning Steps and Budgeting Tips
A successful skylight project starts with a solid plan. Here is a step-by-step framework to guide you:
- Assess your needs and location: Determine which room needs more light and whether you want ventilation. Check the roof orientation and interior clearance.
- Set a realistic budget: Use the cost ranges in this guide as a starting point, then add 15 to 20 percent for contingencies like structural modifications or unexpected repairs.
- Get multiple quotes: Obtain at least three itemized quotes from licensed contractors who have skylight experience. Compare not just the total but the scope: flashing, framing, permit, and cleanup.
- Verify licensing and insurance: Check that the contractor is licensed, bonded, and insured. Ask for references and photos of past skylight installations.
- Schedule the work: Plan for good weather and allow time for permits. Expect the installation itself to take one to three days, depending on complexity.
Budgeting tip: do not skimp on flashing or glazing quality. The upfront savings are small compared to the cost of repairs or energy loss. Also, consider the long-term maintenance: skylights may need periodic cleaning and occasional sealant checks. Factor in a small annual maintenance budget.
If you are financing your project, explore home improvement loans or contractor financing options. And remember that skylights can add value to your home, especially in dark spaces that become more functional and appealing. For a broader perspective on home project financing, see our resources on budgeting for home improvements.
Frequently Asked Questions
How long does a skylight installation take?
Most standard installations take one to two days. Complex roofs or custom units may take three days or more. Weather delays are possible, so plan accordingly.
Do skylights increase home value?
They can, especially in rooms that lack natural light. Real estate agents often note that bright, airy spaces appeal to buyers. However, the return on investment varies by market and the quality of installation.
Can I install a skylight myself?
While DIY skylight kits exist, installation involves roof cutting, flashing, and structural work that is best left to professionals. A mistake can lead to leaks and costly repairs. For safety and warranty reasons, hire a licensed contractor.
What about permits and inspections?
Most jurisdictions require a building permit for skylight installation. The permit process typically includes a plan review and a final inspection. Your contractor should handle the permit application, but confirm this in the contract.
With the right planning and a qualified contractor, a skylight can be a beautiful, energy-efficient addition to your home. Use this skylight installation cost and planning guide to set expectations, compare quotes, and avoid surprises. When you are ready to connect with local professionals, ContractorHomeQuotes can help you find licensed contractors in your area and request free, no-obligation quotes.