
Home Insulation: Cut Energy Bills With Smart Upgrades
Home insulation is a smart investment that slashes energy bills. Learn the key materials, costs, and contractor tips to maximize your savings.

By Eric Andrew
Learn more about Insulation Installation or Upgrade for guides, costs, and what to expect.
Compare Insulation Installation or Upgrade Pros Near You

Enter your ZIP code to compare top-rated local professionals and request free quotes.
Rising energy costs and uneven room temperatures are common frustrations for homeowners. While many focus on new windows or a high-efficiency furnace, the building envelope itself often holds the key to comfort and savings. Home insulation works quietly behind your walls and above your ceilings, slowing the transfer of heat and keeping your living spaces at the desired temperature with less strain on your HVAC system. For most houses, improving insulation is one of the most cost-effective projects you can undertake, offering immediate comfort benefits and a clear return on investment through lower monthly utility bills.
This guide breaks down the practical side of insulation: how to assess your current setup, which materials suit which areas, what the project truly costs, and how to ensure the job is done right. Whether you are planning a full renovation or just want to stop the drafts before winter, understanding these fundamentals will help you make confident decisions. If you are ready to move forward, the fastest way to get accurate pricing is to compare quotes from local insulation contractors who know your region's building codes and climate demands.
Why Home Insulation Matters More Than You Think
Many homeowners undervalue insulation because they cannot see it working. Yet it directly impacts several key aspects of your home's performance. In summer, a well-insulated attic blocks radiant heat from baking your living space, which allows your air conditioner to cycle less frequently. In winter, it traps warm air inside, preventing your furnace from running constantly. This thermal barrier also helps maintain a consistent indoor humidity level, reducing the risk of mold and improving overall indoor air quality.
The financial picture is just as compelling. The Department of Energy estimates that the average homeowner can save up to 15 percent on heating and cooling costs by properly insulating their home. Over a year, those savings often amount to hundreds of dollars. For an older home with minimal insulation, the upgrade frequently pays for itself within a few years purely through energy savings. Additionally, a well-insulated home has a higher resale value and is more attractive to buyers who are mindful of ongoing utility costs.
Key Signs Your Home Is Under-Insulated
Before you start ordering materials, you need to determine whether your home actually needs more insulation. Here are the most reliable indicators that your thermal envelope has gaps:
- High energy bills: If your heating and cooling costs are consistently higher than neighbors with similar square footage, your HVAC system is likely working overtime to compensate for heat loss.
- Cold or hot spots: Rooms that are noticeably drafty in winter or stuffy in summer, especially those on the top floor or above an unheated garage, often point to missing or insufficient insulation.
- Ice dams in winter: When warm air escapes through the roof deck, it melts snow, which then refreezes at the eaves. Ice dams can cause significant damage to your roof and gutters.
- Walls that feel cold: On a chilly day, interior walls should feel relatively close to room temperature. If they feel cold to the touch, they lack an adequate thermal barrier.
If you notice any of these issues, a professional energy audit can pinpoint exactly where air leaks and thermal breaks are occurring. Many utility companies offer discounted or even free energy assessments to help homeowners identify problem areas. This diagnostic step is worth the time because it tells you precisely which upgrades will deliver the biggest impact for your money.
Choosing the Right Insulation Material for Each Area
Not all insulation is created equal, and the best choice depends on where you plan to install it. Each material has a specific R-value, which measures its resistance to heat flow; the higher the R-value, the better the thermal performance. Your required R-value depends on your climate zone, so check local recommendations before purchasing.
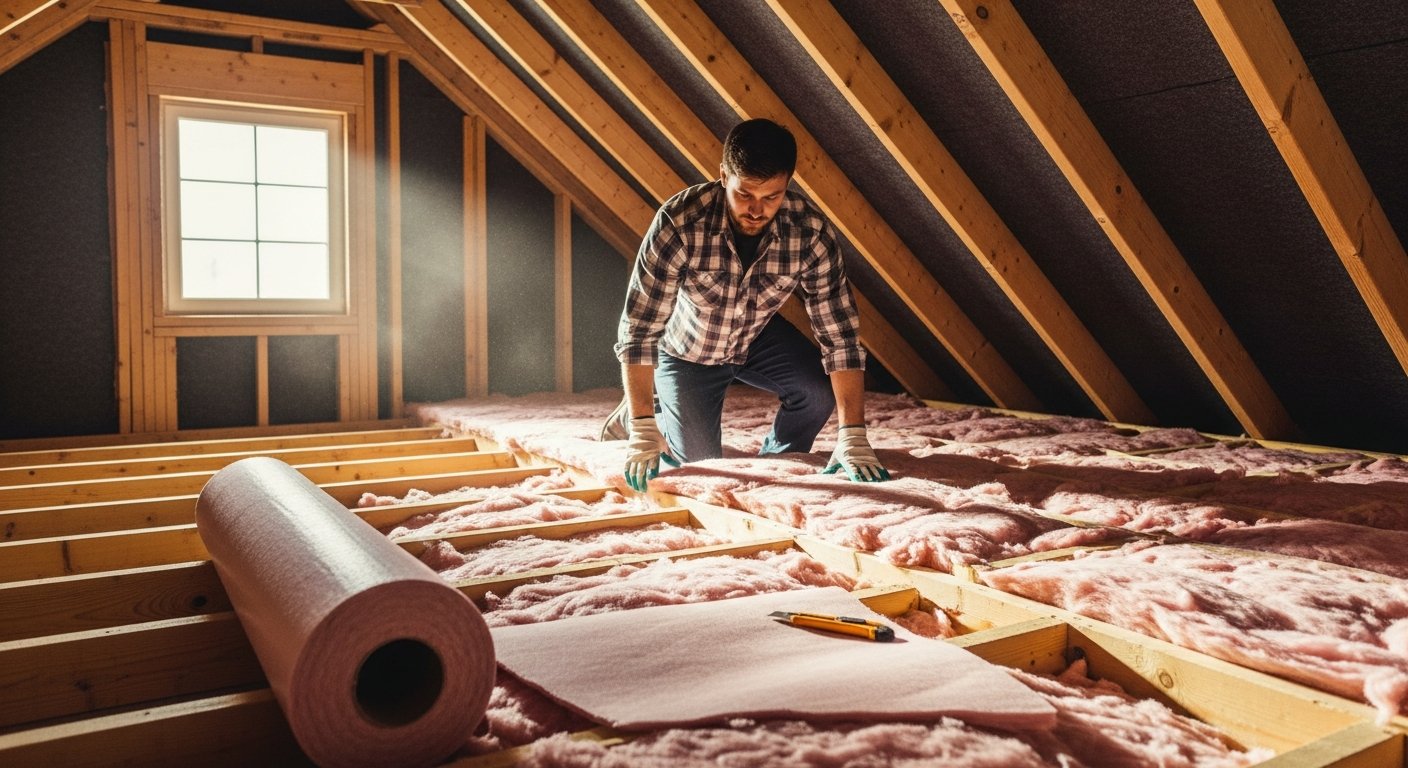
Fiberglass batts and rolls remain the most popular option for attics and crawl spaces. They are affordable, easy to handle, and available in pre-cut widths that fit standard wall cavities. The main drawback is that they must be installed with no gaps or compression, as even small voids can significantly reduce performance. Loose-fill cellulose is an excellent choice for topping up existing attic insulation. Made from recycled paper products treated for fire resistance, it settles into every nook and cranny, creating a seamless blanket of protection. Spray foam is the highest-performing option, expanding to fill cavities and providing an air seal as well as thermal resistance. It is more expensive than other materials but is unmatched for rim joists, crawl spaces, and irregular areas that are hard to insulate with batts.
For walls, the situation is slightly different. If you are renovating and have the studs exposed, fiberglass batts or spray foam are ideal. If the walls are already closed, a contractor can blow dense-pack cellulose into the cavities through small holes drilled in the siding. This retrofit method is highly effective and avoids the cost and mess of tearing out drywall.
Mapping Out a Whole-Home Insulation Plan
A strategic approach to insulation yields the best results. You do not have to do everything at once, but you should prioritize the areas that lose the most heat. Here is a practical sequence that most homeowners follow:
- Start with the attic: Heat rises, so an under-insulated attic is the biggest source of energy waste in most homes. Adding or upgrading attic insulation is usually the highest-impact, lowest-cost improvement you can make.
- Seal air leaks first: Before adding insulation, seal gaps around pipes, wires, and chimneys with caulk or spray foam. Insulation slows heat transfer, but it does not stop airflow. Air sealing maximizes the effectiveness of the insulation you add.
- Address the crawl space or basement: An uninsulated crawl space can pull cold air into your floors during winter and contribute to high humidity in summer. Insulating the walls of a crawl space or the rim joists of a basement makes a noticeable difference.
- Upgrade exterior walls during renovations: If you are already re-siding or gutting a room, take the opportunity to add insulation from the outside or inside. This is far cheaper than doing it as a standalone project.
Following this sequence ensures that you are not wasting money on interior upgrades while the most critical areas of your home remain unprotected. It also helps you spread the cost over multiple budget cycles if needed.
Understanding the Real Cost of Insulation Projects
Budgeting for insulation is easier than for many other renovations because the pricing is relatively straightforward. The national average for attic insulation installation is between $1,500 and $3,500, depending on the square footage and the R-value you choose. Blown-in cellulose is usually the most economical, while spray foam costs more but offers a superior air seal. Wall insulation retrofits are pricier, typically ranging from $2,000 to $5,000, because they require more labor and specialized equipment.
These figures are guidelines, not guarantees. Your final quote will depend on your home's size, the accessibility of the installation area, local labor rates, and the current price of materials. To avoid surprise bills, always request at least three written estimates from different contractors. A detailed quote should specify the material type, the target R-value, the preparation work involved, and the cleanup process. For the most accurate picture of local pricing, use a cost estimation tool that pulls from regional data, then verify those numbers with a professional site visit.
DIY vs. Hiring a Professional Insulation Contractor
Some insulation projects are well-suited for a confident DIYer, while others are best left to the pros. Installing fiberglass batts in an open attic with standard joist spacing is a manageable weekend project for many homeowners. You need to wear protective gear, measure carefully, and ensure you do not block any soffit vents. However, the work is dusty and physically demanding, and mistakes can lead to reduced performance.
For blown-in insulation, spray foam, or any work in tight spaces, hiring a professional is strongly recommended. Contractors have the right equipment to ensure even coverage and proper air sealing. They also know how to work safely around electrical wiring and recessed lighting fixtures, which are potential fire hazards if insulation is placed too close. Furthermore, a professional can spot issues like rodent damage, mold, or hidden air leaks that you might miss. The cost of professional installation includes not just labor but also expertise and liability protection, which is valuable peace of mind.
Navigating Rebates and Incentives
The upfront cost of insulation can be offset by a variety of financial incentives. The federal government offers a tax credit for qualifying energy-efficient home improvements, including insulation, which can cover a percentage of the project cost. Many states and local utilities also provide rebates or discounts for adding insulation, as it reduces strain on the local power grid. These programs change frequently, so it is wise to research what is available in your area before you schedule the work.
Your insulation contractor may be familiar with these programs and can help you identify which ones apply to your project. You can also visit the Department of Energy's website or your local utility's page to find a database of current incentives. Factoring these savings into your budget can make a higher-performing material like spray foam more affordable than you initially thought.
Selecting a Qualified Insulation Contractor
Choosing the right contractor is just as important as choosing the right material. A skilled installer will ensure your insulation performs to its rated value, while a poor installation can leave you with cold spots and wasted money. Start by looking for contractors who are licensed and insured in your state. Ask for references from recent insulation jobs and check online reviews on sites like the Better Business Bureau and Google.
When you meet with candidates, ask specific questions about their process. How do they handle air sealing? What safety measures do they take around wiring? Do they offer a warranty on their workmanship? A reputable contractor will be happy to answer these questions and provide proof of insurance. Most importantly, take advantage of the free quotes offered by services like ContractorHomeQuotes. By comparing multiple bids side by side, you can see exactly what each contractor includes in their price and make an informed choice that balances cost with quality.
Properly insulating your home is a smart investment that pays dividends in comfort and energy savings for decades. By understanding your options, assessing your needs, and working with a qualified professional, you can transform your house into a more efficient, comfortable haven. Take the first step today by learning about the specific costs for your home and connecting with trusted local experts who can bring your insulation plan to life.