
Flooring Installation: A Homeowner's Complete Guide
Discover the essential steps to a successful flooring installation, including material selection, cost planning, and contractor hiring tips.

By Justin Blake
Learn more about Floor Installation or Replacement for guides, costs, and what to expect.
Compare Floor Installation or Replacement Pros Near You

Enter your ZIP code to compare top-rated local professionals and request free quotes.
Flooring installation is one of the most impactful home improvement projects you can undertake. It changes the look, feel, and value of your home, but it also comes with a maze of decisions: material, labor, timeline, and cost. Many homeowners underestimate the complexity involved, only to face surprise expenses or subpar workmanship. This guide walks you through the entire process, from planning and budgeting to hiring the right professional and avoiding common pitfalls. By the end, you will have a clear roadmap to a successful flooring project, whether you are installing hardwood, luxury vinyl, tile, or carpet.
Why Flooring Installation Matters More Than You Think
Your floors are the foundation of your interior design. They take the most daily abuse, from foot traffic to spills, and they set the tone for every room. A well-executed flooring installation can increase your home's resale value by up to 3% to 5%, according to real estate experts. Conversely, a poor installation can lead to squeaks, gaps, warping, and even mold, costing you thousands in repairs. This is why the process deserves careful attention, not just the selection of the material itself.
Beyond aesthetics, flooring affects your comfort and energy efficiency. Certain materials, like tile or hardwood, offer better thermal mass for radiant heating, while carpet provides insulation and noise reduction. The installation method also matters: a floating floor allows for expansion and contraction, while a glued or nailed floor offers stability. Understanding these nuances helps you make informed decisions that align with your lifestyle and budget.
The good news is that you do not need to be a contractor to navigate this landscape. With the right information and a trustworthy professional, you can achieve a flawless result. In our guide on flooring installation cost for 2026, we break down the numbers so you can plan your budget with confidence.
Planning Your Flooring Installation: Key Decisions
Before you schedule any work, you need to make some critical decisions. Start by assessing the room's function, your family's lifestyle, and your long-term plans. Are you installing in a high-moisture area like a bathroom or basement? Do you have pets that scratch surfaces? Is this a rental property or your forever home? These questions will guide your material and installation choices.
Next, establish a realistic budget. Flooring costs vary enormously, from $1 per square foot for basic laminate to $15 or more for premium hardwood or natural stone. Labor adds another $2 to $8 per square foot, depending on the material's complexity and your location. Always include a contingency of at least 10% for subfloor repairs, underlayment, or trim adjustments. We recommend getting at least three quotes from different contractors to compare pricing and approach.
Finally, think about the timeline. A simple carpet replacement might take a day, while a full hardwood installation with acclimation can take two weeks. Plan around major holidays or events to avoid disruption. Also, consider the season: wood floors are best installed in moderate humidity, and some adhesives have temperature requirements.
Choosing the Right Material for Your Space
The material you choose is the most visible and functional part of the project. Each type has its own pros and cons, and the installation method varies significantly. Here is a quick overview:
- Hardwood: Timeless and durable, but expensive and sensitive to moisture. Requires professional nailing or gluing.
- Engineered Wood: More stable than solid wood, good for basements or over concrete. Can be floated, glued, or stapled.
- Laminate: Affordable and scratch-resistant, but not waterproof. Usually a floating click-lock system, making DIY possible.
- Luxury Vinyl (LVT/LVP): Waterproof, durable, and comfortable underfoot. Available in planks and tiles, using click or glue-down methods.
- Tile (Ceramic/Porcelain): Excellent for wet areas, but hard and cold. Requires mortar and grout, which is labor-intensive.
- Carpet: Soft and insulating, but stains easily and requires professional stretching.
Each material also has specific subfloor requirements. For example, tile needs a rigid, perfectly flat surface to prevent cracking, while vinyl can tolerate minor imperfections. Your contractor should assess your subfloor and recommend the best option. If you are unsure about the right material, requesting an estimate request can help you get professional advice tailored to your home.
The Flooring Installation Process: Step by Step
Once you have selected your material and hired a contractor, the installation process follows a predictable sequence. Understanding this flow helps you prepare your home and communicate effectively with the crew. Here is what to expect:
- Subfloor Preparation: The crew will remove old flooring, inspect the subfloor, and repair any damage. This is the most critical step for a long-lasting result.
- Acclimation: Materials like hardwood and laminate must adjust to the room's temperature and humidity for 48 to 72 hours. This prevents warping after installation.
- Underlayment: A moisture barrier and/or foam layer is laid to protect the floor and provide cushioning. This is essential for floating floors and basements.
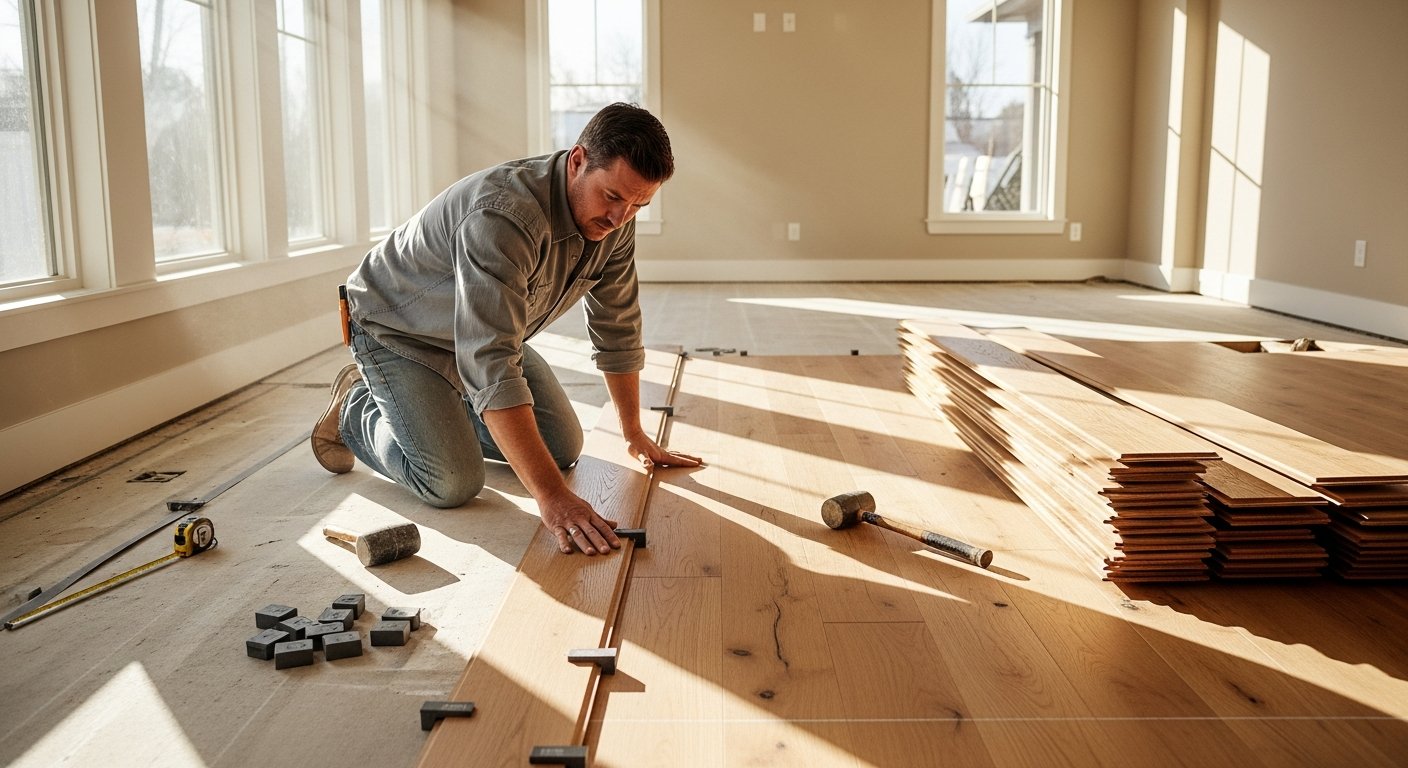
- Main Installation: The flooring is installed using the chosen method (nailing, gluing, or floating). The crew will cut pieces to fit around obstacles and leave expansion gaps.
- Finishing Touches: Baseboards, transitions, and thresholds are reinstalled or replaced. The floor is cleaned, and any remaining adhesive is removed.
After installation, you will need to wait before walking on the floor or moving furniture back. The wait time varies from 24 hours for some glues to several days for hardwood finishes. Your contractor should provide clear aftercare instructions, including cleaning products and humidity levels to maintain.
Hiring the Right Flooring Contractor
The quality of your flooring installation depends heavily on the contractor you choose. A skilled professional ensures the subfloor is properly prepared, the material is installed correctly, and the warranty is honored. Here are the steps to vet potential contractors:
- Check credentials: Verify their license, insurance, and any relevant certifications (e.g., from NWFA for hardwood).
- Ask for references: Contact past clients to ask about quality, timeliness, and cleanup.
- Review a detailed quote: Ensure it includes materials, labor, removal of old flooring, and any contingencies.
- Understand the warranty: Clarify what is covered by the manufacturer and what the contractor guarantees.
Beware of quotes that are significantly lower than others; they often cut corners on prep or use inferior materials. Also, avoid contractors who demand full payment upfront. A common schedule is 10% to 20% down, with the balance due upon completion. For a deeper dive into evaluating bids, see our article on understanding flooring installation contractor quotes.
DIY vs. Professional Installation: What to Consider
Some flooring types, like click-lock laminate or vinyl, are marketed as DIY-friendly. However, a professional installation offers several advantages that often outweigh the cost savings. Professionals have the right tools, experience with tricky cuts, and knowledge of subfloor issues that can ruin a project. They also provide a workmanship warranty, which gives you legal recourse if something goes wrong.
If you have a simple, square room and are handy, DIY might be feasible. But for large areas, irregular layouts, or materials like tile and hardwood, hiring a pro is almost always worth it. The peace of mind and the finished quality are superior. Moreover, a professional can spot problems like uneven subfloors or moisture issues that you might miss, saving you from future headaches.
Cost Factors and How to Save
Understanding what drives flooring installation costs helps you make budget-conscious decisions without sacrificing quality. The primary factors are material price, labor rate, subfloor condition, and your geographic location. For example, urban areas often have higher labor rates, and complex patterns like herringbone increase both material waste and labor time.
To save money, consider these strategies:
- Compare multiple quotes: This is the most effective way to get a fair price.
- Choose mid-range materials: You can get the look of hardwood with engineered wood or high-end laminate.
- Do some prep yourself: Remove old carpet or furniture to reduce labor time.
- Time your project: Off-season (winter in cold climates) may offer lower rates.
- Negotiate on materials: Some contractors give discounts if you buy through them.
Remember, the cheapest quote is not always the best value. Consider the contractor's reputation, the materials specified, and the warranty offered. A slightly higher upfront cost can save you from expensive repairs later. Always get a written contract that details the scope of work, timeline, and payment schedule.
Common Flooring Installation Mistakes to Avoid
Even with a professional, things can go wrong if you are not vigilant. Here are the most common pitfalls and how to prevent them:
- Skipping subfloor repair: A bumpy subfloor will telegraph through the new floor, causing creaks and premature wear.
- Ignoring moisture testing: For wood and laminate, high moisture can lead to warping. A professional should always perform a moisture test.
- Rushing acclimation: Not allowing the material to adjust to the room can cause gaps or buckling.
- Incorrect expansion gaps: Floors need room to expand and contract with temperature changes. Forgetting this can cause the floor to lift.
- Poor transitions: Uneven thresholds between rooms are not only ugly but also a trip hazard.
By being aware of these issues, you can ask your contractor the right questions and ensure they are using best practices. For example, ask about their subfloor prep process and whether they use a moisture meter. A reputable contractor will be happy to explain their methods.
Maintaining Your New Floor for Longevity
Once your flooring installation is complete, proper maintenance is key to preserving its beauty and function. The specific care depends on the material, but some general rules apply. Use mats at entryways to trap dirt, place felt pads under furniture legs, and clean spills immediately. Avoid harsh chemicals that can damage finishes.
For hardwood and engineered wood, use a damp mop with a pH-neutral cleaner, and avoid excessive water. Laminate and vinyl are more forgiving but still benefit from gentle cleaning. Tile grout should be sealed periodically to prevent stains. Carpet requires regular vacuuming and professional deep cleaning every 12 to 18 months. Following the manufacturer's guidelines and your contractor's advice will maximize your floor's lifespan.
Regular inspections for signs of damage, like loose planks or lifting tiles, allow you to address issues early before they escalate. If you notice any problems, contact the contractor who did the installation, as many offer a workmanship warranty that covers such repairs.
Final Thoughts on Your Flooring Project
Flooring installation is a significant investment, but with careful planning and the right team, it can transform your home and add lasting value. Start by defining your needs and budget, then research materials and contractors thoroughly. Use the resources available on ContractorHomeQuotes, such as cost guides and estimate request tools, to gather the information you need. By following the steps outlined in this guide, you will be well on your way to enjoying beautiful, durable floors for years to come.