
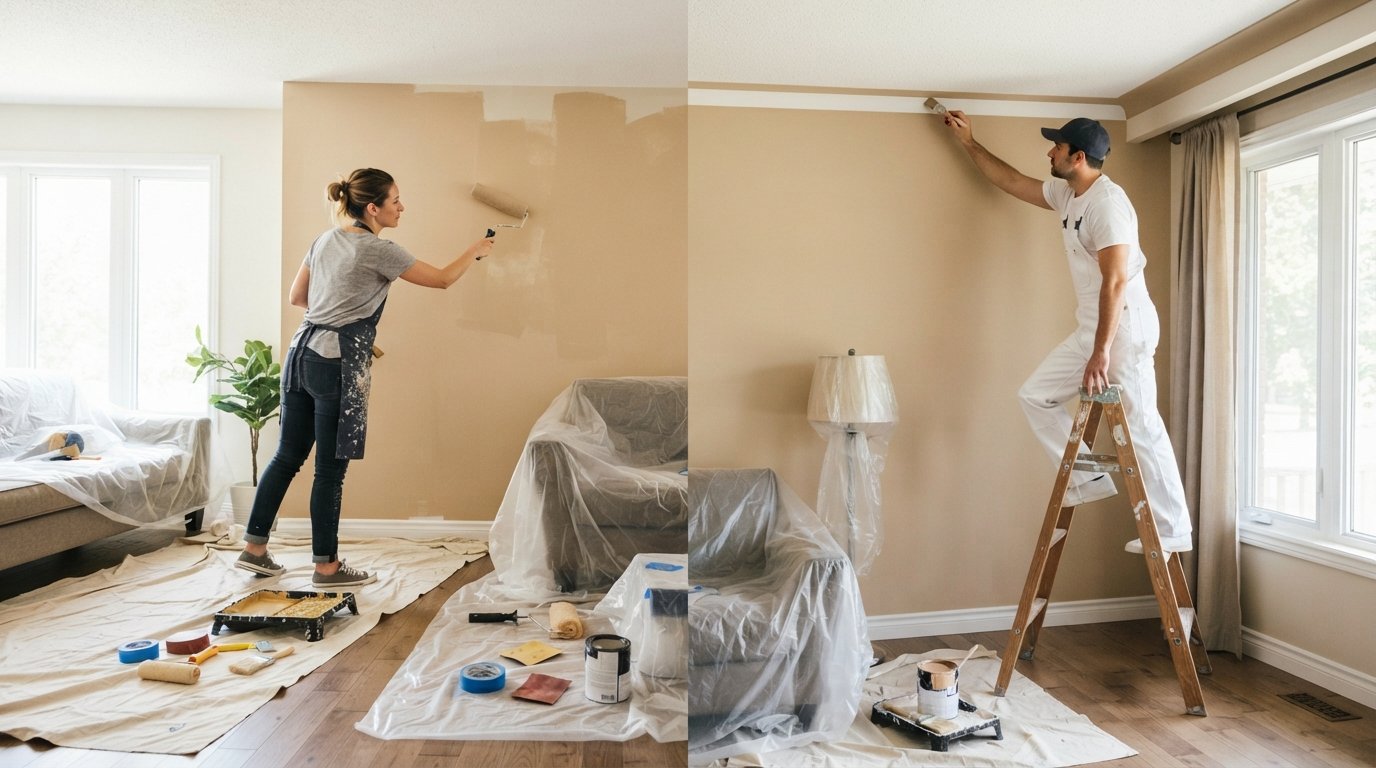
DIY vs Professional Interior Painting: Cost Benefit Guide
Compare DIY vs professional interior painting cost benefit, from supplies to labor. Call (833)-365-8755 for free quotes and plan your project with confidence.

By Chelsea Kris
Learn more about Interior Painting for guides, costs, and what to expect.
Compare Interior Painting Pros Near You

Enter your ZIP code to compare top-rated local professionals and request free quotes.
Interior painting ranks among the most popular home improvement projects, and for good reason: a fresh coat of paint transforms a space faster and more affordably than almost any other renovation. Yet the moment you start pricing supplies and comparing them to painter quotes, the real question emerges: should you do it yourself or hire a professional? The answer is not simply about dollars per gallon. It is about how you value your time, the quality of the finish you expect, and the hidden costs that can quietly erode your budget. This guide breaks down the DIY vs professional interior painting cost benefit equation room by room, so you can make a confident decision before you pick up a roller or sign a contract.
The Real Cost Breakdown: DIY Supplies vs Professional Labor
At first glance, DIY painting looks like a clear winner. A gallon of mid-grade interior paint costs roughly $30 to $55, and a room typically needs two gallons for two coats. Add primer, tape, rollers, trays, drop cloths, and sandpaper, and a single 12x12 foot room might run $150 to $250 in materials. Professional painters, by contrast, charge $300 to $800 per room for labor and materials combined, depending on your region and the complexity of the space. On paper, the savings from DIY appear substantial, often 50 to 70 percent of the total project cost.
But that comparison is incomplete. Professional painting quotes include surface preparation, patching, sanding, caulking, and cleanup, tasks that consume both time and additional materials when done yourself. A DIY budget that ignores these steps often produces disappointing results, and a budget that includes them creeps closer to professional pricing than most homeowners expect. The true DIY vs professional interior painting cost benefit analysis must account for every line item, not just the visible ones.
To organize your comparison, break the project into four cost categories:
- Materials: Paint, primer, tape, rollers, brushes, trays, drop cloths, sandpaper, patching compound, and caulk.
- Tools: Ladders, extension poles, paint sprayers, and edging tools, some of which you may already own.
- Time: Your hours spent prepping, painting, and cleaning, valued at what your time is worth to you.
- Risk: Potential costs of mistakes, such as paint spills, uneven finishes, or damage that requires a pro to fix.
When you list every category, the gap between DIY and professional narrows. For a single average room, DIY might total $200 in materials plus 15 to 20 hours of your time. A professional crew completes the same room in one to two days for $500 to $900, including prep and cleanup. The decision then becomes a straightforward trade: pay roughly $300 to $700 more for speed, consistency, and a warranty, or save that money and invest your own labor.
Time Investment: The Hidden Variable in the DIY Equation
Time is the most underestimated factor in the DIY vs professional interior painting cost benefit discussion. A standard bedroom with eight-foot ceilings and minimal furniture takes a professional two-person crew about four to six hours of active work, spread across two days to allow for drying. A DIY painter should expect 15 to 25 hours for the same room, including taping, moving furniture, cutting in edges, rolling walls, and cleaning up. Multiply that across a whole house, and a weekend project becomes a multi-week commitment.
Several factors dramatically increase the time required, and each one shifts the cost benefit calculation toward hiring a professional:
- Ceiling height: Rooms with vaulted or two-story ceilings require scaffolding or extension ladders, adding both time and safety risk.
- Trim and detail work: Crown molding, wainscoting, and multiple window casings demand careful cutting in, which can triple the time spent on edges.
- Wallpaper removal: Stripping wallpaper, washing walls, and repairing adhesive residue can add days before a single coat of paint goes up.
- Furniture and floor protection: Moving heavy furniture and protecting floors takes an hour or more per room, a task pros handle efficiently.
If your time is limited or your rooms are complex, the DIY savings may not justify the disruption. A professional crew works during business hours, contains the mess, and leaves your home ready to use the same evening. For homeowners juggling work and family, that convenience has real monetary value, even if it does not appear on a receipt.
Quality Differences: Prep Work, Cut Lines, and Finish Durability
The quality gap between DIY and professional painting rarely shows up in the paint itself. It shows up in the preparation. Professionals spend 60 to 70 percent of their time on prep: filling nail holes, sanding rough patches, caulking gaps, and priming bare surfaces. A rushed DIY job often skips these steps, and the flaws become visible under raking light or within months as paint peels and cracks. The cost benefit of DIY evaporates if you have to repaint a room two years earlier than expected.
Cut lines tell a similar story. Crisp edges between wall and ceiling or wall and trim require a steady hand, the right brush, and practice. Many DIYers rely on tape, which can bleed under textured surfaces or pull off fresh paint if removed at the wrong time. Professional painters cut freehand with years of muscle memory, producing clean lines that make a room look finished. If your standards are high and your experience is low, the quality difference alone may justify the professional premium.
Finish durability also depends on surface preparation and product selection. Pros know which sheen works best for kitchens and bathrooms, how to prime difficult surfaces like glossy trim or fresh drywall, and how many coats are truly needed for coverage. These decisions affect how the paint wears over five to ten years. A DIY job with adequate prep can match professional durability, but only if you invest the time and use quality materials. The DIY vs professional interior painting cost benefit often comes down to whether you will actually do the prep work yourself.
When Hiring a Professional Makes Clear Financial Sense
Certain situations tip the cost benefit decisively toward professional painters, regardless of your DIY confidence. The first is any home built before 1978, when lead-based paint was common. Disturbing lead paint through sanding or scraping releases toxic dust that poses serious health risks, especially to children and pregnant women. Certified lead-safe renovators follow strict containment and cleanup protocols, and their fees reflect that expertise. Attempting this work yourself is neither safe nor legal in many jurisdictions.
Vaulted ceilings and hard-to-reach areas present another clear case. Painting a two-story foyer or a staircase wall requires ladders, scaffolding, and fall protection. The risk of injury or property damage outweighs the savings, and many homeowners insurance policies will not cover DIY injuries sustained during home projects. Professional crews carry their own liability coverage and have the equipment to work safely at height.
Cabinet refinishing is a third scenario where professionals earn their fee. Painting kitchen cabinets involves degreasing, sanding, priming with bonding agents, and spraying or brushing with self-leveling paint. The prep is tedious and the margin for error is small; a poor job peels or looks uneven within a year. Professional cabinet painters often provide a multi-year warranty, which protects your investment in a way DIY cannot. If you are considering cabinet refinishing alongside wall painting, request quotes that separate the two scopes so you can compare the value of each.
Finally, consider hiring when your schedule or health makes DIY impractical. If you travel frequently, have young children, or experience mobility limitations, the disruption of a DIY project may outweigh the savings. Professional painters complete the work quickly and cleanly, allowing you to maintain your routine. For a broader look at affordable professional painting options in dense urban markets, see this guide to affordable interior painting in NYC, which illustrates how labor rates and building access affect pricing.
How to Validate Your DIY Budget with Contractor Quotes
Even if you plan to paint yourself, obtaining two or three professional quotes is one of the smartest steps you can take. Quotes serve as a reality check on your material list, reveal prep work you may have overlooked, and give you a benchmark for the value of your time. A professional estimate typically itemizes labor, paint, primer, and prep, which helps you build a more accurate DIY budget. If a quote comes in far below your DIY material estimate, you may be overbuying or missing a simpler approach. If it comes in far above, you can decide whether the extra cost is worth avoiding the work.
When requesting quotes, ask each contractor to specify the number of coats, the brand and sheen of paint, the extent of prep work, and whether furniture moving and cleanup are included. These details let you compare apples to apples and adjust your DIY plan accordingly. You can also use the quote process to ask questions about technique, drying times, and product recommendations, effectively getting free advice from an expert. For a deeper walkthrough of how to gather and compare bids, this resource on planning a move and home projects offers checklists that help you coordinate painting with other relocation tasks.
Once you have quotes in hand, calculate your break-even point. Divide the professional quote by the number of hours you expect to spend, and compare that to what your time is worth. If the effective hourly rate you would save is lower than what you earn or value your leisure time at, hiring is the rational choice. If the savings are substantial and you enjoy the work, DIY remains a legitimate option. The key is making the comparison with full information rather than guesswork.
Practical Steps for Either Path
Whether you choose DIY or professional painting, a few practical steps protect your investment. Start by clearing the room completely or pushing furniture to the center and covering it securely. Remove outlet covers and switch plates, and label screws so you can reinstall them easily. Wash walls with a degreaser before painting, especially in kitchens and bathrooms, because paint adheres poorly to grease and soap residue. Fill nail holes and cracks with lightweight spackle, sand smooth, and prime bare spots before applying finish coats.
If you hire a professional, verify licensing and insurance before signing a contract. Ask for references from recent interior painting jobs and confirm the crew will be the same people who quoted the work. Get the start date, completion date, and payment schedule in writing, and hold back a portion of payment until you have inspected the finished job under daylight. These steps are standard practice for any home improvement project and apply equally to painting. For a comprehensive framework on vetting contractors and comparing bids, the resources at ContractorHomeQuotes provide free tools and local professional matching.
If you paint yourself, buy quality tools and do not skimp on paint. A $60 brush and a sturdy roller frame cost more upfront but produce better results and last for years. Use painter's tape designed for delicate surfaces if you must tape, and remove it while the paint is still slightly tacky to avoid peeling. Plan for two coats on walls and spot prime any patched areas. Keep a small container of touch-up paint labeled by room for future repairs.
The DIY vs professional interior painting cost benefit is not a fixed formula; it depends on your budget, timeline, skill level, and tolerance for disruption. By pricing materials honestly, estimating your time, and using contractor quotes as a benchmark, you can choose the path that delivers the best value for your specific situation. Whether you pick up the roller or hand it to a pro, the goal is the same: a beautiful, durable finish that makes your home feel renewed.