
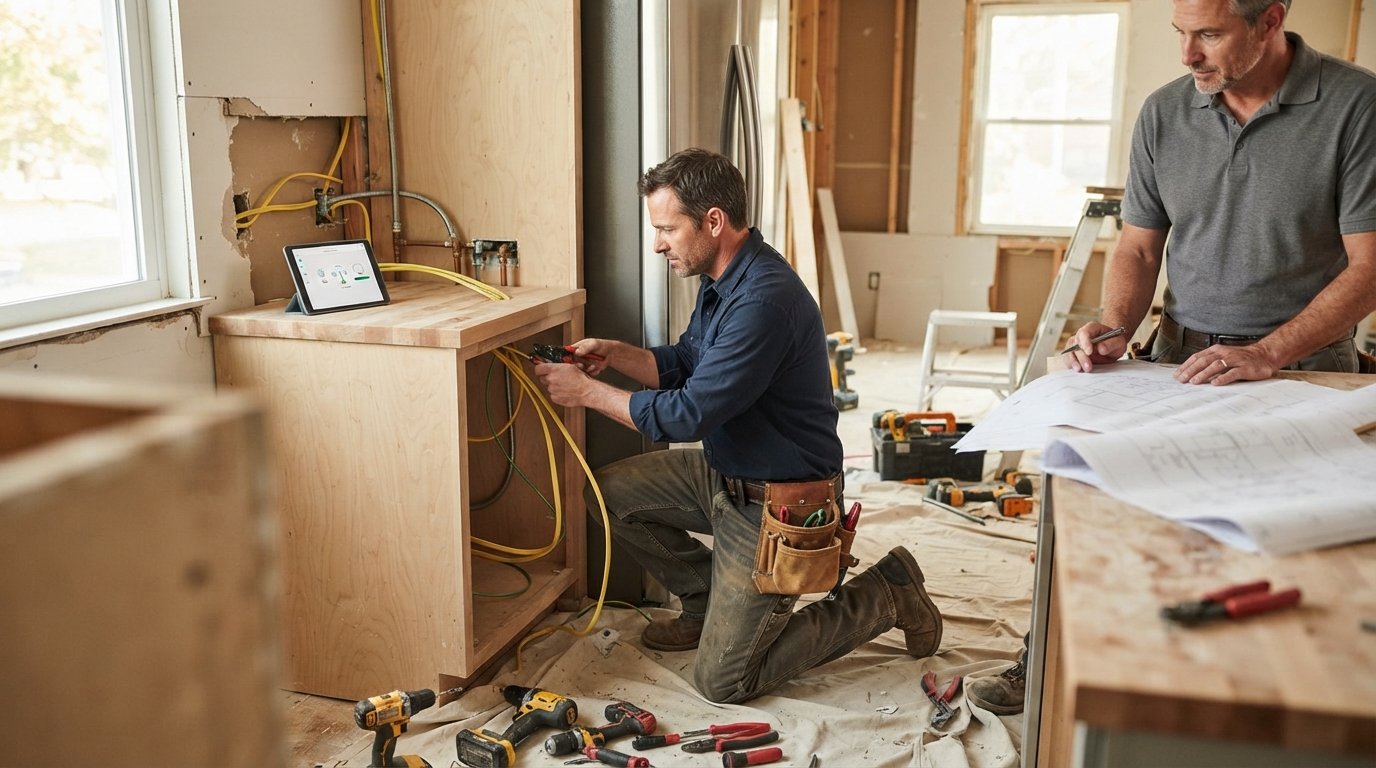
Smart Appliance Installation Cost in a Kitchen Remodel
Smart appliance installation cost in a kitchen remodel includes electrical rough-in, network setup, and labor premiums. Call (833)-365-8755 for expert guidance.

By Chelsea Kris
Learn more about Kitchen Remodel for guides, costs, and what to expect.
Compare Kitchen Remodel Pros Near You

Enter your ZIP code to compare top-rated local professionals and request free quotes.
You have picked out the refrigerator that orders groceries and the oven you can preheat from your phone. Now comes the part that surprises many homeowners: the installation and integration costs that come with making those smart appliances actually work. Smart appliance installation cost in a kitchen remodel is rarely a single line item. It is a bundle of electrical upgrades, plumbing adjustments, network planning, and labor premiums that can add hundreds or even thousands of dollars to your project if you do not plan for them early. This guide breaks down those costs, explains where the money goes, and shows you how to ask the right questions before the drywall goes up.
The Real Cost Drivers Behind Smart Appliance Installation
When homeowners budget for a kitchen remodel, they often estimate appliance costs based on the sticker price at the showroom. That number covers the product, but it does not cover the dedicated circuits, the water lines, the venting changes, or the network wiring that smart appliances frequently require. The installation cost premium for smart appliances over standard models typically ranges from $150 to $600 per appliance, depending on the appliance type and the condition of your existing kitchen infrastructure. That premium pays for additional labor, specialized connectors, and the time required to configure and test connectivity.
The biggest cost driver is not the appliance itself but the rough-in work behind the walls. Smart refrigerators with built-in cameras and touchscreens may need a dedicated 20-amp circuit and a recessed water line for the ice maker. Smart wall ovens with Wi-Fi controls often require a 240-volt circuit that meets current code, which may mean running new wire from the panel. Smart dishwashers that connect to an app for cycle monitoring need a standard 120-volt circuit and a hot water supply, but if your existing dishwasher is on a shared circuit, you may need to add a dedicated line. Each of these rough-in tasks adds labor and material costs that are much easier to handle before the walls are closed.
Labor rates vary by region, but electricians typically charge between $75 and $150 per hour, and plumbers charge a similar range. A simple dedicated circuit run might take two to four hours, while a full panel upgrade to accommodate multiple smart appliances can cost $1,500 to $3,000 on its own. These costs are not unique to smart appliances, but smart appliances often push a kitchen over the threshold where a panel upgrade becomes necessary. Planning for these expenses early helps you avoid change orders later, which are almost always more expensive than work done during the initial rough-in phase.
Electrical and Plumbing Rough-In: The Hidden Budget Line
During a kitchen remodel, the rough-in phase is your best opportunity to prepare for smart appliances without paying premium demolition and repair costs. Electrical rough-in for smart appliances goes beyond simply adding outlets. Many smart appliances require dedicated circuits, ground-fault circuit interrupter (GFCI) protection in wet areas, and sometimes arc-fault circuit interrupter (AFCI) protection for added safety. A smart range hood with integrated Wi-Fi and lighting controls may need its own circuit, and smart under-cabinet lighting systems often require low-voltage wiring and a transformer location planned in advance.
Plumbing rough-in matters for smart appliances that use water. Smart refrigerators with water dispensers and ice makers need a dedicated water line with a shutoff valve in an accessible location. Smart dishwashers may need a higher loop for drainage if your local code requires an air gap. Some smart coffee makers and steam ovens have plumbing connections, though these are less common in residential kitchens. If you are installing a smart sink with a touchless faucet, you will need to plan for the power supply, which often comes from a transformer under the sink. Each of these connections adds a small amount of material cost but a significant amount of labor if they are added after the fact.
To keep rough-in costs under control, create a smart appliance plan before demolition begins. List every appliance you intend to install, including models and their electrical and plumbing requirements. Share that list with your electrician and plumber during the bidding phase so their quotes include the necessary work. If you are still comparing appliance models, choose ones with similar requirements so you do not need to change the rough-in later. For a broader look at how appliance and material costs fit into a full kitchen budget, see our guide on understanding kitchen remodeling costs.
Smart vs. Standard Installation: Where the Premium Comes From
The installation premium for smart appliances comes from four main areas: connectivity setup, specialized hardware, additional labor time, and troubleshooting. Standard appliances are essentially plug-and-play. A standard refrigerator needs a level surface and a working outlet. A smart refrigerator needs a level surface, a working outlet, a water line, a Wi-Fi connection, a firmware update, and a mobile app configuration. That extra work typically adds one to two hours of labor per appliance, which translates to $100 to $300 in additional installation cost depending on your market.
Specialized hardware is another factor. Smart appliances often require proprietary connectors, mounting brackets, or power adapters that are not included with the appliance. For example, a smart wall oven may need a specific trim kit to fit the cabinet cutout, and a smart cooktop may require a particular junction box configuration. These parts can add $50 to $200 per appliance. Additionally, some smart appliances require a neutral wire in the electrical box for their control boards, and older homes may not have that wire available. Upgrading the wiring adds cost but is essential for safe operation.
Troubleshooting is the wild card. Connectivity issues can arise from weak Wi-Fi signals, incompatible routers, or app glitches. A professional installer will typically test the connection and confirm that the appliance responds to the app before leaving. If your kitchen is far from the router, you may need a mesh Wi-Fi system or an extender, which adds $100 to $300 to your project. Planning your network before installation can reduce these costs. The table below summarizes the typical premium ranges by appliance type.
- Smart refrigerator: $150 to $350 premium, driven by water line and network setup.
- Smart range or oven: $200 to $500 premium, driven by 240-volt circuit and configuration.
- Smart dishwasher: $100 to $250 premium, driven by dedicated circuit and app pairing.
- Smart microwave or hood: $75 to $200 premium, driven by mounting and connectivity.
- Smart sink or faucet: $100 to $300 premium, driven by power supply and sensor calibration.
These premiums are estimates, and actual costs vary by region, appliance brand, and the complexity of your existing infrastructure. Always obtain multiple quotes from licensed electricians and plumbers to compare pricing. A professional contractor can help you identify which upgrades are necessary and which are optional, so you can prioritize your budget.
Wi-Fi, Hub, and Compatibility Planning Before Drywall
Smart appliances are only smart if they can communicate with your home network and with each other. That communication depends on a robust Wi-Fi signal and, in many cases, a central hub or smart home platform. Planning for connectivity before drywall is installed is far cheaper than retrofitting after the kitchen is finished. The first step is to assess your Wi-Fi coverage in the kitchen area. If the signal is weak, you have three main options: add a mesh node, run an Ethernet cable to a wireless access point, or relocate your router. Running Ethernet during rough-in is the most reliable and future-proof solution, and it typically costs $100 to $250 per drop.
Next, consider whether your appliances require a hub. Some brands use their own proprietary hubs, while others work with platforms like Amazon Alexa, Google Home, or Apple HomeKit. If you want centralized control, you may need to purchase a hub ($50 to $200) and ensure that all appliances are compatible with it. Compatibility is not guaranteed across brands, so check the specifications before you buy. A common mistake is purchasing appliances from different manufacturers that do not integrate well, which leads to a fragmented smart home experience and additional costs for workarounds.
Finally, plan for a dedicated network for your smart appliances if you are concerned about security or bandwidth. Many routers support a guest network that can isolate smart devices from your personal computers and phones. This step adds no material cost but requires configuration time. If you are working with a custom integrator, expect to pay $100 to $300 for network setup and optimization. For homeowners planning a move during or after the remodel, resources like Moving.Homes offer checklists and guides that can help you coordinate the transition without losing track of your smart home setup.
Questions to Ask Your Electrician During Remodeling
Your electrician is a critical partner in getting smart appliance installation right. The questions you ask during the bidding and rough-in phases can save you thousands of dollars in change orders and rework. Start by asking whether your electrical panel has enough capacity for the additional circuits your smart appliances will require. A licensed electrician can perform a load calculation to determine if you need a panel upgrade. Ask for a written quote that itemizes each circuit, including the wire gauge, breaker size, and outlet type. This transparency helps you compare bids and avoid surprise charges.
Ask specifically about code requirements for your area. Some jurisdictions require GFCI protection for all kitchen outlets, while others require AFCI protection for circuits serving smart appliances. Your electrician should know the local code and include compliance in the quote. Also ask about the location of outlets and switches. Smart appliances often need outlets in places that standard appliances do not, such as inside cabinets for smart lighting or behind the refrigerator for a camera module. Planning these locations during rough-in prevents the need for extension cords or exposed wiring later. Finally, ask whether the electrician has experience with smart home wiring and can recommend a strategy for network cabling. If not, you may need to hire a low-voltage specialist for Ethernet runs.
It is also wise to ask about the warranty on the electrical work and whether the electrician will coordinate with your general contractor. In a remodel, multiple trades need to work in sequence, and poor coordination can lead to delays. A clear scope of work and a timeline from your electrician helps keep the project on track. For more tips on hiring and vetting contractors, explore our resources on contractor selection and project planning.
Budgeting for Smart Appliance Integration: A Practical Framework
To build a realistic budget for smart appliance installation cost in a kitchen remodel, use a three-tier framework: essential, recommended, and optional. Essential costs include dedicated circuits, water lines, and code-required upgrades. These are non-negotiable for safe and functional operation. Recommended costs include network cabling, a Wi-Fi extender, and a smart hub. These improve performance and reliability but can be deferred if the budget is tight. Optional costs include premium finishes, custom cabinetry modifications for built-in appliances, and professional integration services. Separating costs into these tiers helps you prioritize spending and avoid overextending your budget.
As a rule of thumb, allocate 10 to 15 percent of your total appliance budget for installation and integration. If your smart appliances cost $8,000, plan for $800 to $1,200 in installation-related expenses. This range covers typical electrical and plumbing rough-in, basic network setup, and labor premiums. If your kitchen requires a panel upgrade or extensive rewiring, the percentage may be higher. Always get at least three quotes from licensed electricians and plumbers, and ask each contractor to explain the scope of work in detail. Compare not just the total price but also what is included. A low bid that excludes permit fees or cleanup may end up costing more in the long run.
Remember that smart appliance technology evolves quickly. Planning for future upgrades, such as additional Ethernet drops or a larger electrical panel, can save money later. A little foresight during the remodel goes a long way toward creating a kitchen that is both beautiful and intelligently connected.
Smart appliances can make a kitchen more convenient, efficient, and enjoyable, but their installation costs require careful planning. By understanding the rough-in requirements, asking the right questions, and budgeting with a tiered approach, you can avoid surprises and enjoy your smart kitchen for years to come.