
Patio Installation: Costs, Materials, and Contractor Tips
Plan a successful patio installation with clear cost breakdowns, material comparisons, and expert tips for choosing the right contractor.

By Danica Leslie
Learn more about Patio Remodel or Addition for guides, costs, and what to expect.
Compare Patio Remodel or Addition Pros Near You

Enter your ZIP code to compare top-rated local professionals and request free quotes.
Adding a patio is one of the most rewarding home improvement projects you can undertake. It extends your living space outdoors, creates a dedicated area for entertaining, and can significantly boost your property's value. However, the process of planning and executing a successful patio installation involves many decisions, from choosing the right materials to understanding the true cost and selecting a qualified contractor. This guide walks you through the entire journey, providing the clarity you need to move forward with confidence.
Why a Patio Installation Is a Smart Investment
Beyond the obvious aesthetic appeal, a well-designed patio offers a strong return on investment. Real estate experts often note that outdoor living spaces are among the top features buyers look for when searching for a new home. A patio effectively adds a functional room to your house without the expense of a traditional addition. It provides a seamless transition from indoor to outdoor living, which is highly desirable in today's market.
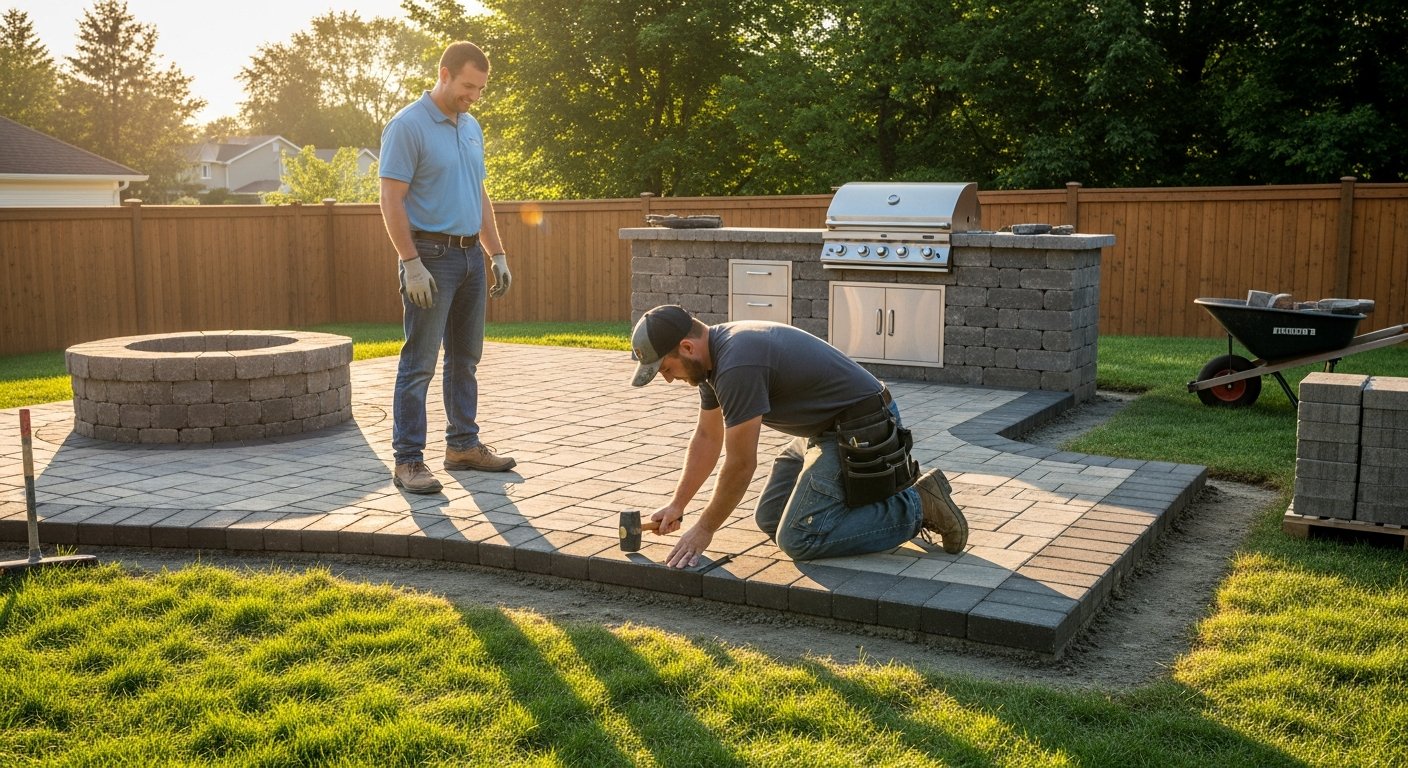
Furthermore, a patio installation can be customized to fit any budget and lifestyle. Whether you envision a simple concrete slab for a grill and a few chairs or a multi-level paver paradise with a fire pit and outdoor kitchen, the possibilities are nearly endless. This flexibility means you can plan a project that meets your immediate needs while also adding long-term value to your home. The key is to approach the project with a solid plan, a realistic budget, and a clear understanding of the work involved.
Choosing the Right Patio Materials
The material you choose for your patio is the single most important decision in the process. It determines not only the look and feel of your outdoor space but also the maintenance requirements, durability, and overall cost of the patio installation. Each material has its own set of advantages and considerations, so it's crucial to weigh your options carefully against your climate, usage needs, and aesthetic preferences.
Here is a breakdown of the most popular patio materials to help you narrow down your choices:
- Concrete: This is the most versatile and cost-effective option. It can be poured into any shape, stamped to mimic stone or brick, or stained for a custom color. Concrete is durable and low-maintenance, though it can crack in freezing climates if not properly installed with control joints.
- Pavers: Concrete or natural stone pavers offer a timeless, high-end look. They are installed individually over a compacted base, making them incredibly durable and easy to repair. If a paver cracks, you can simply replace that one piece. The joints are filled with sand, which allows for natural drainage and flexibility.
- Flagstone: This natural stone is prized for its organic beauty and unique, irregular shapes. It creates a rustic and elegant patio surface that fits well in landscaped yards. Flagstone is more expensive than concrete or basic pavers and requires a stable base and proper sealing to prevent weed growth and staining.
- Brick: Offering a classic and traditional appearance, brick is a durable and attractive option. It is similar to pavers in its installation method. Brick is known for its rich, warm tones and can be laid in various patterns, such as herringbone or running bond, to add visual interest.
When comparing these options, consider the long-term view. While concrete may be the least expensive upfront, stamped or stained concrete may require resealing every few years. Pavers and flagstone often have a higher initial cost but offer superior longevity and easier repairs. Your choice should reflect a balance between your budget and the level of maintenance you are willing to commit to over the life of the patio.
Breaking Down the Patio Installation Cost
Understanding the financial aspect of your project is critical for avoiding surprises. Patio installation cost can vary widely based on several key factors, including the size of the patio, the material selected, labor rates in your area, and the complexity of the site preparation. It is essential to get a clear picture of these costs early in your planning phase to ensure your project is feasible.
The largest portion of your budget will go toward materials and labor. Labor costs are typically quoted per square foot and can fluctuate based on regional market conditions and the difficulty of the job. For example, a simple, flat backyard is much easier to prepare than a sloped lot that requires extensive grading or retaining walls. Additionally, the cost of removing an old concrete slab or patio can add to the total expense.
To provide a general guideline, here are typical price ranges for a mid-sized patio (around 300 square feet), assuming professional installation:
- Concrete Patio: $6 to $15 per square foot. This includes basic site prep, forming, pouring, and finishing. Stamped or colored concrete will be on the higher end.
- Paver Patio: $10 to $25 per square foot. This cost includes the base materials, sand, pavers, and installation labor. Premium pavers and complex patterns will increase the price.
- Flagstone Patio: $15 to $30 per square foot. The higher cost reflects the price of the natural stone and the more intricate installation process.
- Brick Patio: $10 to $20 per square foot. Similar to pavers, the cost depends on the type of brick and the complexity of the pattern.
These figures are intended as estimates only. Actual quotes can vary based on your geographic location and the specifics of your site. The most reliable way to get an accurate number is to request detailed quotes from multiple local contractors. This process not only gives you a sense of the going rate but also allows you to compare how different professionals scope out the work. For a more precise estimate tailored to your zip code, using a cost estimation tool can provide a helpful baseline before you reach out to contractors.
The Patio Installation Process: Step by Step
Knowing what to expect during the actual patio installation can help you prepare and communicate effectively with your contractor. While the exact sequence of steps may vary depending on the material, the general process is consistent. A professional crew will manage this entire process, but understanding it helps you monitor progress and ensure quality.
Here is a typical step-by-step breakdown of a professional patio installation:
- Site Marking and Layout: The contractor will mark the boundaries of your new patio using stakes, string, and spray paint. This allows you to visualize the size and shape in your yard before any digging begins.
- Excavation: The crew will excavate the marked area to the required depth. This depth is crucial for a stable base and proper drainage, typically ranging from 6 to 8 inches for a paver patio and less for a poured concrete slab.
- Base Preparation: A layer of crushed stone or gravel is spread and compacted to create a solid, stable foundation. This step is critical for preventing future settling and cracking. For pavers, a layer of coarse sand is then screeded to create a smooth, level surface.
- Installation: For concrete, the forms are set and the concrete is poured, leveled, and finished. For pavers or brick, each piece is carefully placed in the desired pattern. For flagstone, stones are set in a sand or mortar bed.
- Finishing and Compaction: A plate compactor is used to settle the pavers or stones firmly into the base. The surface is then checked for level and any necessary adjustments are made.
- Edge Restraints and Joint Sand: Edge restraints are installed to keep the perimeter of the patio secure. Polymeric sand is swept into the joints between pavers. This sand hardens when wet, locking the pavers in place and preventing weed growth.
- Sealing (Optional): For materials like flagstone or certain pavers, a sealant may be applied to enhance the color and protect the surface from staining and weathering.
This entire process can take anywhere from a few days to a couple of weeks, depending on the scope of the project and weather conditions. A reputable contractor will keep you informed of the schedule and any unexpected delays. Remember that proper site preparation is the most important factor in the longevity of your patio, so never cut corners on the base work.
How to Select the Right Patio Contractor
Choosing the right contractor is arguably more important than choosing the right material. A skilled professional will ensure your patio is installed correctly, looks great, and lasts for decades. On the other hand, a poor installation can lead to costly problems like uneven surfaces, drainage issues, and premature cracking. Taking the time to vet potential contractors thoroughly is an investment in the success of your project.
Start by seeking recommendations from friends, family, and neighbors who have had similar work done. Online reviews on platforms like Google and Houzz can also provide valuable insights into a contractor's reputation. Once you have a list of candidates, it is essential to conduct interviews and ask the right questions. You want to ensure they are licensed, insured, and experienced with the specific type of patio you want to install.
When interviewing contractors, consider asking these critical questions:
- Are you licensed and insured? This protects you from liability in case of accidents or damage during the project. Ask to see proof of both general liability and workers' compensation insurance.
- Can you provide references from recent patio projects? A reputable contractor should be happy to share a list of references. Contact these past clients to ask about their experience, the quality of the work, and whether the project stayed on budget and on schedule.
- How long have you been in business? Experience is a strong indicator of reliability and skill. While newer companies can be excellent, established contractors have a track record you can review.
- Do you provide a detailed written quote? A detailed quote should break down the costs for materials, labor, and any other expenses. It should also specify the timeline for the project and the scope of work.
- What is your payment schedule? Be wary of contractors who demand a large upfront payment before any work begins. A standard schedule might involve a deposit, a progress payment, and a final payment upon completion and your satisfaction.
Getting multiple quotes is one of the best ways to gauge a fair price and understand how different contractors approach the job. Do not automatically choose the lowest bid. Instead, compare the scope of work, the quality of materials specified, and the contractor's communication style. The goal is to find the best value, not just the cheapest price. A slightly higher quote from a contractor with excellent references and a detailed plan is often a wiser investment than a low bid from someone who seems less prepared.
Planning Your Patio Budget and Timeline
Once you have a good understanding of the costs and the contractor selection process, you can refine your budget and create a realistic timeline. A well-planned budget should include a contingency fund of 10 to 20 percent to cover any unexpected issues, such as discovering poor soil conditions or hitting a tree root during excavation. This financial buffer will give you peace of mind throughout the project.
Your timeline will depend on the complexity of your project and the contractor's schedule. A simple concrete patio can often be completed in a week, from excavation to finishing. A larger paver patio with intricate patterns and additional features like a fire pit or outdoor kitchen could take several weeks. Be sure to discuss the projected timeline with your contractor and factor in potential weather delays, especially if you are planning an installation during the spring or fall.
When planning, it's also wise to think about the future. If you might add a pergola, outdoor lighting, or a hot tub later, it is much easier and more cost-effective to run electrical conduit or plumbing lines during the initial patio installation. Communicating these future plans to your contractor can save you significant time and money down the road. By taking a comprehensive approach to planning, you ensure your new patio is not only beautiful today but also adaptable to your needs for years to come.
After your patio is complete, it's time to enjoy it. Regular maintenance, such as cleaning and occasional sealing for certain materials, will keep it looking its best. A professionally installed patio can transform your backyard into a true extension of your home, providing a perfect setting for family gatherings, quiet mornings, and everything in between. With careful planning and the right professional team, your patio installation project can be a smooth and rewarding experience.