
Mini Split Ductless System Installation Cost and Room Sizing
Mini split ductless system installation cost and room sizing explained: real price ranges, BTU load calculations, and how to compare itemized HVAC quotes.
By Scott Thompson
Learn more about Central Air Conditioning Installation or Replacement for guides, costs, and what to expect.
Compare Central Air Conditioning Installation or Replacement Pros Near You

Enter your ZIP code to compare top-rated local professionals and request free quotes.
Adding a mini split ductless system to your home can solve stubborn hot and cold spots without the expense and disruption of new ductwork. But two questions trip up most homeowners before they ever call a contractor: how much will installation cost, and what size unit does each room actually need? Get either one wrong and you risk overpaying for equipment you do not need or installing a system that struggles to keep up on the hottest July afternoon. This guide walks through real cost ranges, the room sizing math contractors use, and the steps to plan a project that fits your budget and your floor plan.
What Drives Mini Split Ductless System Installation Cost
Mini split pricing is not a single number. It is a stack of decisions: how many rooms you are conditioning, how powerful each indoor head needs to be, how far the refrigerant lines must travel, and how complex the installation is inside the walls. A single-zone system for a small bedroom sits at the low end of the range. A five-zone whole-home setup with long line runs and a second-story install lands at the high end.
As a national baseline for 2026, most homeowners pay between $2,000 and $7,500 for a complete single-zone installation, including equipment and labor. Multi-zone systems typically run $6,000 to $15,000 or more depending on the number of indoor units and overall capacity. These are planning figures, not quotes: labor rates, permit fees, and equipment availability vary significantly by region, so treat them as a starting point for budgeting rather than a final price.
Several factors move the number up or down more than anything else:
- Number of zones: Each additional indoor head adds $1,200 to $2,500 in equipment and labor, with multi-zone outdoor units costing more than single-zone models.
- System capacity: A 9,000 BTU unit costs less than a 24,000 BTU unit, and the jump is not linear as capacity climbs.
- Line set length and routing: Runs beyond the standard 25 feet, or routes through finished walls and attics, add labor and materials.
- Electrical work: Dedicated circuits, panel upgrades, or long conduit runs can add $500 to $2,000.
- Efficiency rating: Higher SEER2 and HSPF2 ratings cost more upfront but reduce monthly energy bills.
Installation labor itself usually accounts for 40 to 60 percent of the total. A straightforward single-zone install in an open wall might take a crew half a day. A multi-zone retrofit with concealed line sets and a new subpanel can stretch across several days. If you are comparing this project against other upgrades, our guide on solar energy installation and costs explains how long-payback efficiency investments are typically evaluated, and the same logic applies here: the cheapest sticker price is not always the lowest cost of ownership.
How Room Sizing Works for Ductless Systems
Sizing is where most DIY estimates go wrong. Homeowners often assume that a bigger unit cools faster and therefore works better. In reality, an oversized mini split short-cycles: it blasts cold air, hits the thermostat setpoint quickly, and shuts off before it has time to remove humidity. The result is a room that feels clammy, uneven temperature swings, and premature wear on the compressor. An undersized unit runs constantly, never quite reaches the setpoint on design-temperature days, and drives up energy costs.
The starting point is square footage, but square footage alone is never enough. Contractors use a rule of thumb of roughly 20 BTU per square foot for average conditions, then adjust for ceiling height, window area, sun exposure, insulation quality, and occupancy. A 200-square-foot bedroom with one shaded window might need only 6,000 to 8,000 BTU. The same 200 square feet with west-facing glass, a vaulted ceiling, and a home office setup could need 12,000 BTU or more.
Common capacity ranges by room type give you a rough target:
- Bedrooms (100 to 200 sq ft): 6,000 to 9,000 BTU.
- Living rooms (300 to 500 sq ft): 12,000 to 18,000 BTU.
- Open-plan kitchens and dining areas (500 to 800 sq ft): 18,000 to 24,000 BTU.
- Additions and sunrooms: Sized individually, often with a load calculation because of atypical insulation and glazing.
For anything beyond a single small room, insist on a Manual J load calculation. This is the industry-standard method for estimating heating and cooling loads based on construction details, window orientation, insulation values, and local climate data. A contractor who sizes your system by square footage alone, without asking about insulation or window direction, is cutting a corner that will cost you comfort later.
Multi-Zone Layouts and Cost Trade-Offs
Once you move past one room, layout decisions start driving both cost and performance. A multi-zone system uses one outdoor condenser connected to several indoor heads. This is usually more efficient and less visually cluttered than installing separate single-zone systems, but it also means every zone shares the outdoor unit's capacity. If you later want to add a room, you may need a larger condenser rather than just another head.
Contractors generally recommend keeping each indoor head matched to the room it serves and total connected capacity within the outdoor unit's rated range. Oversizing the condenser to "leave room for growth" is a common mistake that hurts efficiency and humidity control. If future expansion is likely, it is better to choose an outdoor unit with a modest amount of headroom and a brand that supports add-on zones, rather than buying a much larger system today.
Placement matters too. Indoor heads should be mounted high on an exterior wall, away from direct sunlight on the unit itself, and positioned so airflow reaches the occupied space rather than bouncing off a nearby wall. Outdoor condensers need clearance for airflow, a stable pad or wall bracket, and a route for condensate drainage. On upper floors, condensate management can require a small pump, which adds a modest cost but prevents water damage.
What a Professional Installation Includes
A proper installation is more than hanging a head on the wall and running a line set. The quality of the work determines whether the system lasts ten years or twenty. When you review bids, check whether the scope includes the following:
- Load calculation and equipment selection: A written Manual J or equivalent sizing basis, plus model numbers for the indoor and outdoor units.
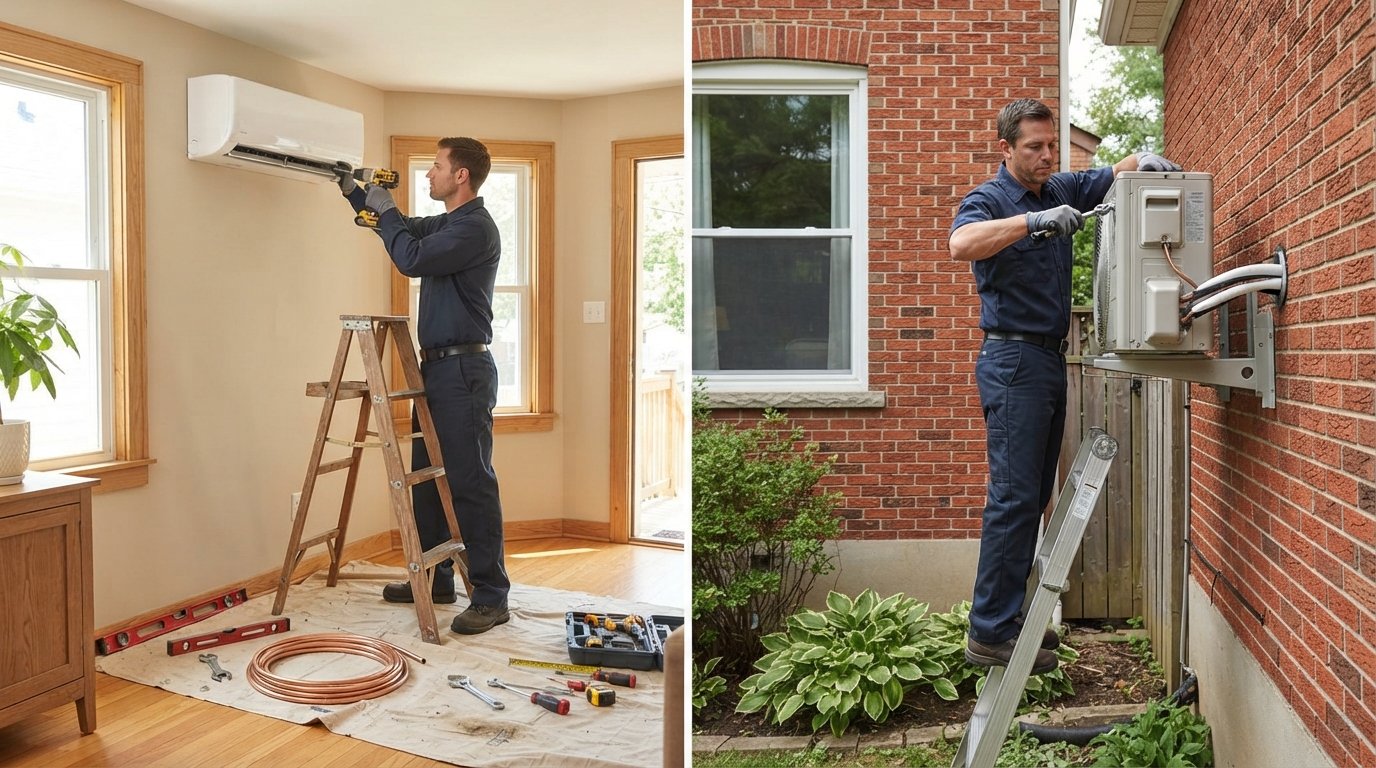
- Mounting and line set work: Brackets or pads, insulated refrigerant lines, drain routing, and penetration sealing.
- Electrical connections: Dedicated circuit, disconnect, and any panel work, with permits pulled where required.
- Vacuum and charge: Evacuating the line set to remove moisture, then releasing and verifying the factory charge.
- Commissioning and walkthrough: Testing in heat and cool modes, checking for leaks, and explaining filter maintenance and settings.
Permits and inspections vary by jurisdiction. Some areas require an electrical permit and a mechanical permit; others bundle them. Ask each contractor who is responsible for pulling permits and whether the fee is included in the bid. A surprisingly low quote often omits permits, disposal, or the electrical work, which then appears as a change order once the job is underway.
How to Budget and Compare Quotes
Because mini split pricing varies so widely, the only reliable way to budget is to collect multiple itemized bids for the same scope. Start by writing down the rooms you want to condition, their approximate square footage, and any special conditions such as vaulted ceilings or large west-facing windows. Then ask at least three licensed contractors to provide written proposals that separate equipment, labor, electrical, and permit costs.
When you compare bids, normalize them before looking at the bottom line. Confirm that every proposal uses comparable efficiency ratings, includes the same number of zones, and specifies the same line set lengths and mounting methods. A bid that is $1,500 lower because it uses a lower-efficiency condenser or skips the load calculation is not actually cheaper; it is a different, lesser project. Homeowners who want a faster way to gather comparable offers can use a free quote request service like FreeQuotes.Contractors to connect with local HVAC professionals and review multiple estimates side by side.
Financing is worth considering if the upfront number is daunting. Many installers offer promotional financing, and some utility rebates or federal tax credits may apply to qualifying high-efficiency equipment. Confirm eligibility before you sign, and never let a rebate drive you toward a system that is the wrong size for your home.
Common Sizing and Cost Mistakes to Avoid
The most expensive mistakes are the ones made before installation day. Buying a system based only on a big-box store sale price can leave you with equipment no local installer wants to service. Skipping the load calculation leads to comfort problems that no thermostat setting can fix. Choosing the lowest bid without verifying licensing and insurance exposes you to liability if something goes wrong.
A few habits separate smooth projects from frustrating ones. Get the sizing basis in writing. Ask for references from installations completed at least one year ago, and call them. Confirm the warranty terms for both parts and labor, and find out who honors the labor portion if the installing company closes. Finally, schedule the work for a shoulder season if possible, when HVAC crews are less booked and scheduling is more flexible.
Mini split ductless systems reward careful planning. Nail down the room-by-room sizing first, then build your budget around a scope that includes proper electrical work, permits, and commissioning. Compare at least three itemized quotes, verify the contractors, and treat every estimate as a guideline rather than a guarantee. Do that, and you will end up with quiet, efficient comfort in exactly the rooms you need it, at a price you understood before the first line set was unrolled.