
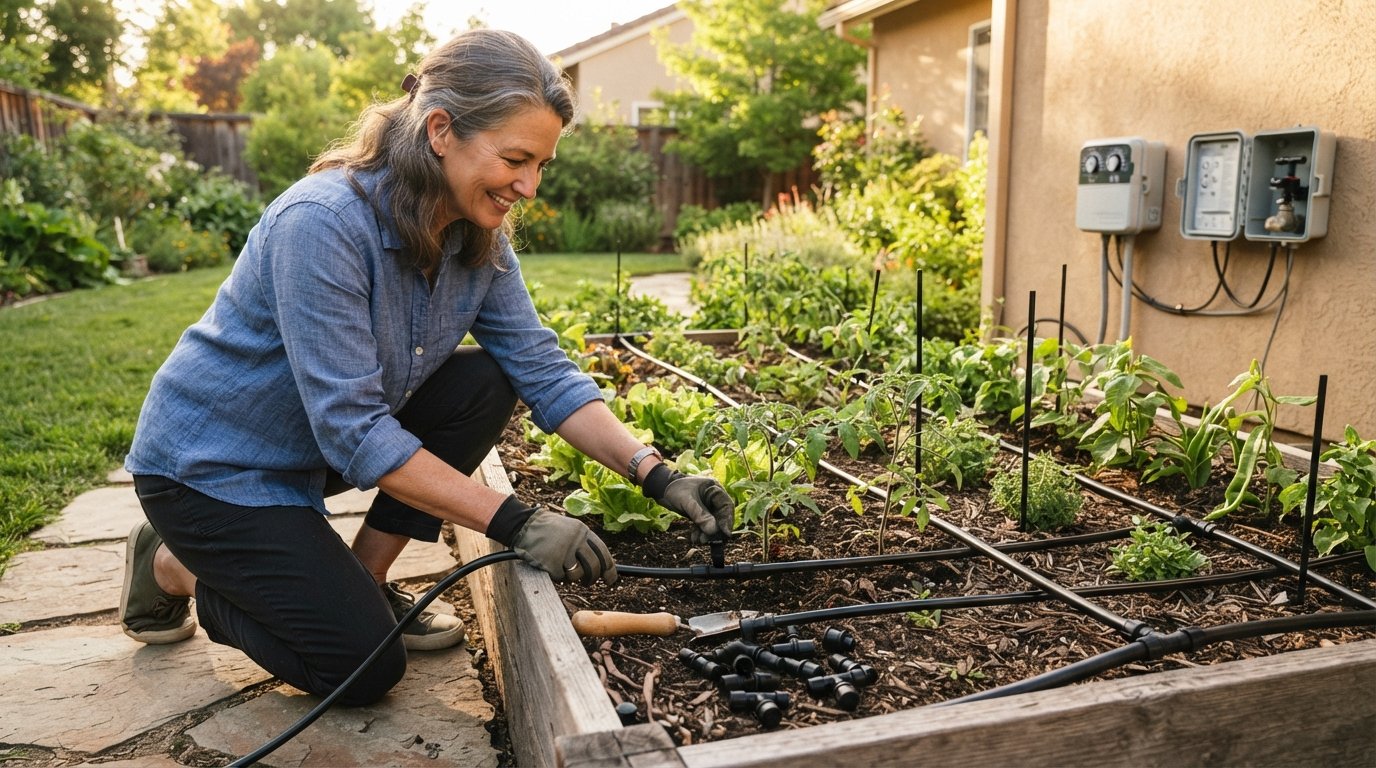
Drip Irrigation Installation Cost and Water Savings Guide
Drip irrigation cuts water use by 30-50 percent. Compare installation costs and savings. Call (833)-365-8755 for expert guidance.

By Eric Andrew
Learn more about Sprinkler and Irrigation System Installation for guides, costs, and what to expect.
Compare Sprinkler and Irrigation System Installation Pros Near You

Enter your ZIP code to compare top-rated local professionals and request free quotes.
Your sprinkler system is spraying half its water onto the sidewalk, your water bill keeps climbing, and your plants still look thirsty. You are not alone. Across the United States, homeowners are discovering that drip irrigation can cut outdoor water use by 30 to 50 percent while delivering water directly to the root zone where plants actually need it. But what does it cost to install, and how much can you realistically save? This guide breaks down drip irrigation system installation cost and water savings so you can budget confidently and decide whether to hire a pro or tackle the project yourself.
How Much Does Drip Irrigation Installation Cost?
Drip irrigation costs vary widely depending on whether you choose a DIY kit or hire a professional, the size of your planting beds, and the number of zones you need. For a typical residential landscape, most homeowners spend between $500 and $3,500 for a complete system, with the national average hovering around $1,500. That range covers everything from a simple hose-end drip kit for a few raised beds to a fully automated, multi-zone system with a smart controller and pressure regulation.
To understand where your money goes, it helps to break costs down by zone and by square foot. A zone is a section of your landscape controlled by a single valve and timer. A typical zone covers 100 to 300 square feet of planting beds, though the exact size depends on your water pressure and the flow rate of your emitters. For DIY installations, expect to pay $50 to $150 per zone in materials. Professional installation runs $200 to $500 per zone, including labor, design, and pressure regulation components.
On a per-square-foot basis, DIY drip irrigation costs roughly $0.50 to $1.50 per square foot, while professional installation runs $1.50 to $4.00 per square foot. The wide range reflects differences in emitter type, tubing quality, controller features, and regional labor rates. Coastal cities and areas with higher living costs tend to sit at the upper end, while rural areas and the Midwest often fall below the national average.
DIY vs. Professional Installation Costs
DIY drip irrigation is one of the most approachable landscaping projects for a motivated homeowner. Basic kits are available at garden centers and online for $30 to $100 and include tubing, emitters, and a faucet connector. For a small garden or a few flower beds, a weekend of work can produce excellent results. However, DIY systems often lack pressure regulation and filtration, which are critical for long-term reliability. Without a pressure regulator, emitters can pop off or fail prematurely. Without a filter, sediment clogs the tiny openings and ruins performance.
Professional installation includes a site assessment, a custom design based on plant types and soil conditions, proper pressure regulation and filtration, and a controller programmed for your local climate. Many contractors also offer a warranty on parts and labor. If your property has multiple zones, slopes, or a existing irrigation infrastructure, the professional route is usually worth the investment. To compare quotes from licensed landscapers and irrigation specialists in your area, you can use a free contractor matching service to get up to three no-obligation estimates.
Cost Factors That Influence Your Total
Several variables can push your project cost up or down. The table below summarizes the most common factors and their typical impact on a residential drip irrigation installation.
- Number of zones: More zones mean more valves, tubing, and controller channels. Each additional zone adds $200 to $500 professionally.
- Emitter type: Basic inline drip tubing is inexpensive, while pressure-compensating emitters and adjustable micro-sprays cost more but offer better uniformity.
- Controller features: A basic battery timer costs $30, while a smart Wi-Fi controller with weather-based scheduling runs $150 to $300.
- Filtration and pressure regulation: Essential for professional-grade systems, these components add $50 to $150 but prevent costly repairs.
- Labor rates and site access: Difficult terrain, rocky soil, or tight spaces increase installation time and cost.
Keep in mind that these figures are guidelines, not fixed prices. Actual quotes will depend on your specific property, local market conditions, and the contractor you choose. Always obtain multiple estimates and ask for a detailed breakdown of materials and labor before committing.
Water Savings: How Much Can Drip Irrigation Save?
Drip irrigation is one of the most water-efficient irrigation methods available. By delivering water slowly and directly to the root zone, it eliminates the evaporation and runoff losses common with sprinkler systems. The U.S. Environmental Protection Agency estimates that a well-designed drip system can reduce outdoor water use by 30 to 50 percent compared with conventional sprinklers. For an average American household that spends $500 to $1,000 per year on outdoor watering, that translates to $150 to $500 in annual savings.
The actual savings depend heavily on your region and climate. In arid states like Arizona, Nevada, and California, where outdoor watering can account for 60 percent or more of total household water use, drip irrigation savings are substantial. Homeowners in these areas often see water bills drop by $30 to $60 per month during the growing season. In humid regions like the Southeast, savings are more modest but still meaningful, especially during dry spells when municipal restrictions limit sprinkler use.
Beyond direct water bill savings, drip irrigation reduces plant disease by keeping foliage dry, minimizes weed growth by targeting only desired plants, and often improves plant health and yield. These benefits can reduce spending on replacements, fungicides, and labor over time.
Design Basics: Emitters, Pressure Regulation, and Controllers
A successful drip irrigation system relies on three core components working together: emitters, pressure regulation, and a controller. Understanding each one helps you evaluate contractor proposals and make smart decisions if you go the DIY route.
Emitters are the devices that release water at a controlled rate, typically measured in gallons per hour (GPH). Common emitter types include inline drip tubing (with emitters built into the tubing at regular intervals), pressure-compensating emitters (which maintain consistent flow regardless of pressure variations), and adjustable micro-sprays for larger areas. Pressure-compensating emitters are the gold standard for residential landscapes because they ensure uniform watering across long runs and changes in elevation.
Pressure regulation is non-negotiable. Most household water pressure (40 to 80 psi) is too high for drip systems, which typically operate best at 15 to 30 psi. A pressure regulator installed at the faucet or valve protects emitters and tubing from damage and ensures consistent flow. Filtration is equally important: a simple screen or disk filter removes sediment that would otherwise clog emitters.
The controller (or timer) automates your system, turning valves on and off according to a schedule. Basic controllers are inexpensive but require manual adjustments as seasons change. Smart controllers use local weather data to adjust watering automatically, which maximizes water savings and convenience. Many water districts offer rebates for smart controllers, so check with your local utility before purchasing.
Winterization and Maintenance in Cold Climates
If you live in an area with freezing winters, winterizing your drip irrigation system is essential to prevent cracked tubing, broken emitters, and damaged valves. The process involves shutting off the water supply, draining the lines, and blowing out residual water with compressed air. Many professional installers offer winterization as part of an annual maintenance package, typically costing $75 to $150.
Even in milder climates, regular maintenance keeps your system running efficiently. Flush the lines at the start of each season to remove sediment, check emitters for clogs, and inspect tubing for leaks or damage from rodents or lawn equipment. Replacing a few clogged emitters costs pennies and takes minutes, but neglecting maintenance can lead to uneven watering and plant stress.
If you are planning a move and need to transfer your home and landscaping maintenance responsibilities, resources like Moving.Homes provide practical checklists for homeowners preparing for a relocation, including tips for documenting irrigation systems and smart home features for the next owner.
Pairing Drip Irrigation with Drought-Tolerant Landscaping and Rebates
Drip irrigation delivers the greatest return when paired with drought-tolerant landscaping, often called xeriscaping. Native and adapted plants that thrive in your local climate require less water once established, and drip irrigation ensures that every drop counts. Many water agencies offer rebates for both converting sprinklers to drip and replacing turf with drought-tolerant plants. Rebates vary widely by region, from $0.50 to $3.00 per square foot of turf removed, and some programs cover a portion of drip irrigation hardware costs.
Before you install, check with your municipal water department or county extension office for available rebate programs. Some utilities require pre-approval or professional installation to qualify, so plan ahead. Combining rebates with long-term water savings can shorten your payback period to just two or three years in high-water-cost areas.
For homeowners considering broader energy and water efficiency upgrades, our guide to solar energy installation and costs explains how to evaluate payback periods and financing options for major home improvements, a useful framework for any long-term investment decision.
Frequently Asked Questions
How long does drip irrigation installation take?
A professional crew can install a typical residential drip system in one to two days, depending on the number of zones and site complexity. DIY installation for a small garden takes a few hours to a weekend.
Can I install drip irrigation myself?
Yes, for small gardens and simple layouts, DIY kits are widely available and easy to use. For larger landscapes, multiple zones, or properties with slopes, professional design and installation are recommended to ensure proper pressure regulation and efficiency.
Do I need a permit for drip irrigation?
Permit requirements vary by municipality. Many areas do not require a permit for drip irrigation connected to an existing outdoor faucet, but connecting to a home's main water line or installing a backflow prevention device may require inspection. Always check with your local building department.
What is the lifespan of a drip irrigation system?
Quality drip tubing and emitters last 10 to 15 years with proper maintenance. Sun exposure degrades thin-walled tubing faster, so burying lines under mulch or using UV-resistant tubing extends system life.
How much water does drip irrigation save compared to sprinklers?
Drip irrigation typically saves 30 to 50 percent of outdoor water use compared with sprinklers by eliminating evaporation and runoff. Savings are highest in arid climates and during peak summer months.
Drip irrigation is a smart investment for homeowners who want to reduce water bills, improve plant health, and simplify landscape maintenance. By understanding typical costs per zone and square foot, the trade-offs between DIY and professional installation, and the water savings potential in your region, you can plan a project that pays for itself many times over. Start by getting quotes from qualified local irrigation contractors, and take advantage of rebate programs to maximize your return.