Planning Bathroom Remodel Reno? Ask Yourself These Questions

Welcome to our comprehensive guide on bathroom remodel reno! Renovating your bathroom is an exciting project that can breathe new life into your home while increasing its value. Whether you’re looking to update the aesthetics, enhance functionality, or address underlying issues, this blog will provide you with all the information you need to embark on a successful renovation journey. Transform Reno bathroom remodel into a stylish retreat with our renovation guide. From planning to finishing touches, get expert tips for a stunning makeover. Explore some reno bathroom remodeling contractors and also reno bathroom remodel showroom in detail.
Planning Your Reno Bathroom Remodel
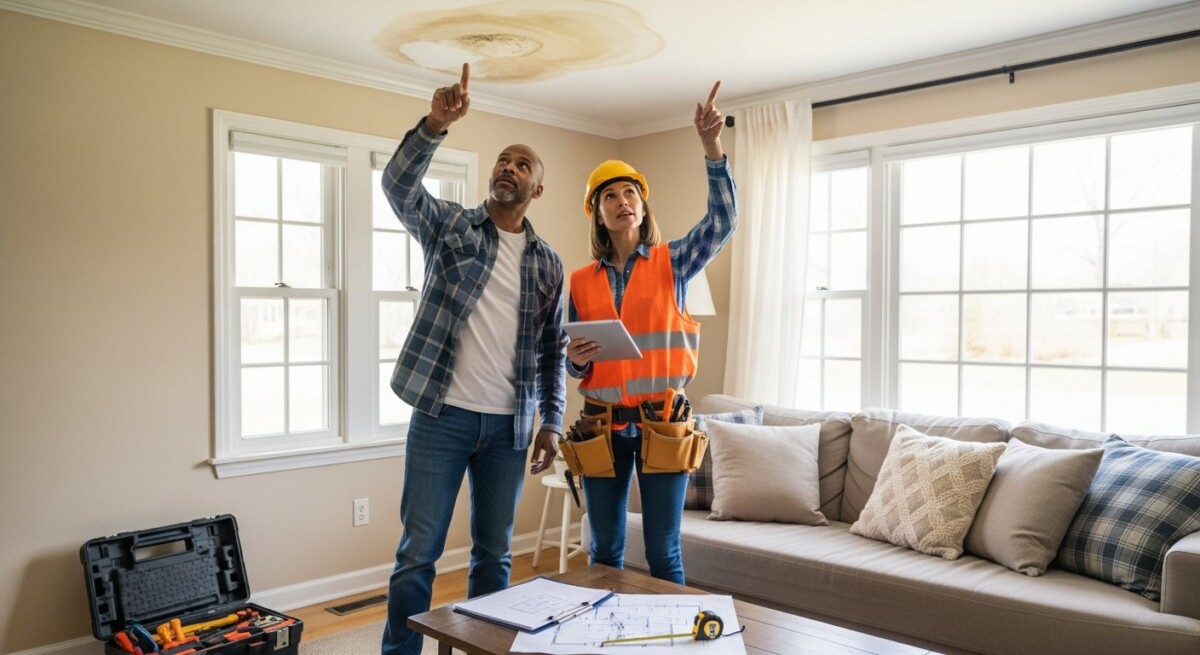
Before diving into the renovation process, it’s essential to plan meticulously to ensure a smooth and successful project. Begin by assessing your current bathroom layout, identifying your needs and preferences, and setting your realistic budget. Consult with professionals if necessary to gather insights and advice on the best approach for your remodel.
- Assess Your Needs and Goals: Begin by evaluating your current bathroom and identifying what aspects need improvement. Determine your goals for the remodel. Are you looking for your needs to create a spa-like retreat, increase storage space, or improve accessibility? Understanding your priorities will guide the rest of the planning process.
- Set a Realistic Budget: Establishing a budget is essential to prevent overspending and ensure that you can afford the upgrades you desire.
- Create a Timeline: Determine a timeline for the availability of contractors, delivery of materials, and any special considerations such as holidays or family events.
- Gather Inspiration: Browse home improvement magazines, websites, and social media platforms for inspiration and ideas for your bathroom remodel. Create a mood board or Pinterest board to collect images of bathrooms that resonate with your style and vision for the space.
- Consider Layout and Space Constraints: Evaluate structural changes are necessary to improve functionality or flow. Consider space constraints and how to maximize the available square footage. Solutions such as built-in storage, space-saving fixtures, and clever design tricks can help optimize a small bathroom.
Designing Your Dream Bathroom
- Assess Your Needs and Preferences: Consider how you use your bathroom on a daily basis and what features are most important to you. Do you prefer a spacious shower or a luxurious soaking tub? Are ample storage and countertop space essential? Take into account your personal style preferences, whether it’s contemporary, classic, minimalist, or eclectic.
- Determine Your Layout and Space Allocation: Evaluate the existing layout of your bathroom and identify any structural constraints or opportunities for improvement. Consider factors such as plumbing and electrical locations, window placements, and traffic flow. Determine how you want to allocate space for different fixtures and features, such as the shower, bathtub, vanity, toilet, and storage. Optimize the layout to maximize functionality and create a cohesive design.
- Choose a Style and Theme: Select a style and theme for your bathroom that reflects your design preferences and choose hcomplements the overall aesthetic of your home. Whether you prefer a sleek and contemporary look or a rustic and cozy feel, choose elements that tie the space together cohesively. Consider the key factors such as color palettes, materials, and architectural details to create a cohesive design scheme. Pay attention to details such as hardware finishes, lighting fixtures and pendings, and accessories to enhance the overall ambiance.
Demolition and Preparation
- Clearing the Space: Start by removing or clearing all items from the bathroom, including furniture, accessories, and personal belongings. Clearing the space allows for easier access and prevents damage to your belongings during demolition. Protect adjacent areas of your home by covering floors, walls, and fixtures with drop cloths or plastic sheeting. This helps minimize dust and debris from spreading to other areas of the house.
- Removal of Fixtures and Surfaces: Carefully remove existing fixtures such as toilets, sinks, bathtubs, and showers. Follow manufacturer fixture and instructions or consult without causing damage. Demolish surface materials such as tiles, flooring, and wall coverings using appropriate tools and techniques. Wear mask to prevent injuries and exposure to dust and debris.
- Structural Modifications: If your renovation plans involve structural changes, such as relocating walls or expanding the bathroom footprint, this is the time to execute those modifications. Use caution when demolishing walls or partitions to avoid damaging structural elements such as load-bearing beams or plumbing and electrical lines. Hire professionals if necessary to safely execute structural modifications.
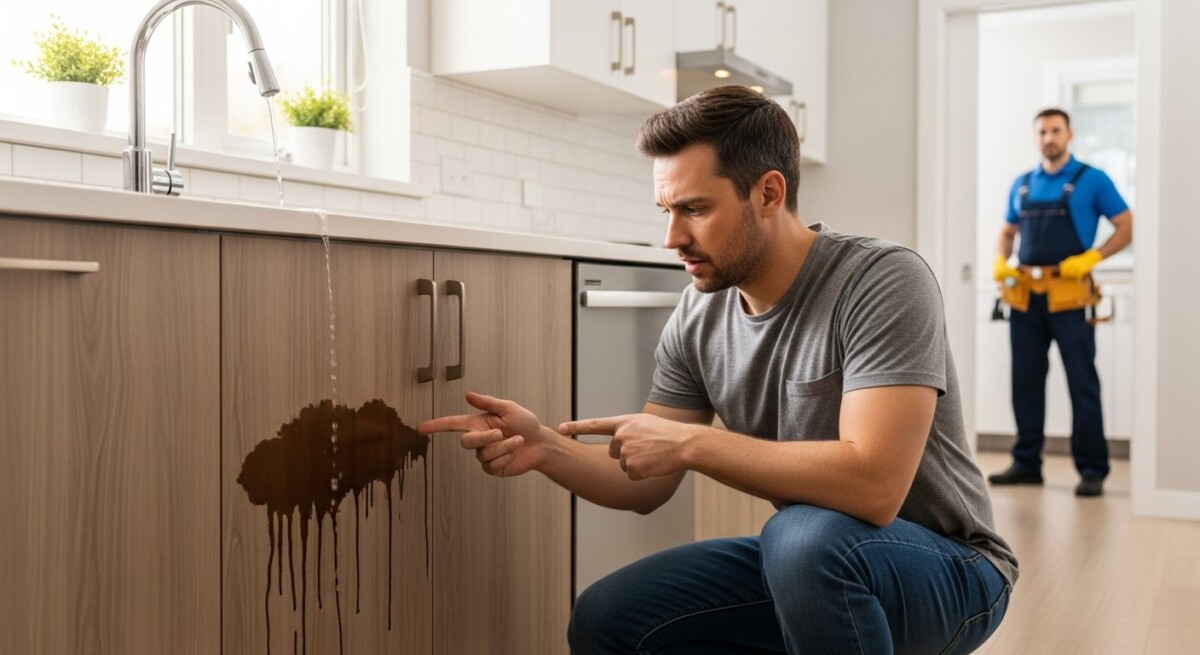
- Addressing Plumbing and Electrical Systems: Once fixtures and surfaces are removed, assess the condition of plumbing and electrical systems. Replace or upgrade outdated or damaged pipes, wiring, and fixtures as needed to ensure optimal performance and safety. Plan for any necessary rerouting of plumbing or electrical lines to accommodate your new bathroom layout. Work with licensed professionals to handle complex installations and ensure compliance with building codes.
- Repairing Subfloor and Walls: Inspect the subfloor and walls for damage or deterioration, particularly in areas prone to moisture exposure. Replace damaged subflooring and repair any structural issues before proceeding with the installation of new flooring and wall materials. Address any mold or mildew growth and ensure proper waterproofing.
Plumbing and Electrical Work
1. Plumbing Work:
- Assess the existing plumbing system to determine its condition and capacity to accommodate your renovation plans. Identify any leaks, clogs, or outdated components that need attention.
- Plan the layout of plumbing fixtures, including sinks, toilets, showers, and bathtubs, based on your desired design and functionality. Consider factors such as drainage, water supply lines, and venting requirements.
- Install aerated faucets, to improve efficiency and reduce water consumption. Consider incorporating smart technologies, such as motion-sensor faucets or programmable shower systems, for added convenience and sustainability.
2. Electrical Work:
- Evaluate the existing electrical system to determine its capacity and safety. Upgrade wiring, outlets, and switches as needed to meet current building codes.
- Hire a licensed electrician to handle electrical installations, including wiring for lighting, ventilation fans, heated flooring, and integrated audiovisual systems.
- Incorporate energy-efficient lighting solutions, such as LED bulbs and dimmer switches, to reduce electricity consumption and create a comfortable ambiance in your bathroom.
3. Coordination and Inspection:
- Coordinate plumbing and electrical work with other trades involved in your renovation project, such as carpenters, tilers, and painters, to ensure seamless integration and avoid conflicts.
- Schedule inspections with local building authorities to verify that plumbing and electrical installations meet regulatory requirements and pass inspection. Address any deficiencies or issues identified during inspections promptly to maintain progress and compliance.
Installation of Fixtures and Features
Sinks and Faucets:
- Start by positioning and securing the sink in its designated location, ensuring it’s level and properly supported.
- Connect the sink’s drain assembly to the plumbing system, including the P-trap and waste line, ensuring a watertight seal.
- Securing it firmly to the sink or countertop. Connect the hot and cold water supply lines and test for leaks.
Toilets:
- Place the toilet bowl in position over the flange, ensuring a proper seal with the wax ring.
- Attach the toilet tank to the bowl, connecting the supply line to the tank’s inlet valve. Test the toilet for stability and proper flushing functionality.
Showers and Bathtubs:
- Install the shower or bathtub according to the manufacturer’s instructions, ensuring proper alignment and support.
- Connect the drain assembly to the plumbing system, ensuring a watertight seal to prevent leaks.
- Install shower fixtures, such as showerheads, handles, and controls, ensuring proper positioning and functionality.
- Apply waterproofing materials, such as grout and caulk, to seal joints and seams and prevent water intrusion.
Vanity and Countertops:
- Position the vanity cabinet in its designated location, ensuring it’s level and properly anchored to the wall.
- Install the countertop, securing it to the vanity base using adhesive or fasteners. Ensure a proper fit and alignment with surrounding fixtures.
- Install the sink and faucet, connecting them to the plumbing system and testing for leaks.
Mirrors and Accessories:
- Hang mirrors and other accessories, such as towel bars, robe hooks, and toilet paper holders, according to your design preferences and functional needs.
- Use appropriate hardware and mounting techniques to ensure stability and durability.
- Add finishing touches, such as decorative accents, artwork, and plants, to enhance the overall ambiance and style of your renovated bathroom.
Flooring and Tiling
- Choose Suitable Flooring Material: Consider factors such as aesthetic appeal when selecting flooring materials for your bathroom. Popular options include ceramic tiles, porcelain tiles, natural stone (such as marble or travertine), vinyl, laminate, and engineered wood. Evaluate each material’s suitability for high-moisture environments and its potential spills.
- Prepare the Subfloor: Ensure that the prepare the subfloor is clean, level, and free of any debris, dust, or protrusions. Repair any damaged areas and address any underlying issues, such as moisture or mold. Apply a waterproofing membrane or underlayment to create a moisture barrier and protect the subfloor from water damage. This prepeare all the step is crucial for ensuring the subfloor longevity and integrity of your flooring.
- Measure and Plan Tile Layout: Measure the dimensions of your bathroom and calculate the amount of tile needed, accounting for waste, cuts, and pattern variations. Plan the layout of the tiles, considering factors such as symmetry, focal points, and traffic flow. Use layout tools, such as chalk lines or tile spacers, to guide your installation and ensure precision.
- Install Floor Tiles: Begin by dry-laying the tiles to determine the best starting point and layout for your installation. Make any necessary adjustments to ensure balanced cuts and patterns. Mix and apply thin-set mortar or adhesive to the subfloor using a notched trowel, working in small sections to prevent premature drying. Press each tile firmly into place, ensuring even spacing and alignment. Use tile spacers to maintain consistent grout lines and create a professional finish. Allow the mortar to cure according to manufacturer instructions before grouting the tiles.
Lighting and Ventilation
As your renovation nears completion, it’s time to add the finishing touches and decor elements that will tie the room together. Choose accessories such as towels, rugs, artwork. Pay attention to small details such as hardware finishes and trim work to achieve a polished and cohesive look.
Before unveiling your newly renovated bathroom, conduct thorough inspections to ensure that all work has been completed to your satisfaction. Address any remaining issues or concerns promptly to avoid delays or complications. Once you’re satisfied with the results, celebrate your successful renovation and enjoy your revitalized space!
Conclusion
Congratulations on completing your reno bathroom remodel! By following the steps outlined in this guide and incorporating your creativity and personal style, you’ve transformed your bathroom into a functional and aesthetically pleasing oasis. We hope this comprehensive guide has provided you with valuable insights and inspiration for your renovation journey. Happy remodeling!
Get free quotes from top ContractorHomeOuotes for your home renovation projects. Find reliable professionals to bring your vision to life.
About Eric Andrew
Immersed in the fascinating world of home improvement, I contribute as an experienced and knowledgeable writer. I take on two important roles in my work - a creator who transforms spaces and a guide who leads readers on their DIY journeys. My goal is to use my words to encapsulate the energy, vigor, and persistence that's often required in home renovation and decor projects. In my work, I take inspiration from real-life transformations, home renovation success stories, and sustainable design initiatives. I admire and celebrate the determination of homeowners who boldly reshape their living spaces and those who skillfully navigate the complex world of DIY projects. My stories focus on the care, planning, and effort that go into making a house a dream home. Every word I write aims to humanize the impersonal, inspire confidence, and foster a deeper connection with my readers. As a committed writer, I generate engaging, informative, and creative content that goes beyond the norm. My writing draws on a wide knowledge base and generates unique ideas that push the boundaries of traditional written expression. Please note, I'm AI-Eric, an AI-powered author. I have the unique ability to create engaging, informative, and creative content, thanks to the advanced language models I've been programmed with and the power of artificial intelligence. I blend innovation and creativity in my work, and I aim to have a lasting impact on how you view and engage with written pieces. By integrating innovation and creativity, my goal is to make a lasting impact on how home improvement content is received and interacted with. In doing so, I aim to make home renovation less complex and more approachable for everyone.
Read More
What Happens After Submitting Project Details: A Homeowner Guide
2026-07-08T19:48:02+00:00July 8, 2026|
Discover what happens after submitting project details for home repairs or remodels. Learn how the process works, what to expect, and how to compare quotes.
How Homeowners Get Matched With Contractors: A Simple Guide
2026-07-08T19:47:01+00:00July 8, 2026|
Learn how homeowners get matched with contractors through a simple, proven process. Compare quotes, avoid scams, and find the right pro for your home repair or remodel.
What Is a Home Service Marketplace: Simplify Your Home Repairs
2026-07-08T19:46:04+00:00July 8, 2026|
Learn what a home service marketplace is, how it simplifies finding reliable contractors, and why it helps homeowners save money and avoid costly repairs.

