Painting Kitchen Cabinets: A Simple Guide to Revamp Your Kitchen

Introduction
Overview of Kitchen Cabinet Painting
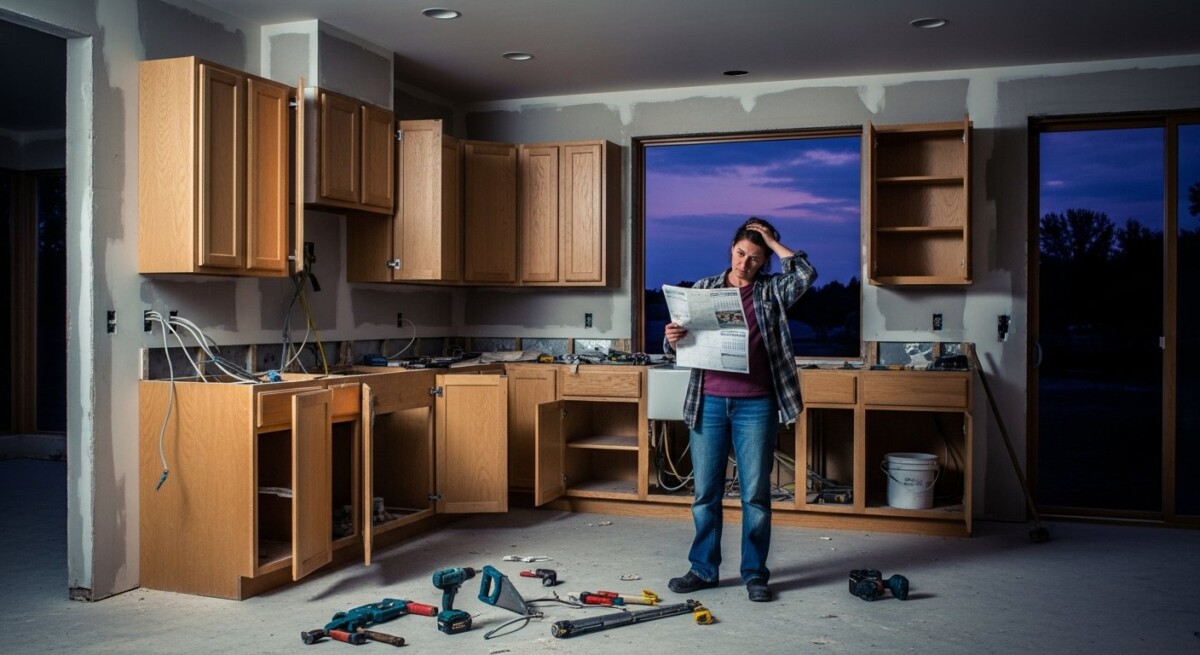
Painting kitchen cabinets is a cost-effective way to transform the look of your kitchen without the expense of a full renovation. Whether you’re looking to refresh outdated cabinets or change the color scheme, painting can provide a fresh, modern update.
Importance and Benefits of Painting Kitchen Cabinets
There are many good reasons to give your kitchen doors a new coat of paint. Not only does it make your kitchen look better, but it also makes your home worth more. Painting cabinets is also better for the environment than removing them because it cuts down on waste and reuses materials that are already there.
Choosing the Right Paint
Types of Paint for Kitchen Cabinets
Picking the right paint is important for a finish that lasts and looks great. These are the main types of paint you should think about:
- Latex Paint: This water-based paint doesn’t smell bad and is easy to clean. It comes in many different styles and dries quickly.
- Oil-Based Paint: Known for its durability and smooth finish, oil-based paint is ideal for high-traffic areas like kitchens. However, it has a stronger odor and requires longer drying times.
- Chalk Paint: Popular for its matte finish and vintage look, chalk paint requires minimal preparation but needs a protective topcoat for durability.
Best Paint for Kitchen Cabinets
The best paint for kitchen cabinets combines durability, ease of application, and a beautiful finish. Brands like Benjamin Moore, Sherwin-Williams, and Behr are highly recommended for their high-quality cabinet paints.
Factors to Consider When Selecting Paint
When picking paint for your kitchen, consider the humidity level, the finish you want (matte, satin, semi-gloss, or high-gloss), and the color scheme you already have. Make sure the paint says on the label that it can be used on cabinets or places that get a lot of use.
Preparing Your Kitchen Cabinets
Cleaning and Degreasing Cabinets
Clean your cabinets really well to remove grease, grime, and dirt before you paint them. Trisodium phosphate (TSP) or a vinegar and water mix will help remove grease. This step ensures that the paint sticks well and gives the surface a smooth finish.
Removing Cabinet Doors and Hardware
Remove all cabinet doors, drawers, and hardware (handles, knobs, and hinges) to make painting easier. Label each piece to ensure reassembly is straightforward.
Sanding Cabinets for a Smooth Finish
Sanding the cabinets is essential for removing the old finish and creating a surface to which the new paint can adhere. Use medium-grit sandpaper for initial sanding and fine-grit sandpaper for a smooth finish.
Filling Cracks and Imperfections
Check your cabinets for holes, cracks, and dents. Use wood glue to fix these flaws, then smooth them after they dry. This step is very important for getting a perfect finish.
Priming Kitchen Cabinets
Why Priming is Essential
You should not skip the important step of priming your drawers. Primer makes it easier for paint to stick to surfaces, hides spots and other flaws, and ensures the finish lasts longer.
Best Primers for Kitchen Cabinets
Pick a good primer that is made for your cabinets’ material. Zinsser Bulls Eye 1-2-3 and Kilz Premium are great options because they stick well and don’t show stains.
How to Apply Primer Correctly
To make sure the primer covers evenly, use a good roller or brush to put it on. Rough it up a little with fine-grit sandpaper after the primer is dry to make a smooth surface for the paint.
Painting Kitchen Cabinets
A Comprehensive Guide on Painting Kitchen Cabinets
- Preparation: Put drop cloths or plastic sheets over the counters, floors, and appliances to keep paint from getting on them.
- Priming: Put on a coat of primer on the drawers and let it dry completely.
- Painting: Apply the first coat of paint using a good brush or foam roller. Make long, smooth strokes to avoid brush lines. After the paint is dry, lightly sand it with fine-grit sandpaper.
- Second Coat: For a smooth finish, add a second coat of paint and let it dry completely.
Techniques for a Smooth Finish
- Use high-quality brushes and foam rollers to minimize brush marks.
- Apply thin, even coats of paint.
- Fine-sand the surface between coats to make the finish smooth.
- Work in a dust-free environment to prevent particles from settling on the wet paint.
Common Mistakes to Avoid
- Skipping the primer
- Not sanding between coats
- Applying thick coats of paint
- Painting in a dusty or humid environment
Finishing Touches
Reattaching Hardware and Doors
After the paint is completely dry, put the cabinet doors and handles back on. Make sure everything is in the right place and works well.
Applying a Protective Topcoat
Apply a protective topcoat, such as polyurethane, for added durability. This step is especially important for high-traffic areas and ensures the paint lasts longer.
Tips for Maintaining Your Painted Cabinets
- Use a mild soap and water solution to clean the shelves often.
- Avoid using harsh chemicals or abrasive cleaners.
- Fix any cracks or chips right away to keep them from getting worse.
Tools and Supplies Needed
Essential Tools for Painting Kitchen Cabinets
- High-quality paint brushes
- Foam rollers
- Sandpaper (medium and fine grit)
- Drop cloths or plastic sheets
- Screwdriver for removing hardware
- Degreasing cleaner
Recommended Brands for Painting Supplies
- Paint: Benjamin Moore, Sherwin-Williams, Behr
- Primer: Zinsser Bulls Eye 1-2-3, Kilz Premium
- Brushes and rollers: Purdy, Wooster
Cost-Effective Alternatives
For those on a budget, consider using less expensive brands or borrowing tools from friends or family. Thrift stores and online marketplaces are also good sources of affordable supplies.
Professional vs. DIY
Pros and Cons of Hiring a Professional
Pros:
- Professional-quality finish
- Saves time and effort
- Expert handling of repairs and imperfections
Cons:
- Higher cost
- Less personal satisfaction
Pros and Cons of DIY Kitchen Cabinet Painting
Pros:
- Cost-effective
- Personal satisfaction from completing the project
- Flexibility to work at your own pace
Cons:
- Time-consuming
- Requires effort and patience
- Potential for mistakes
Cost Comparison
Hiring a professional can cost anywhere from $1,500 to $4,000, depending on the size of your kitchen and the job’s complexity. DIY painting costs significantly less, typically around $200 to $500 for supplies.
Troubleshooting Common Issues
Dealing with Paint Drips and Runs
If you notice paint drips or runs, smooth them once the paint is dry and apply a touch-up coat. To prevent drips, avoid overloading your brush or roller with paint.
Fixing Uneven Paint Layers
You can fix uneven paint layers by rubbing the area smooth and painting it with a thin, even coat. Make sure that every coat is dry before adding the next one.
Addressing Peeling Paint
Peeling paint often results from improper surface preparation or inadequate primer. To fix peeling paint:
- Scrape Off Peeling Paint: Use a paint scraper or putty knife to remove the peeling sections.
- Sand the Area: Smooth the edges around the peeling paint with fine-grit sandpaper.
- Reprime and Repaint: Apply primer to the bare areas and repaint. Ensure the primer and paint are fully compatible with your cabinet material.
Enhancing Your Painted Cabinets
Adding Decorative Elements
Once your cabinets are painted, you can enhance their appearance with decorative elements. Consider using:
- Cabinet Hardware: Update handles and knobs for a fresh look.
- Molding and Trim: Add decorative molding or trim for an elegant touch.
- Glass Inserts: Replace solid panels with glass inserts to showcase attractive dishes or glassware.
Using Glaze for a Vintage Look
For a vintage or distressed look, apply a glaze over the paint. Glazing adds depth and dimension to your cabinets:
- Apply Glaze: Using a brush or rag, apply the glaze in thin layers.
- Wipe Off Excess: Gently wipe off excess glaze with a clean cloth, focusing on the edges and corners for a more natural look.
- Seal with Topcoat: Finish with a clear topcoat to protect the glaze.
Incorporating Stencils and Patterns
Add personality to your cabinets with stencils or patterns. Use:
- Stencils: Apply stencils to create intricate designs or motifs.
- Patterns: Paint geometric patterns or stripes for a modern look.
Real-Life Examples and Case Studies
Before and After Photos
Look at before and after pictures of kitchen cabinet painting projects to read about how people’s lives changed. These pictures show how big of a difference it can make with a fresh coat of paint.
Customer Testimonials
Read reviews from people who have painted their cabinets. Their experiences can teach you a lot and give you ideas for your project.
Expert Insights and Tips
Seek advice from professional painters and designers. Their expertise can offer advanced techniques and tips for achieving a flawless finish.
Environmental Considerations
Eco-Friendly Paint Options
Opt for eco-friendly paints to reduce your environmental impact. Look for:
- Low-VOC Paints: Volatile organic compounds (VOCs) contribute to air pollution. Choose low-VOC or zero-VOC paints for a healthier environment.
- Recycled Paints: Some brands offer recycled paint options from leftover paint products.
Disposing of Old Paint Safely
Follow local regulations to dispose of old paint responsibly. Many communities offer paint recycling programs or hazardous waste disposal sites.
Reducing Your Carbon Footprint
To minimize your carbon footprint, consider:
- Using Leftover Paint: Repurpose or donate leftover paint for future projects.
- Eco-Friendly Tools: Choose reusable tools and materials to reduce waste.
Frequently Asked Questions (FAQs)
What is the best paint for kitchen cabinets?
Most of the time, a good latex or oil-based paint is best for painting kitchen cabinets. Latex paint doesn’t smell bad and is easy to clean. Oil-based paint lasts longer and has a smooth finish. People suggest brands like Benjamin Moore, Sherwin-Williams, and Behr because they work well and are good quality.
How long does it take to paint kitchen cabinets?
The time required to paint kitchen cabinets varies based on the kitchen size, the cabinets’ condition, and your experience. Generally, it takes about 2-4 days to complete the project, including preparation, priming, painting, and drying time.
Can I paint over the laminate cabinets?
You can paint over plywood cabinets but must ensure they are ready first. First, clean and sand the laminate surface. Then, use a bonding base to help the paint stick. Finally, paint the color you want. For full covering, laminate surfaces may need more than one coat.
Conclusion
Summary of Key Points
Painting kitchen cabinets is a practical and cost-effective way to update your kitchen’s appearance. You can achieve a professional-looking finish by choosing the right paint, preparing your cabinets properly, and applying paint with care. Remember to consider environmental factors and follow best maintenance practices.
Encouragement to Start Your Project
Now that you know everything you need to know, you can start painting your kitchen cabinets. If you plan ahead and pay attention to the little things, you can make your kitchen look nice and work well.
Explore additional resources and tutorials for more tips, tricks, and detailed guides. Whether you’re a DIY enthusiast or considering professional help, there are plenty of options to support your kitchen renovation journey.
Ready to transform your kitchen cabinets? Get free quotes from top-rated professionals at ContractorHomeQuotes.com, and start your project today!
About Danica Leslie
What Happens When Your Contractor Misses a Deadline
A contractor missing a deadline disrupts your life and home. Learn the risks, warning signs, and how professional planning prevents costly delays.

How Contractors Calculate Project Cost: A Homeowner’s Guide
A clear guide on how contractors calculate project costs, helping homeowners understand estimates, avoid hidden fees, and choose the right professional.

Understanding Contractor Estimates in Chicago, Illinois
A practical guide for Chicago homeowners on understanding, comparing, and choosing contractor estimates for repairs and remodeling projects.
Find a Pro!
"*" indicates required fields

