Essential Steps for Proper Exterior Wall Preparation Before Painting

Painting the exterior walls of your home is a significant project that can transform its look, boost curb appeal, and protect it from harsh weather conditions. However, achieving a professional, long-lasting finish depends heavily on proper wall preparation before painting. Skipping or rushing through this critical step can lead to peeling paint, uneven finishes, and costly repairs down the line.
In this comprehensive guide, we’ll walk you through the essential steps for proper exterior wall preparation to ensure a smooth, durable, and visually appealing paint job that will stand the test of time.
Want a hassle-free, professional painting experience? Let our experts handle everything from wall preparation to the final coat. [Schedule a free consultation today!]
Why Proper Wall Preparation Matters
Before we dive into the step-by-step process, let’s understand why exterior wall preparation is so important:
- Ensures Paint Adhesion: Clean and well-prepared walls allow the paint to adhere better, reducing peeling, flaking, and blistering.
- Extends Paint Lifespan: Proper preparation creates a stable surface, helping your paint job last longer—sometimes up to 10 years or more.
- Improves Appearance: A smooth, properly prepped surface eliminates imperfections, resulting in a more uniform and professional-looking finish.
- Addresses Structural Issues: Surface preparation helps identify and fix cracks, mold, or water damage before they worsen.
Step 1: Inspect the Surface
Before starting, inspect the entire surface of the walls to identify areas that need attention. Look for:
- Peeling or Flaking Paint: Loose paint must be removed to ensure the new paint adheres properly.
- Cracks and Gaps: Small cracks or gaps can allow moisture infiltration and must be filled.
- Mold or Mildew: Signs of black or greenish growth need immediate attention.
- Water Damage: Bubbling, discoloration, or damp spots indicate underlying moisture issues that must be addressed before painting.
Tip: Make a checklist of problem areas so you can address each one systematically.
Don’t let wall imperfections ruin your paint job. Our team will identify and fix all issues before painting. [Book a professional inspection now!]
Step 2: Clean the Exterior Walls
Cleaning the surface is one of the most critical steps in wall preparation. Dust, dirt, mold, and grime prevent paint from adhering properly.
How to Clean Exterior Walls
- Pressure Washing: Use a pressure washer to remove dirt, loose paint, and debris. Start at the top and work your way down for thorough cleaning. Keep the nozzle at least 12-18 inches away from the wall to avoid damage.
- Hand Scrubbing: For areas with stubborn dirt or mold, scrub with a stiff-bristle brush and a mixture of water and mild detergent.
- Remove Mold and Mildew: For mold-infested areas, mix one part bleach with three parts water and scrub thoroughly. Rinse well with clean water.
Why Cleaning Matters
A clean surface ensures the primer and paint bond properly, preventing peeling and improving the final finish.
Step 3: Remove Loose and Peeling Paint
Old, peeling paint must be removed before applying a new coat. Leaving it behind can lead to poor adhesion and an uneven surface.
How to Remove Loose Paint
- Scraping: Use a paint scraper or wire brush to remove flaking paint. Be thorough but careful not to damage the surface underneath.
- Sanding: After scraping, sand the area using medium-grit sandpaper to smooth rough edges and ensure the surface is even.
- Power Tools: For large or stubborn areas, a power sander or paint remover can speed up the process.
Tip: Wear protective gear, including a mask and goggles, to avoid inhaling paint dust.
Step 4: Repair Cracks and Imperfections
Cracks, holes, or gaps in the walls not only look unsightly but also compromise the durability of your paint job.
How to Repair Wall Damage
- Fill Cracks: Use a high-quality exterior filler or caulking to fill cracks, gaps, or holes. For deep cracks, apply multiple layers, allowing each to dry before adding the next.
- Smooth the Surface: Once the filler dries, sand the repaired areas to create a seamless surface.
- Check for Structural Issues: For large cracks or recurring damage, consult a professional to address potential underlying structural concerns.
Tip: Repairing imperfections ensures that your final paint coat looks flawless and adheres properly.
Step 5: Prime the Surface
Priming is a critical step that should never be skipped, especially on repaired or porous surfaces.
Why Priming Is Important
- Improves Adhesion: Primer creates a smooth base that allows the paint to bond properly.
- Seals Surfaces: It seals the surface and prevents moisture from penetrating the paint.
- Enhances Color: Priming helps the paint achieve an even color and finish.
How to Apply Primer
- Use a high-quality exterior primer suited to your wall type (wood, stucco, masonry, etc.).
- Apply with a roller or brush, ensuring even coverage across all areas.
- Allow the primer to dry completely before painting.

Asian painter on wooden scaffold is painting wall outside of the old house building
Ensure your paint lasts for years with proper priming. Let our professionals handle the job for stunning results. [Contact us to get started today!]
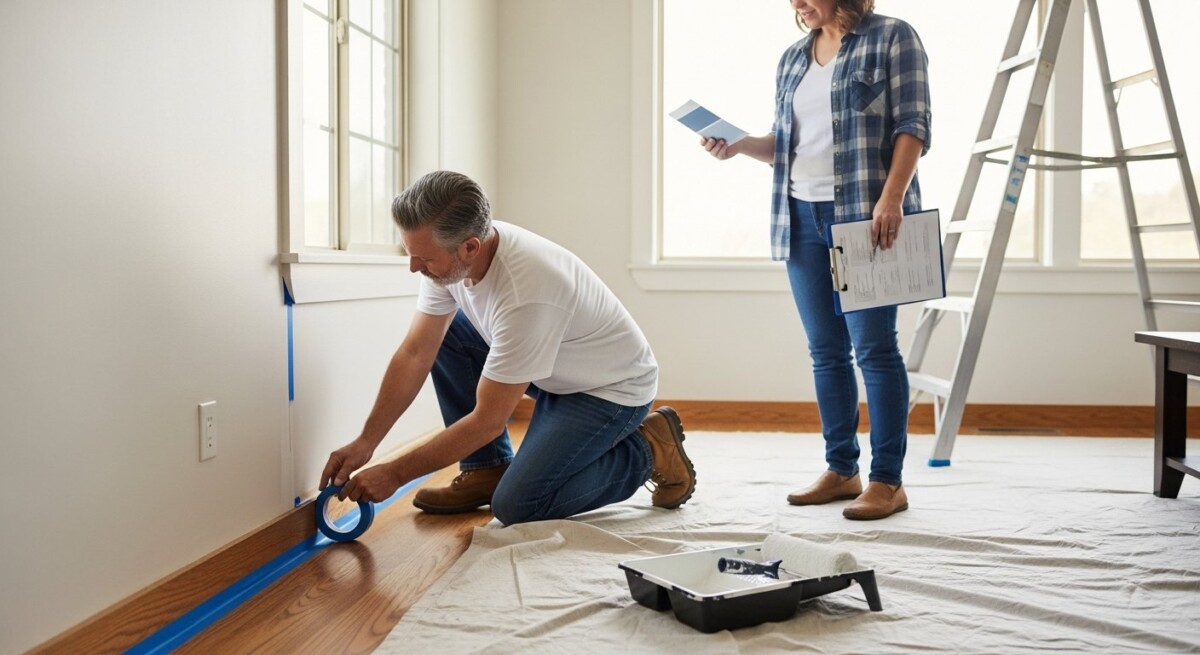
Step 6: Protect Surrounding Areas
Before painting, protect areas around your walls to avoid accidental paint splashes.
- Cover windows, doors, and trim with painter’s tape.
- Use drop cloths to protect plants, walkways, and outdoor furniture.
Preparing your exterior walls before painting is not just about achieving a beautiful finish—it’s about creating a solid foundation that ensures your paint job stands the test of time. While painting is often seen as a cosmetic upgrade, proper preparation transforms it into a lasting investment. By cleaning, repairing, and priming the surfaces, you are protecting your home from harsh weather, moisture damage, UV rays, and premature wear. These steps ensure your exterior paint looks vibrant, smooth, and professional for years to come.
Why Preparation is Worth the Effort
Skipping wall preparation might seem like a time-saver, but it often leads to poor adhesion, peeling, flaking, and costly repaints within a few short years. Taking the time—or hiring professionals—to thoroughly clean, repair, sand, and prime the walls pays off by:
- Extending Paint Life: A well-prepped surface allows paint to adhere better, which can double its lifespan. Instead of repainting every 3-5 years, proper preparation can make a quality paint job last 8-10 years or more.
- Protecting Your Home: Preparation addresses underlying problems such as cracks, mold, and water damage, safeguarding your home’s structural integrity and preventing expensive repairs in the future.
- Enhancing Curb Appeal: A smooth, even finish transforms your home’s exterior, boosting its appearance, property value, and overall appeal. Whether you plan to stay for years or sell, a well-maintained exterior creates a strong impression.
Investing time and effort into wall preparation not only ensures a flawless finish but also saves you money in the long run by minimizing the need for frequent maintenance. This makes it a cost-effective and smart decision for any homeowner.
The Professional Advantage
While some homeowners may attempt exterior wall preparation on their own, the process can be labor-intensive, time-consuming, and technically demanding. Tasks like pressure washing, repairing cracks, sanding surfaces, and applying primer require not only the right tools but also knowledge of proper techniques to achieve optimal results. Without expertise, mistakes can lead to wasted time and resources.
This is where professional services come in. At [Your Company Name], we take the stress out of the preparation and painting process. Our skilled team ensures that every step—from cleaning and repairing to priming and painting—is done with precision and care. We don’t cut corners because we know that thorough preparation is what makes a paint job truly last.
By choosing our professional services, you get:
- Expert Inspection and Preparation: We identify and fix all surface issues before painting, ensuring a smooth and durable finish.
- Quality Materials and Tools: We use premium primers, fillers, and paints that provide long-lasting results.
- Time and Effort Savings: Let us handle the hard work so you can enjoy a stress-free experience and stunning results.
- Guaranteed Results: Our work is backed by experience and a commitment to delivering quality that exceeds expectations.
Invest in Your Home’s Future
Proper exterior wall preparation is the foundation for a successful paint job that adds both beauty and protection to your home. By addressing problems like dirt buildup, peeling paint, cracks, and moisture infiltration, you ensure your paint not only looks stunning but also lasts for years.
Your home deserves the very best, and cutting corners on preparation can lead to unnecessary repairs, increased costs, and disappointment. By following the proper steps—or hiring a professional team like ours—you’re making a decision that pays off in durability, aesthetics, and peace of mind.
Whether you’re looking to refresh your home’s appearance, protect it from the elements, or boost its resale value, investing in professional preparation and painting will deliver unmatched results that elevate your property.
FAQs About Exterior Wall Preparation
1. Why is cleaning the walls before painting so important?
Cleaning removes dirt, debris, and mildew, ensuring proper paint adhesion and a smooth finish. Without cleaning, the paint may peel or flake over time.
2. Can I paint over cracked or peeling paint?
No. Loose or peeling paint must be scraped and sanded off to create a stable surface for the new paint to adhere to.
3. Is priming necessary for all exterior surfaces?
Yes, especially for porous, repaired, or previously unpainted surfaces. Primer ensures better adhesion, seals the surface, and enhances the final paint color.
4. How long does wall preparation take?
The time required depends on the condition of the walls, but on average, preparation can take 1-2 days for thorough cleaning, repairs, and priming.
5. Can I prepare exterior walls myself, or should I hire professionals?
While DIY preparation is possible, professional services ensure proper tools, techniques, and results that last. Professionals save you time, effort, and stress.
About Chelsea Kris

What Is a Construction Quote Marketplace? A Homeowner Guide
A construction quote marketplace connects homeowners with multiple local contractors who compete for your project, saving time and money.
How to Request Painting Project Estimates Like a Pro
Learn how to structure painting project estimate requests to get accurate quotes, avoid hidden fees, and choose the best contractor for your home.

How a Home Service Lead Platform Boosts Your Business
A home service lead platform connects contractors with homeowners actively seeking services, reducing marketing costs and increasing job conversions.
Find a Pro!
"*" indicates required fields

