DIY Carpet Magic: Mastering the Art of Installation

Installing your carpet can be a rewarding DIY project that saves you money and gives you the satisfaction of independently completing a home improvement task. You can choose the perfect carpet for your space and customize the installation to meet your specific needs. With the right tools, materials, and preparation, installing carpet can be straightforward, yielding beautiful and durable results. Embark on a DIY adventure with our comprehensive guide to carpet installation. Unlock the secrets of transforming your space with confidence and skill. From step-by-step instructions to insider tips, this guide empowers you to become a carpet installation expert. Unleash your creativity and elevate your home with a professional touch. Explore our DIY carpet installation resources and embark on a rewarding journey of self-accomplishment. Master the art of installation and achieve picture-perfect results that will leave you proud of your DIY prowess. Start your DIY carpet installation project today!
Tools and Materials Needed for DIY Carpet Installation
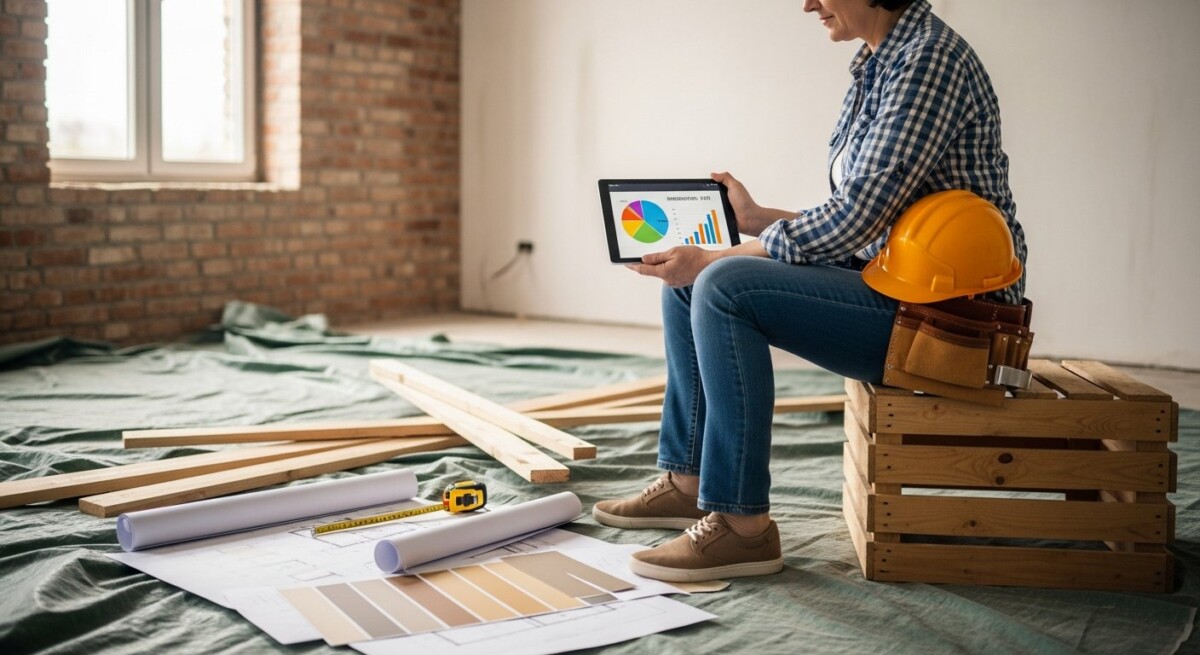
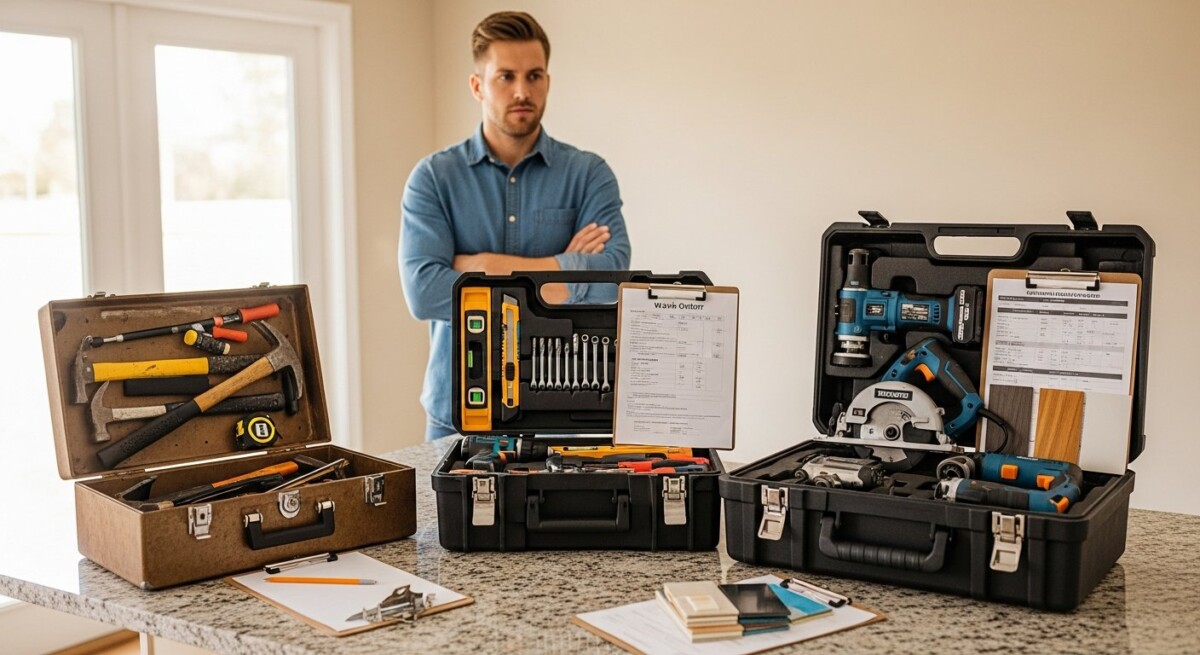
You will need various tools and materials to install the carpet, including a measuring tape, chalk line, utility knife, carpet seaming iron, knee kicker, power stretcher, carpet padding, tack strips, and a carpet trimmer. You must also purchase your carpet and any necessary adhesives or underlayments. Before beginning your project, ensure you have all the tools and materials you need to complete the job.
Preparing Your Subfloor for Carpet Installation
Before installing carpet, it is important to prepare your subfloor by cleaning and repairing any damage. Remove any existing flooring, such as tile or hardwood, and repair any holes or cracks in the subfloor. Make sure the subfloor is level and free of any debris. If you are installing carpet over concrete, it is important to use a moisture barrier to prevent any moisture from seeping through the subfloor.
Measuring Your Room for Carpet Installation
Accurate measurements are essential for a successful carpet installation. Measure your room carefully, considering any unusual features such as bay windows or alcoves. Use a chalk line to mark the room’s perimeter and divide any larger rooms into smaller sections for easier installation. Always purchase slightly more carpet than you need to account for any errors or waste during installation.
How to Choose the Right Carpet for Your Room
Choosing the right carpet for your room depends on various factors, including your budget, style preferences, and the amount of traffic the room receives. Consider pile height, weight, material, and color when choosing your carpet. You may also want to consider a carpet with built-in stain resistance or durability features, especially if you have pets or children.
Cutting and Fitting Your Carpet to Size
Once you have measured your room and purchased your carpet, it’s time to cut and fit your carpet to size. Use a utility knife and straight edge to cut your carpet to the proper size and shape. Then, use a knee kicker and power stretcher to stretch the carpet into place and eliminate any wrinkles or bumps.
Installing Carpet Padding for Comfort and Durability
Carpet padding is essential for comfort and durability. Install your carpet padding according to the manufacturer’s instructions, making sure to overlap the seams and secure it to the subfloor with staples or adhesive.
Laying Out and Securing Your Carpet
Lay out your carpet carefully, checking for any seams or patterns that need to be aligned. Secure the carpet to the tack strips with a knee kicker, making sure to tuck any excess carpet along the edges. Use a carpet trimmer to trim any excess carpet along the edges of the room.
Finishing Touches: Trimming and Tucking Your Carpet
Once your carpet is installed, take the time to trim any excess carpet around the edges of the room. Tuck any visible edges under the baseboard or trim for a finished look. Then, enjoy your beautiful new carpet!
Common DIY Carpet Installation Mistakes to Avoid
There are several common mistakes that DIYers make during carpet installation, such as not preparing the subfloor properly or cutting the carpet too short. Make sure you read the manufacturer’s instructions carefully and take your time during the installation process to avoid these mistakes.
Troubleshooting and Problem-Solving During Carpet Installation
If you encounter any problems during carpet installation, don’t panic. Common issues include wrinkles, bumps, and uneven seams. Use your knee kicker or power stretcher to eliminate wrinkles, and use a carpet seaming iron to reseam any uneven sections.
Enjoy Your DIY Carpet Installation Project
Installing your own carpet can be a fun and rewarding DIY project that saves you money and gives you a beautiful new floor. With the right tools, materials, and preparation, you can complete the installation process successfully and enjoy your new carpet for years to come.
FAQs for DIY Carpet Installation
Q: Can I install the carpet myself, or do I need professional help?
A: Yes, you can install the carpet yourself if you have the necessary tools, skills, and patience. DIY carpet installation can save you money but requires careful planning and execution to ensure a successful result.
Q: What tools do I need for DIY carpet installation?
A: The tools you need for DIY carpet installation may include a carpet knife, knee kicker, power stretcher, carpet tucker, hammer, measuring tape, chalk line, utility knife, carpet shears, and a carpet seam roller. Additionally, you’ll need adhesive, tack strips, and padding or underlayment.
Q: How do I prepare the subfloor for DIY carpet installation?
A: Before installing carpet, it’s essential to prepare the subfloor. Clean the subfloor thoroughly, ensuring it is free from dust, debris, and any existing flooring material. Repair any uneven areas and fill in any holes or cracks. Install a moisture barrier or underlayment, depending on the specific requirements for your project.
Q: What is the process for DIY carpet installation?
A: The process for DIY carpet installation generally involves the following steps:
- Measure the room accurately and purchase the correct amount of carpet and necessary materials.
- Prepare the subfloor by cleaning, repairing, and installing any required underlayment or padding.
- Install tack strips along the perimeter of the room, leaving a small gap between the strip and the wall.
- Roll out the carpet and position it in the room, allowing excess material on all sides.
- Use a knee kicker and power stretcher to stretch the carpet and ensure a tight fit.
- Trim the carpet to fit the room, leaving a few inches of excess around the edges.
- Use a carpet knife to cut the carpet along the walls and tuck the edges into the space between the wall and the tack strips.
- If needed, apply adhesive to secure seams and transition pieces.
- Trim any excess carpet, and use a carpet seam roller to press down on the seams.
- Allow the carpet to settle for a few hours or according to the manufacturer’s instructions, then vacuum it to remove loose fibers and debris.
Q: Are there any tips for a successful DIY carpet installation?
A: Yes, here are a few tips for a successful DIY carpet installation:
- Take accurate measurements and purchase slightly more carpet than needed to account for any mistakes or adjustments.
- Ensure the subfloor is clean, dry, and level before installation.
- Use a power stretcher to properly stretch the carpet and prevent wrinkles or bulges.
- Plan the carpet layout carefully, considering the direction of the carpet fibers and any pattern or design elements.
- Follow manufacturer instructions for any adhesive, seam sealing, or transition pieces.
- Take your time and pay attention to detail throughout the installation process.
Q: How long does DIY carpet installation take?
A: The time required for DIY carpet installation can vary depending on factors such as the size of the room, the complexity of the project, and your level of experience. A small, straightforward installation may take a few hours, while a larger or more intricate project could take a day or more.
Q: How do I care for and maintain newly installed carpets?
A: To care for and maintain newly installed carpets, following a few key practices is important. Regular vacuuming helps remove dirt and debris, while prompt attention to spills and stains minimizes their impact. Use appropriate carpet cleaning products and methods for stain removal. Also, avoid dragging heavy furniture across the carpet, use coasters or pads, and rearrange furniture periodically to prevent permanent indentations.
Q: What are common mistakes to avoid during DIY carpet installation?
A: Common mistakes to avoid during DIY carpet installation include:
- Failing to stretch the carpet properly can result in wrinkles or loose areas.
- Cutting the carpet too short or tight makes it difficult to secure and causes potential damage properly.
- Neglecting to clean and prepare the subfloor properly leads to unevenness or poor adhesion.
- Not following the manufacturer’s instructions for adhesive, seam sealing, or other installation procedures.
- Rushing the installation process without carefully planning the layout or taking accurate measurements.
Q: Can I reuse or recycle old carpet during DIY installation?
A: It is possible to reuse or recycle old carpet, depending on its condition and the recycling facilities available in your area. Some carpet recycling centers accept old carpets for recycling or repurposing. Contact local recycling facilities or check with your carpet retailer to explore your options for responsible disposal or recycling of old carpets.
About Joshua Benson

How to Handle Multiple Contractor Calls: 7 Proven Strategies
Stop feeling overwhelmed by contractor calls. Learn a proven system to manage multiple quotes, compare offers, and hire the best pro for your project.
Why Every Homeowner Needs a Project Cost Estimation Platform
Avoid costly surprises by using a project cost estimation platform to plan your home renovation budget with accurate, transparent pricing.
Why Contractors Charge Different Rates: A Homeowner’s Guide
Understand why contractors charge different rates so you can compare quotes fairly and avoid overpaying or hiring an unqualified low bidder.
Find a Pro!
"*" indicates required fields

