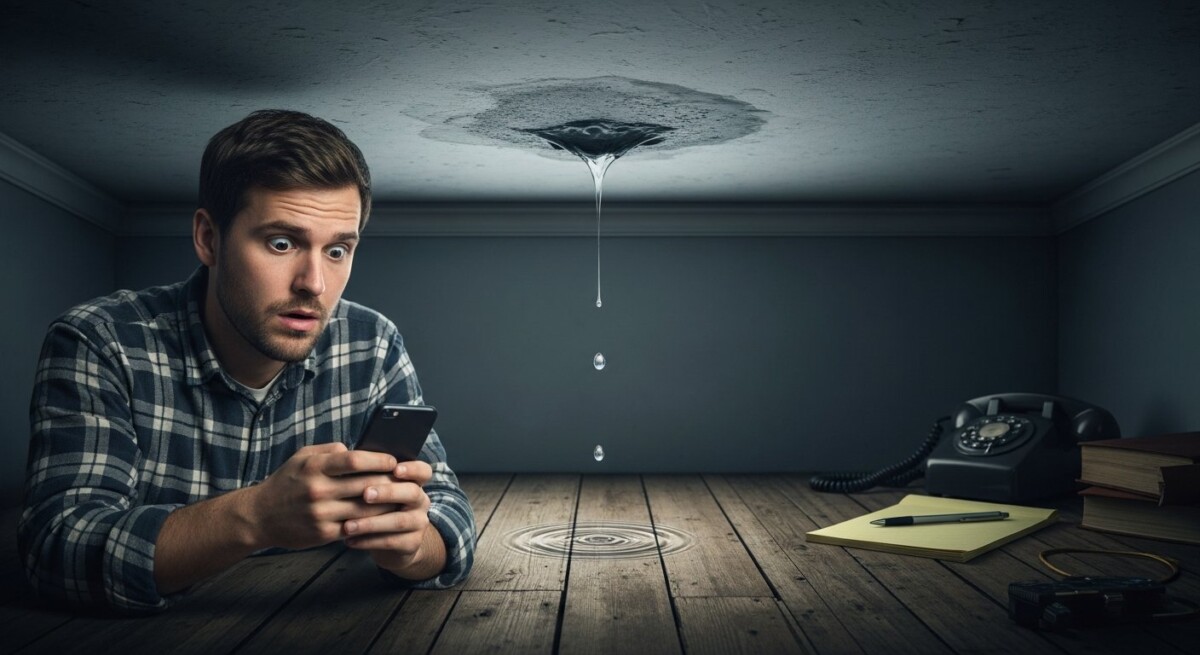
Build A Bathroom: Ready for a Bathroom Upgrade?

Building a bathroom can be a rewarding project, whether you’re renovating an existing space or adding a new one to your home. While it may seem like a daunting task, with careful renovation planning and the right approach, you can create a functional way and stylish bathroom that meets your needs and also enhances your home’s value. In this guide, we’ll walk you through the process of building a bathroom remodeling, from planning and design to construction and finishing touches. Build a bathroom into a sanctuary of style and function with expert renovation tips and DIY bathroom renovation timeless design inspiration. Know about the bathroom addition cost in simple terms.
Planning and Design
- Determine the Purpose and Scope: Before you begin building your bathroom, it’s important to determine its purpose and scope. Are you adding a new bathroom to accommodate a growing family, or are you renovating an existing bathroom to update its look and functionality? Understanding the purpose of the bathroom will help you make key decisions about its design and layout.
- Set a Budget: Once you have a clear idea of the purpose and scope of your bathroom project, you’ll need to set a budget. This will help you determine what features and materials you can afford, and it will guide your decisions throughout the project to ensure you stay on track financially.
- Choose a Location: If you’re adding a new bathroom, you’ll need to choose a location that makes sense for your home’s layout and plumbing. Consider the key factors such as proximity to existing plumbing lines, convenience for users, and privacy.
- Create a Layout: Next, create a layout for your bathroom that includes all the features you want, such as a toilet, sink, shower, and/or bathtub. Consider the size of each fixture and how they will fit together in the space.
Plumbing Work
Plumbing work in a bathroom involves the installation, repair, or modification of water supply lines, drainage systems, and ventilation to ensure proper functioning and compliance with building codes. Here are some key considerations:
- Water Supply: The first step in plumbing work is to determine the placement of water supply lines for fixtures such as sinks, showers, and toilets. These lines must be properly sized and connected to the main water supply in the building.
- Drainage Systems: Proper drainage system is essential to prevent water damage and maintain hygiene in the bathroom. Drainage pipes must be installed at the correct slope to ensure efficient removal of wastewater. Additionally, traps should be installed to prevent sewer gases from entering the bathroom.
- Ventilation: Adequate ventilation is also crucial to prevent mold, mildew, and sink the moisture buildup in the bathroom. Ventilation systems, like the exhaust fans or windows, should be installed to remove humid air and promote air circulation.
- Fixture Installation: Once the plumbing lines are in place, fixtures such as sinks, toilets, showers, and bathtubs can be installed. Each fixture must be properly secured and connected to the corresponding plumbing lines, ensuring leak-free operation.
Electrical Work
Electrical work in a bathroom involves the installation of wiring, outlets, lighting fixtures, and other electrical components to provide power for lighting, appliances, and accessories. Here are some important considerations:
- Safety: Safety is the best paramount when working with electricity. All electrical work should be performed by licensed professionals in compliance with safe local building codes and regulations. Ground fault circuit interrupters (GFCIs) should be installed to protect against electrical shocks in wet areas like bathrooms.
- Outlets: Electrical outlets should be installed at convenient locations throughout the bathroom to accommodate appliances such as hair dryers, electric shavers, and toothbrush chargers. Outlets near water sources should be equipped with GFCIs for added safety.
- Exhaust Fans: In addition to providing ventilation, exhaust fans may also require electrical wiring for operation. These features should be carefully planned and installed by experienced professionals to ensure proper function and safety.
Installing Fixtures and Accessories
Installing fixtures and accessories is the exciting phase of bathroom construction where your vision starts to take shape. From sinks to showerheads, towel racks to mirrors, each element contributes to the functionality and aesthetic appeal of the space. Let’s explore the process of installing fixtures and accessories in your new bathroom:
- Preparation: Before beginning the installation process, ensure that the plumbing and electrical work has been completed and inspected, and the walls are finished. Gather all necessary tools and materials, including wrenches, screwdrivers, anchors, and mounting hardware.
- Fixture Installation: Start by installing the sink, which typically involves attaching it to the countertop or vanity and connecting the water supply lines and drain pipe. Follow the manufacturer’s instructions for securing the sink in place and sealing any gaps. Install the toilet according to the manufacturer’s guidelines, ensuring a secure connection to the floor flange and proper alignment with the waste pipe. Use a level to ensure that the toilet is balanced and stable. Install the shower or bathtub unit, including any plumbing fixtures such as showerheads, faucets, and handles. Make sure all connections are watertight and secure, and test the fixtures for proper operation.
- Accessory Installation: Install towel bars or racks near sinks, showers, and bathtubs for convenience. Use anchors or mounting hardware appropriate for the wall material to ensure a secure installation. Mount the toilet paper holder within easy reach of the toilet, typically on the wall adjacent to or behind the toilet.
- Final Checks: Once all fixtures and accessories are installed, double-check that everything is securely mounted and properly aligned. Test the functionality of plumbing fixtures and electrical components to ensure they are working correctly. Clean the bathroom thoroughly to remove any dust or debris from the installation process, and make any final adjustments or touch-ups as needed.
Drywall Installation and Finishing
- Preparation: Before installing drywall, ensure that the framing is in place and the electrical and plumbing work is completed. Inspect the framing for any protruding nails or screws and make necessary adjustments. Additionally, check that the insulation is properly installed and covers all wall cavities.
- Measurement and Cutting: Measure and cutting the dimensions of the walls and ceiling where drywall will be installed. Use a utility knife and a straightedge to cut the drywall panels to the appropriate size. Make sure to account for cutouts for electrical outlets, switches, and other fixtures.
- Installation: Start by installing the ceiling drywall first. Use screws or drywall nails to attach the panels to the ceiling joists, spacing them approximately 12 inches apart. Ensure that the panels are flush with the framing and do not overlap. Next, install the wall drywall panels, starting from one corner of the room and working your way across. Again, use screws or nails to secure the panels to the wall studs, maintaining a consistent gap between panels for expansion.
- Taping and Mudding: Once all the drywall panels are installed, it’s time to tape and mud the seams to create a smooth, seamless surface. Begin by applying self-adhesive mesh tape over the joints between the drywall panels, pressing it firmly into place. Mix drywall joint compound (mud) to a smooth consistency and apply it over the taped seams using a drywall knife or trowel. Feather the mud outwards from the seams to create a smooth transition between the panels.
Preparing the Space
- Clear Out the Area: Start by removing all items from the bathroom, including toiletries, towels, rugs, shower curtains, and any other personal belongings. Clearing out the space completely will provide you with ample room to work and prevent damage to your belongings during construction.
- Protect Surfaces: Next, protect surfaces in adjacent areas from dust, debris, and damage during the remodel. Prevent scratches, stains, and moisture damage. Use painter’s tape to protect baseboards, trim, and fixtures from accidental paint splatter or damage.
- Demolition: If your remodel involves removing existing fixtures, tiles, or flooring, proceed with demolition carefully and methodically. Use appropriate tools such as a hammer, pry bar, or reciprocating saw to remove fixtures, cabinets, and tiles. Be mindful of electrical and plumbing lines behind walls and floors to avoid damaging them.
- Dispose of Debris: As you demolish old fixtures and surfaces, have a plan in place for disposing of debris responsibly. Rent a dumpster or arrange for a waste removal service to haul away construction debris and materials. Sort materials for recycling whenever possible to minimize environmental impact.
Contractor Home Quotes
- Budgeting and Financial Planning: Contractor home quotes help homeowners establish a realistic budget for their project. By providing an estimate of the costs involved, including materials, labor, and any additional expenses, quotes allow homeowners to plan their finances accordingly and determine whether the project is feasible within their budget constraints.
- Comparing Costs and Services: By evaluating different quotes, homeowners’ costs can gain insight into the range of prices for the project and assess the value offered by each contractor. This comparison allows homeowners to make informed decisions and choose a contractor that best fits their budget and needs.
- Understanding Project Scope and Details: Contractor home quotes outline the scope of work and details of the project, providing homeowners with a clear understanding of what is included in the contractor’s proposal. Understanding these details helps homeowners assess the comprehensiveness of each quote and ensure that their expectations are aligned with the contractor’s proposal.
- Negotiation and Contractual Agreements: Contractor home quotes serve as the basis for negotiation and contractual agreements between homeowners and contractors. Once a homeowner selects a contractor, the quote forms the foundation of the contract, outlining the terms and conditions of the agreement. Homeowners may negotiate certain aspects of the quote, such as pricing or project timelines, before finalizing the contract.
- Risk Assessment and Mitigation: Contractor home quotes help homeowners assess the risks associated with the project and identify potential areas of concern. Quotes may highlight any contingencies or unforeseen expenses that could impact the final cost of the project.
Conclusion
Designing and constructing a bathroom, whether from scratch or through renovation, is a substantial project that demands meticulous planning, innovative design, and expert workmanship. Through a methodical approach and meticulous attention to detail, you can revitalize a bathroom that not only fulfills your practical requirements but also showcases your distinct style and character. Whether your preference leans towards a contemporary and streamlined aesthetic, a timeless and traditional ambiance, or a lavish spa-like sanctuary, the opportunities for crafting your ideal bathroom are boundless. So, with determination and creativity as your allies, embark on the endeavor of transforming your bathroom into a space that resonates with your essence, promising years of satisfaction and enjoyment.
Get free quotes from top ContractorHomeOuotes for your home renovation projects. Find reliable professionals to bring your vision to life.
About Joshua Benson
What Happens If Contractors Do Not Respond? A Homeowner Guide
Learn what happens if contractors do not respond, including risks of delayed repairs, rising costs, and safety hazards. Get tips to find reliable help.
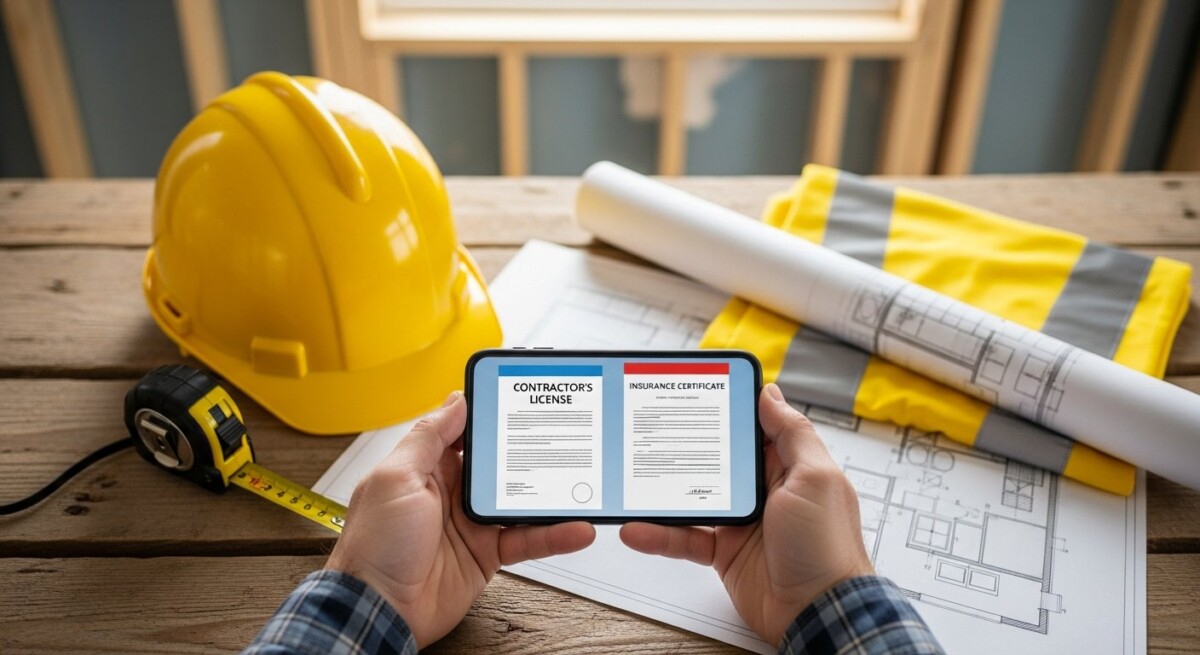
How to Verify Contractor Qualifications Before Hiring
Learn how to verify contractor qualifications step by step. Protect your home and budget by checking licenses, insurance, and experience before hiring.

Get Matched With Local Contractors for Your Home Repairs
Learn how to get matched with local contractors for home repairs and renovations. Compare free quotes from vetted pros and protect your home investment.
Find a Pro!
"*" indicates required fields

