Bathroom DIY Remodel: Crafting Your Dream Bathroom

Are you tired of your outdated bathroom? Do you dream of a space that reflects your style and functionality needs? Look no further! In this comprehensive guide, we’ll walk you through the steps to transform your self bathroom remodeling into a sanctuary with a DIY remodel. From simple updates to complete overhauls, we’ve got you covered. Transform your bathroom DIY remodel! Discover expert tips and step-by-step guides for adding storage, updating fixtures, and more. Explore DIY bathroom renovation guide in simple terms.
Why DIY?
DIY remodeling allows you to take control of your project, saving money and adding personal touches that reflect your unique taste. Plus, the satisfaction of completing a project with your own hands is unmatched. With careful DIY planning and the right tools, you can achieve professional-looking role results without breaking the bank.
- Cost Savings: One of the most cost saving significant advantages of DIY remodeling is the potential for cost savings. By doing the work cost saving yourself, you can avoid labor costs savings associated with hiring contractors or professionals. Additionally, you have greater control over the materials and can DIY shop around for the best deals, further reducing expenses.
- Personalization: DIY projects allow for greater personalization and customization. You have the freedom to choose every aspect of your remodel, from the fixtures and finishes to the layout and design. This means you can create a bathroom that truly reflects your style and preferences, rather than settling for a generic look.
- Skill Development: Taking on a DIY remodel is an excellent opportunity to DIY learn new skills and gain hands-on experience. Whether you’re installing tile, painting walls, or plumbing fixtures, you’ll acquire valuable knowledge that can be applied to future projects. Plus, the sense of accomplishment that comes from completing a project with your own two hands is incredibly rewarding.
- Flexibility and Control: DIY remodeling gives you the flexibility to work at your own pace and on your own schedule. You can tackle the project in stages, taking breaks as needed, without worrying about coordinating with contractors or adhering to their timelines. This level of control allows for a more relaxed and enjoyable remodeling experience.
Planning Your Project
Before diving into your remodel, it’s crucial to have a clear plan in place. Start by assessing your current bathroom remodel and identifying what you’d like to change. Are you looking to update fixtures, replace flooring, or completely gut the space? Make a list of priorities and set a realistic budget to guide your decisions.
Next, gather inspiration from magazines, websites, and home improvement stores. This will help you stay focused and make informed choices throughout the remodeling process.
Once you have a vision for your new bathroom, it’s time to create a detailed plan. Measure the space and sketch out a layout, taking into account plumbing and electrical considerations. Research building codes and permits in your area to ensure compliance with regulations.
Gathering Supplies
With your plan in hand, it’s time to gather the necessary supplies and tools for your remodel. Make a list of everything you’ll need, from materials like tiles and paint to tools like a saw and drill. Consider renting or borrowing tools to save money if you don’t already own them.
Shop around for the best deals on materials, keeping an eye out for sales and discounts. Consider eco-friendly options like low-flow toilets and water-saving faucets to reduce your environmental impact. Don’t forget to factor in delivery times when scheduling your project to avoid delays.
Preparing the Space
Before getting started, it’s essential to prepare your bathroom for the remodel. Remove any existing fixtures, such as toilets, sinks, and bathtubs, and clear out the space completely. Protect floors and walls with drop cloths or plastic sheeting to prevent damage during construction.
- Clear Out the Area: Start by removing all items from the bathroom, including toiletries, towels, rugs, shower curtains, and any other personal belongings. Clearing out the space completely will provide you with ample room to work and prevent damage to your belongings during construction.
- Protect Surfaces: Next, protect surfaces in adjacent areas from dust, debris, and damage during the remodel. Prevent scratches, stains, and moisture damage. Use painter’s tape to protect baseboards, trim, and fixtures from accidental paint splatter or damage.
- Demolition: If your remodel involves removing existing fixtures, tiles, or flooring, proceed with demolition carefully and methodically. Use appropriate tools such as a hammer, pry bar, or reciprocating saw to remove fixtures, cabinets, and tiles. Be mindful of electrical and plumbing lines behind walls and floors to avoid damaging them.
- Dispose of Debris: As you demolish old fixtures and surfaces, have a plan in place for disposing of debris responsibly. Rent a dumpster or arrange for a waste removal service to haul away construction debris and materials. Sort materials for recycling whenever possible to minimize environmental impact.
Updating Fixtures
- Gather Necessary Tools and Supplies: Before beginning the installation process, gather all the necessary tools and supplies you’ll need to replace the fixtures. Common tools for updating fixtures include an adjustable wrench, pliers, screwdriver set, pipe wrench, and plumber’s tape. Additionally, you may need caulking, sealant, and any specific hardware or adapters required for installation.
- Turn Off Water Supply: Before removing any existing fixtures, shut off the water supply to the bathroom to prevent leaks or flooding. Locate the shut-off valves for the fixtures you’re replacing (e.g., under the sink or behind the toilet) and turn them clockwise to close them. Flush toilets and run faucets to drain any remaining water from the lines.
- Remove Old Fixtures: Carefully remove the old fixtures by following manufacturer instructions or consulting online resources for guidance. Use the appropriate tools to disconnect water supply lines, loosen mounting nuts or screws, and detach fixtures from the wall or countertop. Be cautious when working with plumbing connections to avoid damaging pipes or fittings.
- Install New Fixtures: Once the old fixtures have been removed, install the new fixtures in their place according to manufacturer instructions. Use plumber’s tape to seal threaded connections and prevent leaks. Secure fixtures firmly to the wall or countertop using mounting hardware provided with the fixtures or suitable replacements.
- Test for Leaks and Functionality: After installing the new fixtures, test them for leaks and functionality to ensure proper operation. Turn the water supply back on and check for any signs of leaking around connections or fittings. Test faucets, showerheads, and other fixtures to verify that they function correctly and deliver water at the desired pressure and temperature.
Replacing Flooring
- Finish and Seal (if applicable): Once the flooring is installed, apply any necessary finishing touches or sealants to protect and enhance its appearance. Seal natural stone surfaces with a penetrating sealer to protect against stains and moisture damage.
- Allow for Proper Cure Time: Depending on the type of flooring material and adhesive used, allow for proper cure time before walking on or using the bathroom. Follow manufacturer recommendations for curing, which may range from a few hours to several days.
By following these steps and taking the time to properly replace the flooring in your bathroom, you can achieve a fresh, updated look that enhances the beauty and functionality of the space. Whether you choose ceramic tile, luxury vinyl planks, or another flooring option, investing in quality materials and professional installation will ensure lasting satisfaction with your bathroom remodel.
Installing Tile
- Prepare the Surface: Ensure that the surface where you’ll be installing the tile is clean, dry, and free of any debris or imperfections. Repair any cracks, holes, or uneven areas in the substrate using patching compound or self-leveling underlayment. If you’re tiling over existing tile, clean and roughen the surface to promote adhesion.
- Plan the Layout: Before applying adhesive, plan the layout of the tile to ensure proper placement and alignment. Use a level and straight edge to establish reference lines and mark guidelines on the substrate. Dry-fit the tiles along these guidelines to determine the arrangement and make any necessary cuts for edges or obstacles.
- Mix Tile Adhesive or Thin-Set Mortar: Prepare the tile adhesive or thin-set mortar according to manufacturer instructions. Use a mixing paddle and drill to blend the adhesive to a smooth, lump-free consistency. Let the adhesive sit for a few minutes to activate before proceeding with installation.
- Apply Adhesive to the Substrate: Using a notched trowel, apply a thin, even layer of tile adhesive or thin-set mortar to the substrate. Work in small sections, spreading the adhesive evenly and maintaining consistent coverage.
- Set the Tile: Begin setting the tile into the adhesive, starting at the reference lines and working outward. Press each tile firmly into place, using slight twisting motions to ensure full contact with the adhesive. Insert tile spacers between tiles to maintain uniform spacing and create even grout lines.
Adding Storage
- Plan Storage Layout: Once you’ve selected storage solutions, plan the layout of your bathroom to incorporate them seamlessly into the space. Consider factors such as accessibility, usability, and visual impact when arranging storage elements. Position cabinets, shelves, and furniture to optimize traffic flow and minimize clutter while maintaining a cohesive design aesthetic.
- Measure and Install: Measure the dimensions of your bathroom carefully to ensure that storage solutions fit properly and do not obstruct fixtures or pathways. Install storage elements according to manufacturer instructions, using appropriate hardware and anchoring methods for stability and safety. Consider hiring a professional contractor or handyman for complex installations or custom built-ins.
- Customize Organization: Customize storage organization with bins, baskets, dividers, and drawer customer organizers to keep items neat and accessible. Use labeled containers or color-coded bins to categorize and store similar items together, such as toiletries, cleaning supplies, and medications. Maximize vertical space with stacking shelves, hanging organizers, and tiered racks for efficient use of space.
- Consider Built-In Features: Incorporate built-in features such as pull-out drawers, rotating carousels, and tilt-out bins for added convenience and accessibility. Choose hardware such as soft-close hinges, drawer glides, and adjustable shelving to enhance functionality and durability. Customize built-in features to suit your specific storage needs and lifestyle preferences.
- Finish and Style: Finish storage elements with coordinating hardware, finishes, and accents to create a cohesive look throughout the bathroom. Choose hardware such as knobs, pulls, and handles in matching or complementary finishes to tie together the design aesthetic. Add decorative touches such as molding, trim, and paint or stain to customize storage elements and enhance their visual appeal.
Finishing Touches
With the major elements of your bathroom remodel complete, it’s time to add the finishing touches that will bring the space to life. Hang mirrors to reflect light and final touches create the illusion of a larger space, and add decorative accents like artwork, plants, or candles for a cozy vibe.
Don’t forget about lighting, which plays an important role in setting the mood and flexibilty or functionality of your bathroom. Consider installing sconces, overhead lights, or even a statement chandelier to illuminate the space and add visual interest.
Conclusion
A DIY bathroom remodel is a rewarding project that can completely transform the look and feel of your home. By following these simple online steps and using your creativity and resourcefulness, contractor home quotes you can create a beautiful renovating and functional space that you’ll love for years to come. So roll up your sleeves and get ready to say goodbye to your old to new bathroom and hello to your new sanctuary!
Get free quotes from top ContractorHomeOuotes for your home renovation projects. Find reliable professionals to bring your vision to life.
About Jackson Sawyer
What Happens If Contractors Do Not Respond? A Homeowner Guide
Learn what happens if contractors do not respond, including risks of delayed repairs, rising costs, and safety hazards. Get tips to find reliable help.
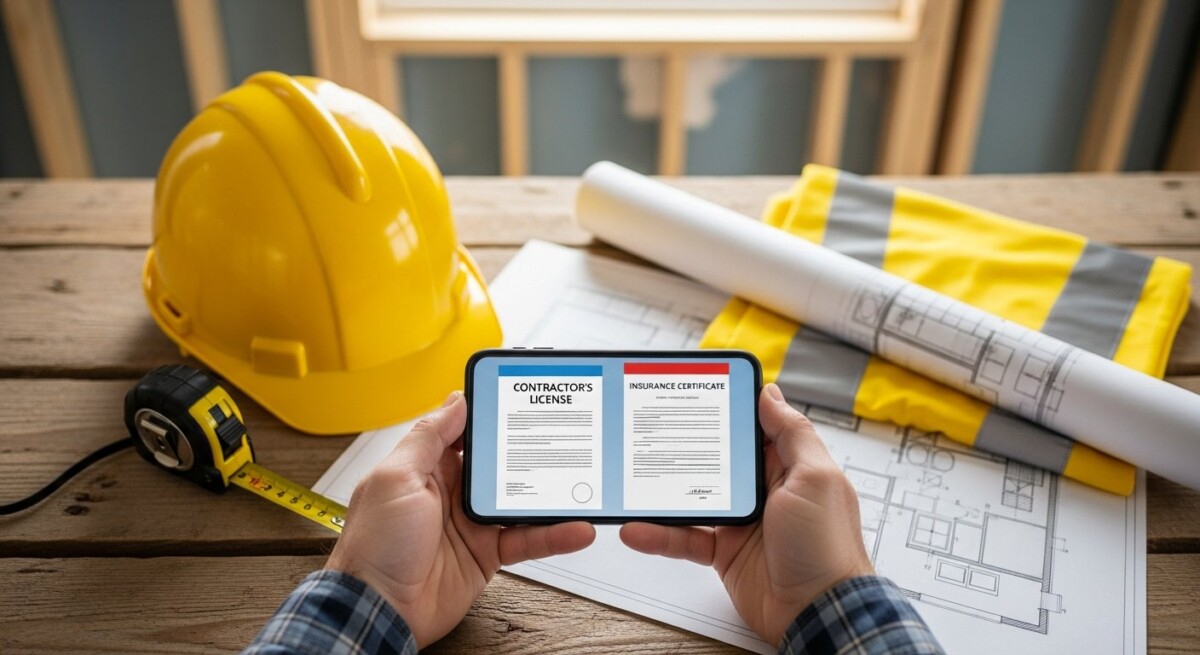
How to Verify Contractor Qualifications Before Hiring
Learn how to verify contractor qualifications step by step. Protect your home and budget by checking licenses, insurance, and experience before hiring.

Get Matched With Local Contractors for Your Home Repairs
Learn how to get matched with local contractors for home repairs and renovations. Compare free quotes from vetted pros and protect your home investment.
Find a Pro!
"*" indicates required fields

