Basic Bathroom Remodel: Crafting Your Dream Bathroom

Embarking on a renovating bathroom remodel is an exciting endeavor that allows homeowners to revitalize one of the most important spaces in their homes. Whether you’re a primary bathroom makeover looking to enhance functionality, update the aesthetics, or increase the resale value of your property, a basic bathroom remodel can make a significant difference. In this comprehensive guide, we’ll walk you through the essential steps of a basic bathroom remodel, providing valuable specific insights and practical tips along the way. Explore fundamental bathroom renovation or we can say essential bathroom remodel in simple terms.
Assessing Your Needs:
Before diving into the remodeling process, take some time to assess your needs and priorities for the space. Consider factors such as:
- Current layout and functionality: Evaluate what works well in your existing bathroom layout and identify areas that need improvement.
- Storage requirements: Determine if you need additional storage solutions such as cabinets, shelves, or built-in niches to organize toiletries and towels.
- Fixtures and fittings: Assess the condition of your bathroom fixtures, such as sinks, washroom toilets, showers, and tubs, and decide whether they need to be repaired or replaced.
- Accessibility: If you have specifically accessibility your needs or are planning for aging in place, consider incorporating features such as grab bars, curbless showers, and wider doorways into your remodel.
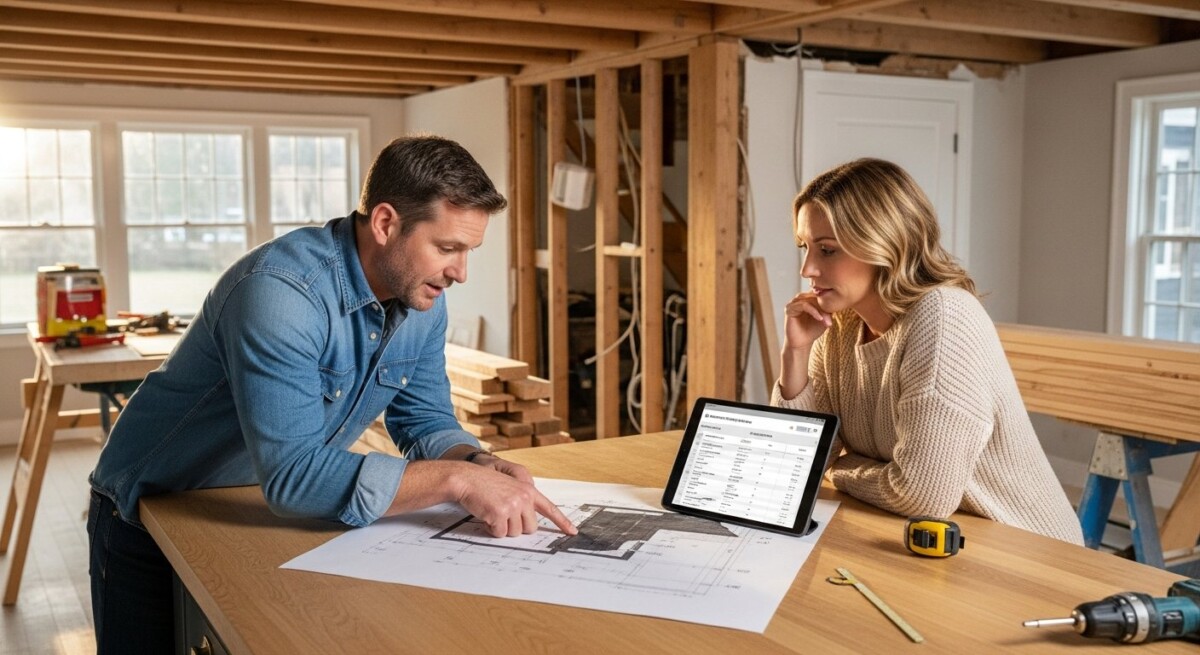
Setting a Budget:
- Research Average Costs: Research the average costs of various aspects of a bathroom remodel, including materials, labor, permits, and unexpected expenses. Websites, home improvement stores, and local contractors can provide valuable insight into typical price ranges for different components of the project.
- Prioritize Your Needs: Identify your priorities for the remodel and allocate your budget accordingly. Determine which elements of the project are non-negotiables and where you’re willing to compromise to stay within budget. For example, you may prioritize updating outdated fixtures over installing high-end finishes.
- Consider Hidden Costs: Be sure to account for potential hidden costs that may arise during the remodel, such as structural issues, plumbing or electrical upgrades, or unforeseen complications. It’s wise to set aside a yearly contingency fund of your total presonal budget to cover unexpected expenses that may arise.
- Get Quotes from Contractors: Obtain quotes from reputable contractors or renovation companies to get a better understanding of how much your desired project will cost. Be sure to request detailed estimates that break down costs for materials, labor, permits, and any additional services.
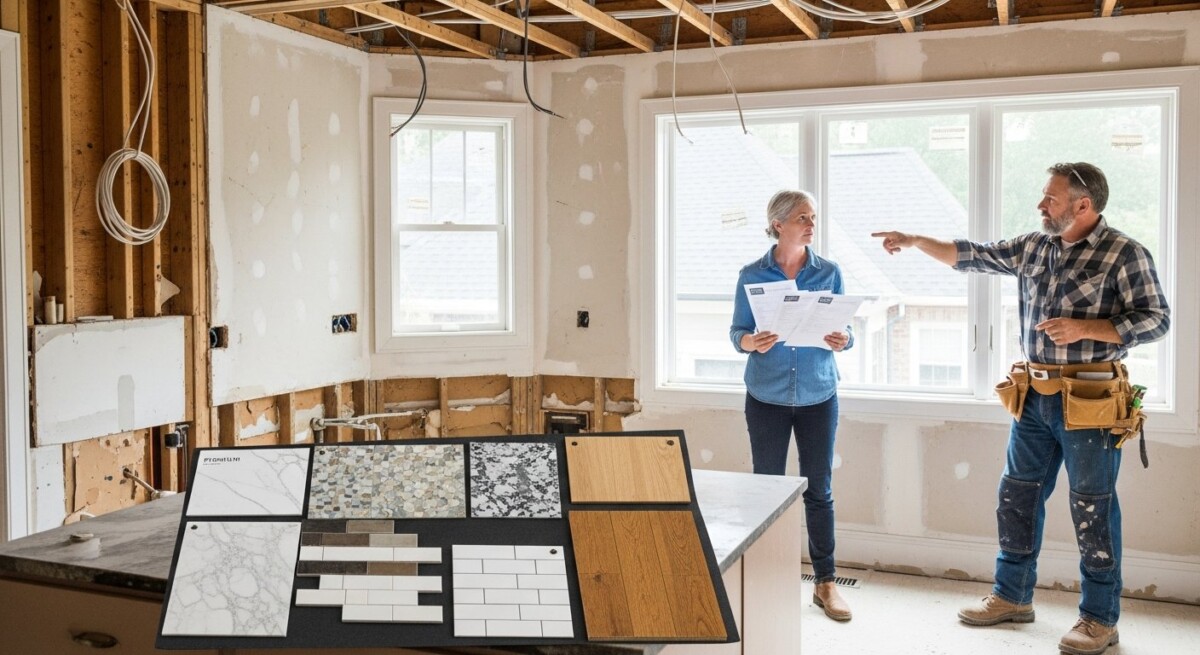
Designing Your Dream Bathroom:
Once you’ve assessed your needs and set a budget, it’s time to start designing your dream bathroom. Consider the following design elements:
- Layout: Determine if you want to keep the existing dream layout or if you’re open to reconfiguring the space to better suit your needs.
- Style: Choose a cohesive design style that can also reflects your personal taste and complements the overall style aesthetic of your home. Whether you prefer modern, traditional, eclectic, or farmhouse style, select fixtures, finishes, and accessories that align with your chosen theme.
- Lighting: Pay attention to lighting design to ensure adequate illumination throughout the bathroom. Incorporate a combination of overhead lighting; task redeem lighting, and accent lighting to create a format functional and visually appealing space.
- Materials and finishes: Select durable and moisture-resistant materials for flooring, walls, countertops, and fixtures that can withstand the humid environment of a bathroom. Opt for easy-to-clean finishes and consider incorporating eco-friendly materials for a sustainable remodel.
Demolition and Preparation:
- Clearing the Space: Remove all items from the bathroom, including towels, toiletries, and decorations. Disconnect and remove any plumbing fixtures such as sinks, toilets, showers, and bathtubs. Turn off the water supply and disconnect plumbing connections carefully to avoid damage. Take down any mirrors, cabinets, shelving, or other built-in features attached to the walls. Strip away flooring materials such as tiles, vinyl, or laminate using appropriate tools like a floor scraper, hammer, or pry bar.
- Disposal of Debris: Dispose of demolished debris removal services. Ensure that any hazardous materials, such as old insulation or moldy drywall, are handled and disposed of properly according to local regulations. Consider salvaging reusable materials such as fixtures, cabinets, or hardware that are still in good condition. Donating or recycling these items can reduce waste and benefit others in need.
- Assessing the Structural Integrity: Once the space is cleared, inspect the underlying structure for any signs of damage, rot, or mold. Addressing these petty issues early on can also prevent further damage and ensure a solid formation or foundation for the remodel. Check for any plumbing or electrical systems that may need to be relocated or upgraded to accommodate the new layout or fixtures. Consult with licensed professionals if structural modifications are required.
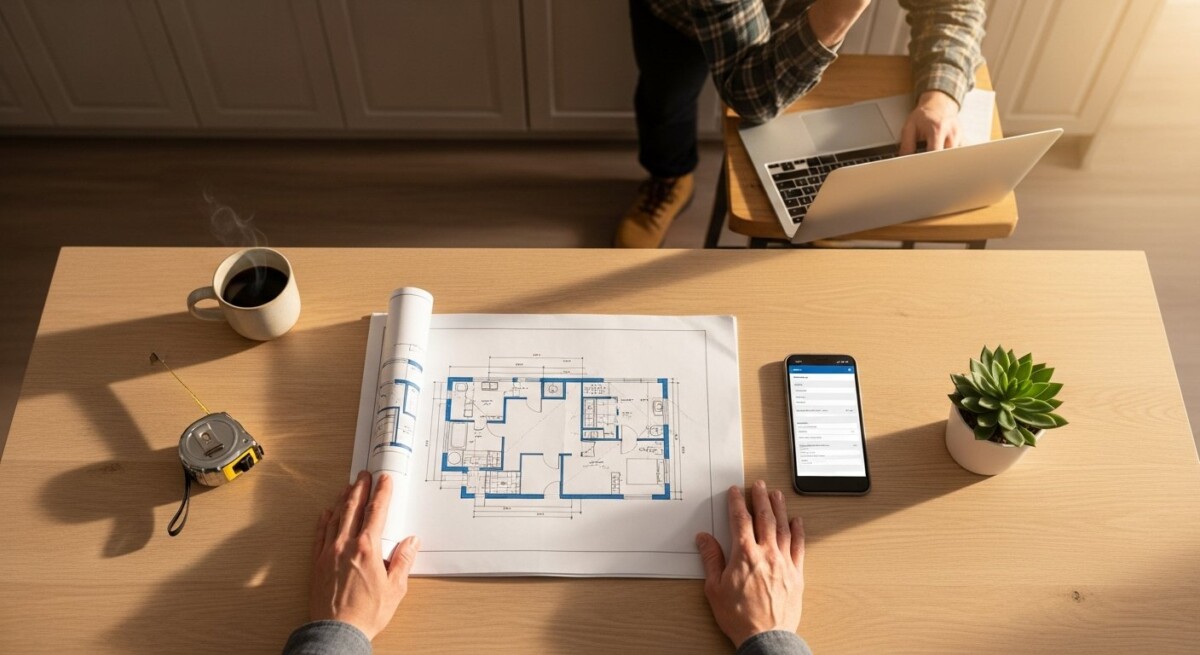
- Preparing for Plumbing and Electrical Work: Plan the layout for plumbing fixtures, such as the placement of sinks, toilets, showers, and tubs, taking into account existing plumbing lines and drainage systems. The feasibility of your design plans and ensure compliance with building codes and regulations. Mark the locations for new plumbing connections, electrical outlets, and lighting fixtures on the walls and floors to guide installation during the next phase.
Plumbing
- Evaluate Existing Plumbing: Begin by assessing the condition of your existing plumbing system. Check for leaks, corrosion, or outdated fixtures that may need to be replaced. Determine if any pipes need to be rerouted or modified to accommodate the new layout or fixtures.
- Plan Plumbing Layout: Design the layout for your plumbing fixtures, including the placement of sinks, toilets, showers, and tubs. Consider factors such as space constraints, accessibility, and drainage requirements.
- Upgrade Plumbing Fixtures: If your budget allows, consider upgrading to high-efficiency plumbing fixtures that conserve water and energy. Options include low-flow toilets, water-saving faucets, and showerheads with adjustable flow rates. These upgrades not only reduce water usage but also lower utility bills over time.
- Install Rough Plumbing: Once the layout is finalized, rough in the plumbing lines according to the design plan. This involves installing supply lines, drainpipes, and vent pipes within the walls and floors of the bathroom. Be sure to use quality materials and proper installation techniques to prevent leaks and ensure longevity.
- Test for Leaks: Before closing up the walls and floors, conduct a pressure test to check for leaks in the plumbing system. Pressurize the pipes and inspect for any signs of leakage, such as dripping or hissing sounds. Address any issues promptly to avoid water damage and mold growth.
Electrical Work
- Assess Electrical Needs: Evaluate the electrical requirements of your new bathroom design, including lighting, outlets, switches, and ventilation fans. Determine if any existing wiring needs to be upgraded or if new circuits need to be installed to accommodate additional fixtures.
- Plan Electrical Layout: Design the layout for electrical components based on the placement of fixtures and the overall lighting design. Consider factors such as task lighting for vanity areas, ambient lighting for relaxation, and safety lighting for walkways and showers.
- Hire a Licensed Electrician: Electrical work should always be performed by a qualified, highly professional electrician. Hire a licensed, experienced electrician to handle the installation of wiring, outlets, switches, and lighting fixtures.
- Install Wiring and Outlets: Rough-in the electrical wiring and outlets according to the layout plan, taking care to route wires safely and securely within the walls and ceilings.
- Install Lighting Fixtures: Once the wiring is in place, install the lighting fixtures according to the design plan. This may include overhead lighting, vanity lights, sconces, and recessed lighting.
Installing Fixtures and Finishes:
With the plumbing and electrical work in place, it’s time to install the new fixtures and finishes that will bring your design vision to life. This may include:
- Installing new flooring: Choose a flooring material that is durable, waterproof, and easy to install, such as ceramic tile, porcelain tile, luxury vinyl plank, or waterproof laminate.
- Setting cabinetry and countertops: Install cabinetry and countertops that provide ample storage and workspace while complementing the overall aesthetic of the bathroom.
- Installing plumbing fixtures: Mount faucets, showerheads, and other plumbing fixtures according to the manufacturer’s instructions, ensuring proper sealing and alignment to prevent leaks.
- Adding finishing touches: Complete the look of your bathroom with decorative elements such as mirrors, lighting fixtures, towel bars, and accessories that enhance the functionality and style of the space.
Painting and Wall Treatments:
- Choose the Right Paint Color: Overall design theme and color modelling scheme of your bathroom when selecting paint colors. Lighter shades can make a small tile bathroom feel more spacious, while bold hues can add personality and drama. Opt for moisture-resistant paint formulated specifically for high-humidity environments like bathrooms. Look for paints labeled as “bathroom paint” or “kitchen and bath paint,” which are designed to withstand moisture, mildew, and staining. Test paint samples on the bathroom walls to see how they look in different lighting conditions and against other design elements in the space. Keep in mind that colors may appear differently once applied to the walls than they do on a paint chip or swatch.
- Prepare the Surfaces: Proper surface preparation is key to achieving a smooth and prepared durable paint finish. Start by preparing and cleaning the walls to remove any dirt, grease, or mildew using a mild detergent and water solution. Repair any imperfections in the walls, such as cracks, holes, or uneven surfaces, using spackling compound or joint compound. Sand the patched areas smooth once they’re dry to create a seamless surface for painting.
- Prime the Walls: Applying a primer before painting helps seal the surface and create a uniform base for the paint to adhere to. Choose a primer specifically formulated for use in bathrooms and apply it evenly to the walls using a brush or roller. Allow the primer to dry prime completely before proceeding with the painting process. Follow the manufacturer’s instructions regarding drying times and recoat intervals to ensure optimal adhesion and coverage.
Final Inspections and Touch-Ups:
Before your bathroom remodel is complete, conduct a thorough final inspection and touch-ups of the space to identify any areas that may require touch-ups or pre adjustments. Check for any plumbing leaks, electrical issues, or cosmetic imperfections that need to be addressed before finalizing the project. Once any necessary repairs or touch-ups are completed, give the space a final cleaning to remove dust and debris and prepare it for use.
Conclusion:
A basic bathroom remodel has the power to transform your space into a functional and stylish retreat that meets your renovation needs and reflects your personal style. By following the essential steps outlined in this guide and enlisting the help of qualified professionals when needed, you can achieve the reno bathroom of your basic dreams online while staying within your budget and timeline. Whether you’re updating a powder room, guest bathroom, or the master ensuite, a well-executed remodel can enhance the comfort, convenience, and value of your home for years to come.
Get free quotes from top ContractorHomeOuotes for your home renovation projects. Find reliable professionals to bring your vision to life.
About Danica Leslie
Contractor Quotes Houston Texas: Get Fair Prices for Home Repairs
Learn how to compare contractor quotes in Houston Texas, avoid overpaying for home repairs, and choose a reliable pro for your project.
How to Verify Contractor Qualifications Before Hiring
Learn how to verify contractor qualifications to protect your home and budget. Step-by-step guide to checking licenses, insurance, and references before hiring.
Submit Home Project Details for Quotes: A Homeowner Guide
Learn how to submit home project details for quotes, why it matters, and how to get accurate estimates from qualified contractors. Start your project with confidence.
Find a Pro!
"*" indicates required fields

