
Attic Insulation Installation Techniques for Energy Savings
Master attic insulation installation techniques for energy savings and slash utility bills. Call (833)-365-8755 for expert contractor quotes and guidance.

By Eric Andrew
Learn more about Insulation Installation or Upgrade for guides, costs, and what to expect.
Compare Insulation Installation or Upgrade Pros Near You

Enter your ZIP code to compare top-rated local professionals and request free quotes.
Your attic is one of the most overlooked areas of your home, yet it can be responsible for up to 30 percent of your heating and cooling losses. If you have ever wondered why your energy bills keep climbing despite adjusting the thermostat, the answer may be hiding above your ceiling. Proper attic insulation installation techniques for energy savings are not just about rolling out some fiberglass batts; they involve a strategic combination of air sealing, ventilation management, and precise material placement. In this guide, we will walk you through the advanced methods that professional contractors use to turn a leaky attic into a energy-efficient barrier. Whether you are a seasoned DIYer or planning to hire a pro, understanding these techniques will help you maximize your return on investment and keep your home comfortable year-round.
Why Attic Insulation Matters for Energy Efficiency
Heat naturally rises, and in the winter, the warm air from your living space migrates upward into the attic. In the summer, the scorching sun heats your roof, and that heat radiates down into your home. Without an effective insulation barrier, your HVAC system has to work overtime to maintain a comfortable temperature, leading to higher utility bills and unnecessary wear on your equipment. According to the U.S. Department of Energy, heating and cooling account for over half of a typical home's energy use, making attic insulation one of the most cost-effective upgrades you can make.
However, simply adding insulation without addressing air leaks and ventilation is like wearing a winter coat with the zipper open. The true energy savings come from a holistic approach that stops air movement, controls moisture, and creates a continuous thermal envelope. In the following sections, we will break down the essential techniques that ensure your insulation performs as intended.
Air Sealing: The Foundation of Effective Insulation
Before you even think about installing new insulation, you must address air sealing. Gaps and cracks in your attic floor allow conditioned air to escape and unconditioned air to enter, bypassing your insulation entirely. Common culprits include recessed lights, electrical outlets, plumbing penetrations, and the top plates of walls. In fact, the EPA estimates that sealing these leaks can save you up to 20 percent on heating and cooling costs.
Start by locating all potential air leaks. On a cold day, you can use a smoke pencil or incense stick to identify drafts. Once identified, seal them with caulk, spray foam, or rigid foam board. For larger gaps around chimneys or flues, use fire-rated materials and maintain proper clearances. Remember, air sealing is not just about stopping drafts; it also prevents moisture-laden air from entering the attic, which can lead to mold growth and reduced insulation performance.
When planning your air sealing strategy, it helps to think of your attic as a system. Every penetration is a potential weak point. Create a checklist of common leak points and methodically work through them. This preparation is crucial because once insulation is blown in, accessing these areas becomes much more difficult. If you are unsure about the process, consider consulting a professional contractor who can perform a blower door test to quantify your home's airtightness and pinpoint hidden leaks.
Ventilation and Moisture Control
Proper ventilation is essential to prevent moisture buildup, which can compromise your insulation and lead to structural damage. Attics need a balanced flow of intake air (typically from soffit vents) and exhaust air (through ridge vents, gable vents, or roof vents). When installing insulation, you must ensure that these pathways remain clear. This is where baffles come into play.
Baffles, also known as rafter vents or insulation stops, are installed at the eaves to direct incoming air over the insulation and into the attic space. Without baffles, insulation can block soffit vents, choking off ventilation and creating a host of problems, including condensation, mold, and ice dams. Installing baffles is a straightforward but critical step: simply staple them to the roof deck between rafters, ensuring they extend far enough to clear the insulation height.
Moisture control also involves choosing the right insulation material. Closed-cell spray foam, for example, acts as a vapor barrier and can be used in certain applications, but it requires careful consideration of the home's overall moisture dynamics. In most cases, a well-ventilated attic with properly installed fibrous insulation (fiberglass or cellulose) will perform admirably. Always ensure that bathroom and kitchen exhaust fans are ducted directly outside, not into the attic, to prevent introducing moisture.
Choosing the Right Insulation Material and Technique
The two most common insulation types for attics are blown-in (loose-fill) and batt (blanket) insulation. Each has its strengths and ideal applications, and the choice often depends on your attic's configuration and your budget.
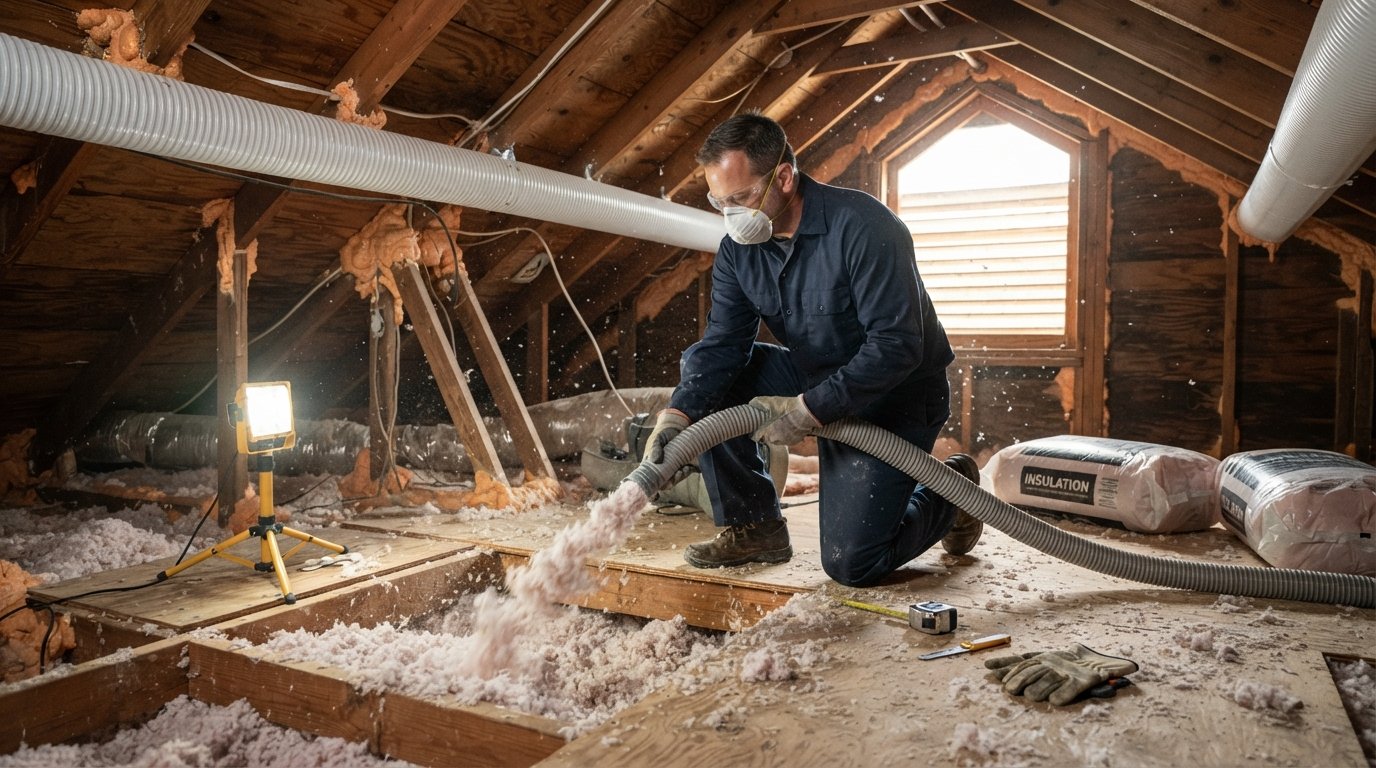
Blown-in insulation, typically fiberglass or cellulose, is machine-blown into the attic to create a seamless blanket. It excels at filling irregular spaces, around obstructions, and achieving high R-values quickly. It is also relatively easy to add more later. However, it requires specialized equipment and can create a mess if not contained properly. Batt insulation, on the other hand, comes in pre-cut rolls and is easier for DIYers to handle. It works best in attics with standard joist spacing and few obstructions. However, achieving a perfect fit is challenging, and gaps can reduce effectiveness.
For climate-specific R-value targets, the DOE provides a map that recommends R-values based on your region. In colder climates (zones 5-8), attics typically need R-49 to R-60. In moderate climates (zones 3-4), R-38 to R-49 is common, while hot climates (zones 1-2) may require R-30 to R-49. Always verify local building codes, as they may exceed federal recommendations. When installing blown-in insulation, use depth markers to ensure uniform coverage; for batt insulation, ensure the material fills the cavity without being compressed, as compression reduces R-value.
If you are considering a combined approach, such as using spray foam to air seal and insulate the roof deck, you can create a conditioned attic. This method brings the attic into the building envelope, but it requires careful design to manage moisture and ventilation. For most homeowners, however, the traditional approach of air sealing the attic floor and adding blown-in insulation is the most cost-effective.
For those planning a larger renovation or new construction, integrating attic insulation with other energy-efficient upgrades can amplify savings. For instance, if you are also considering renewable energy, our guide on how to install solar energy systems can help you coordinate efforts and maximize your home's overall efficiency.
Common Installation Mistakes That Hurt Performance
Even with the right materials, poor installation can negate the benefits. One of the most common mistakes is compressing insulation. Whether you are using batts or blown-in, compressing the material reduces its R-value. For example, a batt rated R-30 that is compressed to fit a 2x6 cavity will perform closer to R-19. Always use the correct thickness for your target R-value and avoid stuffing insulation into tight spaces.
Another frequent error is failing to maintain proper clearance around heat sources. Recessed lights, chimneys, and flues require specific clearances to prevent fire hazards. Use fire-rated barriers or maintain the recommended distance as per the manufacturer's instructions. Additionally, leaving gaps around electrical boxes or plumbing pipes allows air to bypass the insulation, creating thermal bridges. Seal these penetrations before insulating.
Finally, improper ventilation blocking is a silent performance killer. As mentioned, baffles must be installed correctly to keep soffit vents open. If you are unsure about the ventilation setup, consult a professional. A qualified contractor can assess your attic's ventilation and recommend improvements, such as adding ridge vents or powered attic ventilators. For homeowners in Georgia, working with experienced Atlanta remodeling contractors can ensure your attic insulation project is done right, from air sealing to final inspection. They can also help you navigate local codes and choose the best materials for your climate.
Step-by-Step Installation Best Practices
To achieve optimal energy savings, follow a systematic approach. Here is a high-level sequence that professionals use:
- Preparation: Clear the attic of stored items, and ensure safe access. Wear protective gear, including a respirator, goggles, and gloves.
- Air Sealing: Seal all gaps and cracks using caulk, spray foam, or rigid materials. Pay special attention to the attic floor and any penetrations.
- Baffle Installation: Install baffles at the eaves to maintain ventilation pathways. Staple them securely to the roof deck.
- Insulation Installation: For blown-in, use a machine to distribute insulation evenly, using depth markers to achieve the target R-value. For batts, cut to fit and place without compression.
- Final Inspection: Check for gaps, ensure ventilation is unobstructed, and verify insulation depth. Consider a blower door test to confirm airtightness.
These steps provide a framework, but the details matter. For example, when air sealing, use a high-quality caulk that remains flexible over time. When installing blown-in insulation, set the machine's feed rate according to the manufacturer's specifications to achieve the desired density. And always double-check that your work does not void any warranties on your roof or HVAC system.
If you are not comfortable working in tight spaces or handling insulation materials, hiring a professional is a wise investment. A qualified contractor will have the experience to identify hidden issues and ensure a job well done. When selecting a contractor, ask for references, verify insurance, and get multiple quotes. Our site can connect you with up to three pre-screened professionals in your area, providing free, no-obligation estimates.
Maximizing Your Energy Savings
Beyond installation, there are additional strategies to enhance your attic's performance. Consider adding a radiant barrier in hot climates to reflect heat away from the attic. Ensure your attic hatch or door is insulated and weatherstripped. And don't forget the attic stairs, which are often a major source of air leakage. An insulated cover can make a noticeable difference.
Regular maintenance also plays a role. Check your insulation periodically for signs of pests, moisture, or settling. If you notice any issues, address them promptly. Over time, blown-in insulation may settle slightly, but if you have a significant drop, you may need to top it off. Keeping your attic in good shape will help you enjoy lower energy bills and a more comfortable home for years to come.
Finally, remember that attic insulation is just one piece of the energy efficiency puzzle. Sealing ducts, upgrading windows, and maintaining your HVAC system all contribute to a holistic strategy. Start with the attic, as it often yields the highest return on investment, and build from there.
By following these attic insulation installation techniques for energy savings, you can transform your attic from an energy drain into a valuable asset. Whether you tackle the project yourself or hire a professional, the key is to prioritize air sealing, ventilation, and proper material installation. Your wallet and your comfort will thank you.
Learn more about Insulation Installation or Upgrade for guides, costs, and what to expect.
Compare Insulation Installation or Upgrade Pros Near You
Enter your ZIP code to compare top-rated local professionals and request free quotes.