Illuminate Your Space: How to Install Under Cabinet Lighting
Introduction
Importance of Under Cabinet Lighting
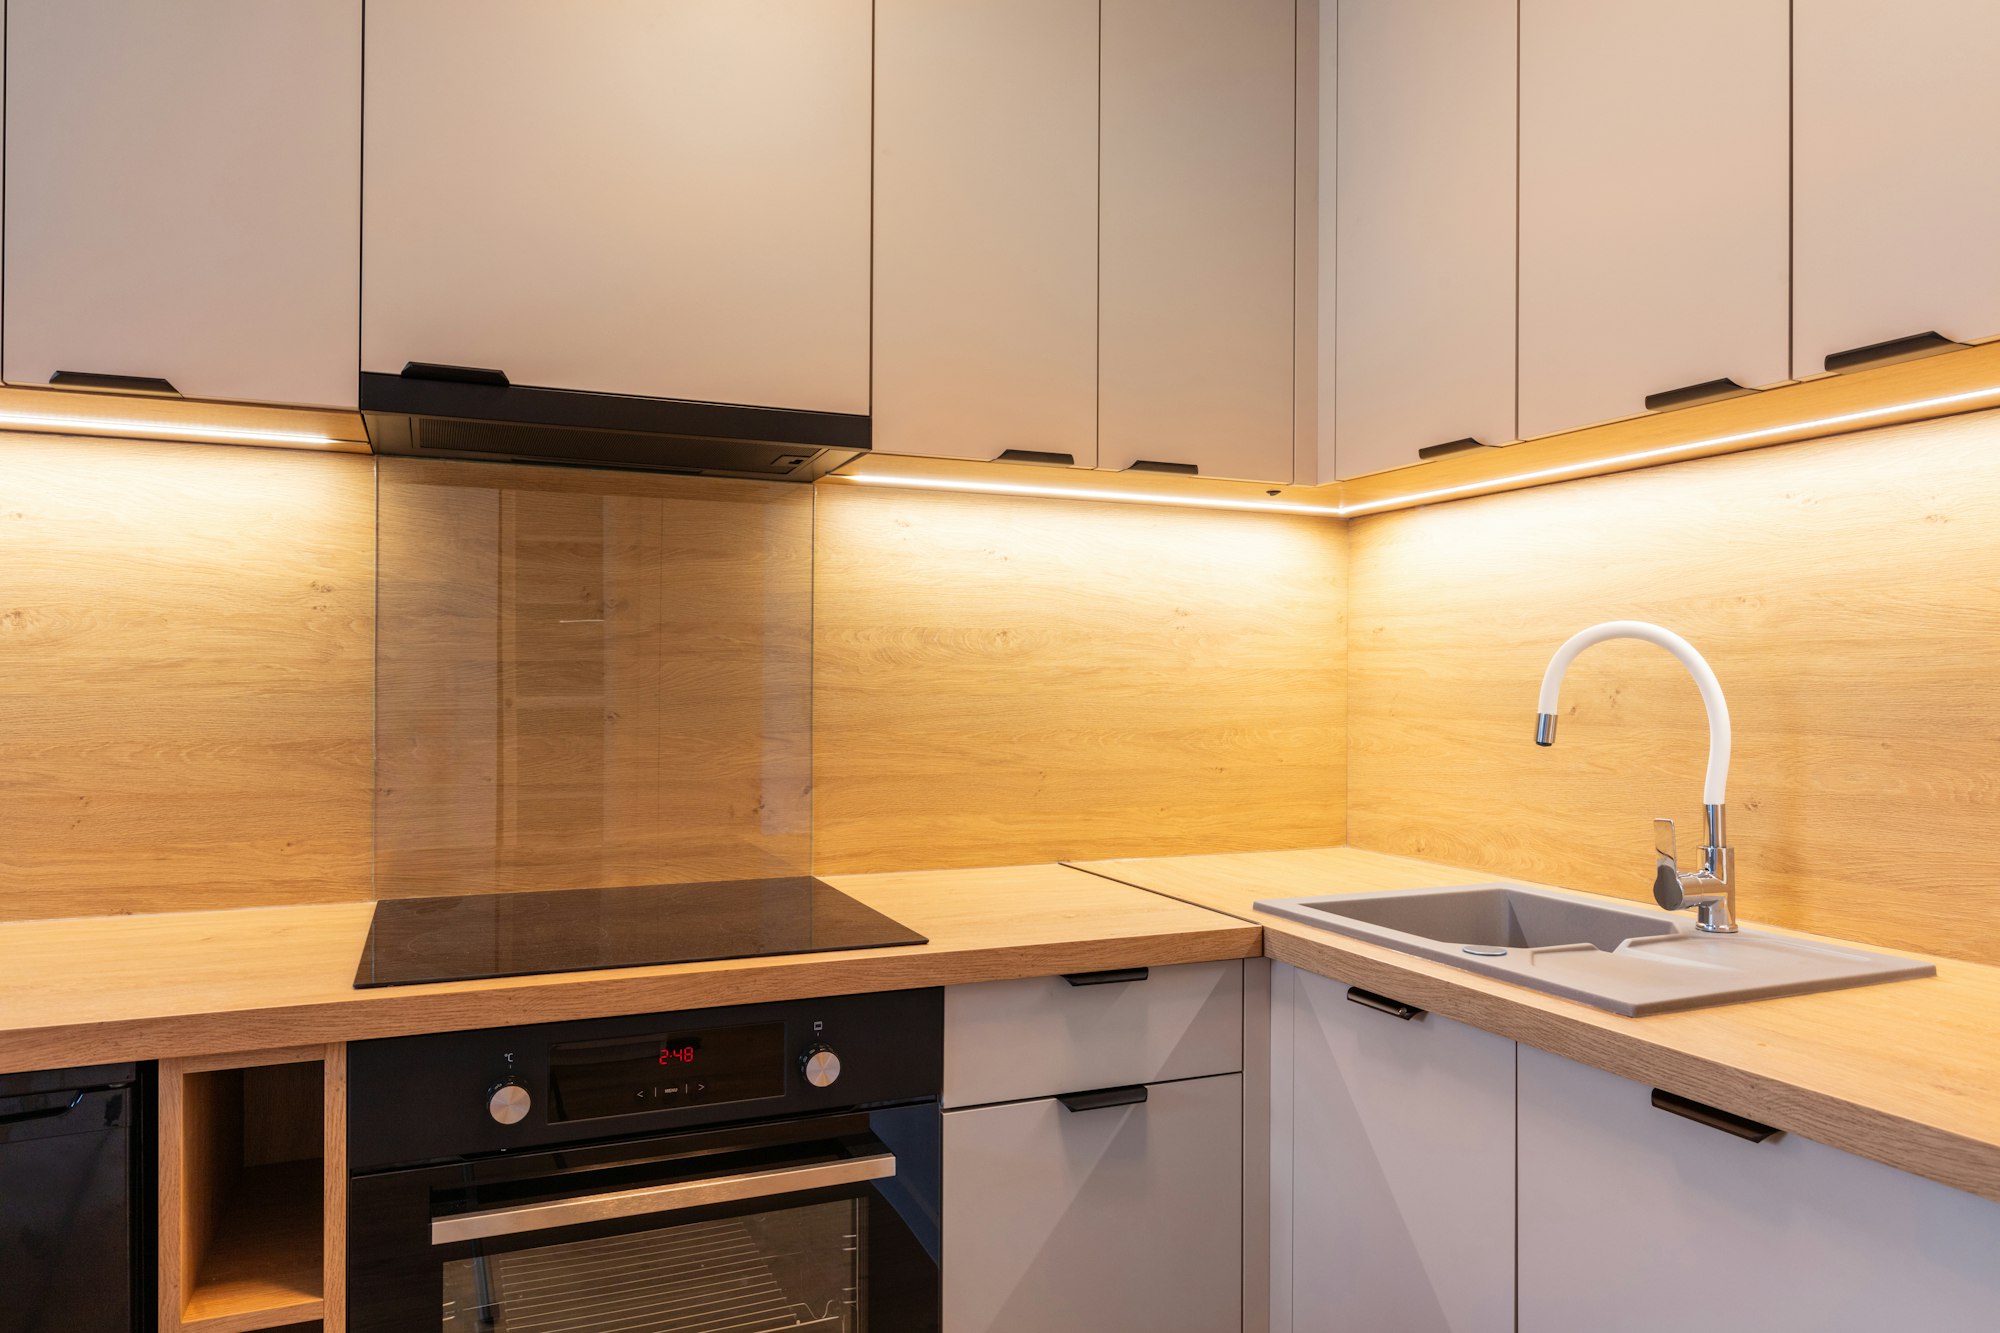
Under-cabinet lighting is an important part of making a well-lit kitchen. It shines direct light on your counters, which makes cooking and other jobs safer and easier. Besides that, it gives your kitchen a bit of class and modernity. This will guide you about how to install under cabinet lighting.
Benefits of Under Cabinet Lighting
- Enhanced Visibility: Improved lighting makes it easier to see what you’re doing, reducing the risk of accidents.
- Aesthetic Appeal: Adds a stylish and contemporary look to your kitchen.
- Energy Efficiency: Modern LED lights consume less power and last longer.
- Versatility: Available in various types, colors, and intensities to match your kitchen’s decor.
Overview of the Installation Process
To install under-cabinet lighting, pick the right kind of lights, get the necessary tools and materials, plan the layout, and carefully follow the installation steps. This guide has all the information you need to make sure your Installation goes smoothly, whether you choose LED, fluorescent, gas, or xenon lights.
Types of Under Cabinet Lighting
LED Lights
Most people choose LED lights to illuminate under-cabinet cabinets. They last a long time, use little energy, and come in many colors and brightness levels. They are also easy to install and can be cut to fit any cabinet.
Fluorescent Lights
Fluorescent lights are another common option, known for their bright, even light. They are more energy-efficient than halogen or xenon lights but may not last as long as LEDs.
Halogen Lights
Halogen lights are great for work lighting because they give off a warm, bright light. However, compared to LEDs and fluorescents, they use more power and produce more heat.
Xenon Lights
Xenon lights offer a bright, white light similar to halogen but with less heat generation. They are less energy-efficient than LEDs but provide excellent color rendering.
Preparing for Installation
Tools and Materials Needed
- Tape measure
- Pencil
- Drill
- Screwdriver
- Wire stripper
- Electrical tape
- Lighting fixtures (LED strips, fluorescent tubes, etc.)
- Mounting hardware
- Power supply or transformer (for LED lights)
Measuring and Planning the Layout
Find out how long the cabinets are where you want to put the lights. Mark the spots where the lights will go, making sure they are all spaced out evenly so the lighting is even. Figure out where the power source will be and how the wires will go.
Choosing the Right Type of Lighting
Select the type of lighting that best suits your needs and kitchen decor. Consider factors such as brightness, color temperature, energy efficiency, and ease of Installation.
How to Install Under Cabinet LED Lighting
Step-by-Step Installation Guide
Planning and Measuring
- Measure the length of your cabinets.
- Mark the positions where the LED strips will be installed.
- Ensure even spacing for uniform lighting.
Cutting and Preparing the Strips
- Cut the LED strips to the length you need.
- Attach connectors to the cut ends, if necessary.
Attaching the Lights
- The LED strips have a sticky back that you need to peel off.
- Stick the strips to the underside of the cabinets, ensuring they are straight and secure.
Connecting to Power
- A power source or transformer should be used to connect the LED strips.
- Connect the power cord and check the lights.
- If hardwiring, follow the manufacturer’s instructions to connect to the electrical system.
How to Install Hardwired Under Cabinet Lighting
Step-by-Step Installation Guide
Planning the Installation
- Turn off the power at the circuit breaker.
- Plan the route for the wiring.
- Mark the positions for the fixtures.
Running the Wires
- Drill holes for the wires if necessary.
- Run the wires through the holes and secure them with clips or staples.
Mounting the Fixtures
- Mount the lighting fixtures under the cabinets using screws or adhesive.
- Make sure they are attached firmly and spaced out evenly.
Connecting to the Power Supply
- Connect the wires from the fixtures to the power source.
- To keep the links safe, use wire nuts and electrical tape.
- Turn on the power and test the lights.
How to Install Under Cabinet Lights to a Switch
Importance of Connecting to a Switch
Connecting your under-cabinet lights to a switch provides convenient control and allows you to turn them on and off easily.
Step-by-Step Guide
Installing the Switch
- Pick a place for the switch that is simple to get to.
- Cut a hole in the wall for the switch box.
- Run the wires from the power source to the switch location.
Wiring the Lights to the Switch
- Link the light’s wires to the button.
- To keep the links safe, use wire nuts and electrical tape.
- Mount the switch in the switch box.
Testing the Setup
- Turn on the power at the circuit breaker.
- Test the switch to ensure it controls the lights properly.
Safety Tips
Electrical Safety
- Always turn off the power at the circuit breaker before starting any electrical work.
- Use insulated tools and wear rubber-soled shoes.
- Double-check all connections to avoid electrical shorts or fires.
Proper Handling of Tools
- Use the right tools for the job.
- Keep tools in good condition and replace any that are worn or damaged.
- Follow the manufacturer’s instructions for using power tools.
Avoiding Common Mistakes
- Just make sure you measure twice and cut once.
- Make sure that all of the links are safe and properly insulated.
- Follow the installation and wiring directioInstallation with the product.
Maintenance and Troubleshooting
Regular Maintenance Tips
- To get rid of dust and other things, clean the lights often.
- Every so often, check the links to make sure they are safe.
- Replace any burned-out bulbs or damaged fixtures promptly.
Common Issues and Solutions
- Flickering Lights: Check the connections and replace any faulty bulbs.
- Dim Lights: Ensure adequate power supply and replace any dimming bulbs.
- No Power: Check the circuit breaker and connections.
Cost and Budget Considerations
Cost of Different Types of Lights
- LED Lights: $20-$50 per strip or fixture
- Fluorescent Lights: $10-$30 per fixture
- Halogen Lights: $15-$40 per fixture
- Xenon Lights: $25-$60 per fixture
Budgeting for Installation
- DIY Installation: $50-$200 for materials
- ProfesInstallation: $200-$500 depending on complexity
DIY vs. Professional Installation
- DIY: Cost-effective but requires time and basic electrical skills.
- Professional: More expensive but ensures a safe and professional finish.
FAQs
How do I choose the right type of under-cabinet lighting?
Think about things like brightness, color temperature, energy savings, and how Installation installs. Many choose LED lights because they use little energy and last long.
Can I install the cabinet lighting myself?
Yes, with the right tools and preparation, DIY installation is possible. However, if you are uncomfortable with electrical work, hiring a professional is best.
How much does it cost to install under cabinet lighting?
The cost varies depending on the type of lights and whether you choose DIY or Professional Installation. Materials for DIY installation can cost $50-$200, and installation can range from $200-$500.
Is under cabinet lighting energy efficient?
Today, LED lights are very energy efficient. They use less power and last longer than older types of lights, such as halogen and neon lights.
How do I connect under cabinet lights to a switch?
Find a place for the switch and run the wires from the power source. Then, connect the wires from the lights to the switch. Make sure that all of the links are safe and properly insulated.
What are the maintenance requirements for under-cabinet lighting?
Clean the lights regularly to remove dust and debris, check connections periodically, and replace any burned-out bulbs or damaged fixtures promptly.
Conclusion
Adding lights under your cabinets can make your kitchen look better and be more useful. If you have the right tools and are ready, installing LED, fluorescent, halogen, or xenon lights is simple. Follow the thorough steps in this guide to ensure the installation goes smoothly and enjoy a well-lit kitchen.
Ready to transform your space with expert help? Visit ContractorHomeQuotes.com for free quotes, and start your project today!
About Jackson Sawyer

Bathroom Remodel Quote Requests: Avoid Costly Mistakes
Get accurate pricing with detailed bathroom remodel quote requests. Avoid surprise bills and compare contractors easily.

Are Contractor Quote Platforms Reliable? A Homeowner’s Guide
Find out if contractor quote platforms are reliable and how to use them to get free, no-obligation estimates from qualified pros.

How to Handle Multiple Contractor Calls: 7 Proven Strategies
Stop feeling overwhelmed by contractor calls. Learn a proven system to manage multiple quotes, compare offers, and hire the best pro for your project.
Find a Pro!
"*" indicates required fields

