DIY Guide: How to Install Kitchen Cabinet Handles
Introduction
Adding new cabinet handles is an easy way to update the style and practicality of your kitchen or other pieces of furniture. Installing cabinet handles correctly guarantees a professional finish, whether rebuilding or upgrading your cabinets. Accurate and visually beautiful results are within your reach with this step-by-step instruction on how to install cabinet handles.
Tools and Materials Needed
Get all of your supplies and equipment ready before you start by gathering:
- Drill
- Screwdriver (Phillips or flathead, depending on screws)
- Measuring tape
- Pencil
- Cabinet handles
- Cabinet handle template (optional)
- Masking tape
- Level
- Safety goggles
Ensure you have all these items ready to streamline the installation process.
Preparation Before Installation
Step 1: Measure and Mark
- Measurements: Determine the placement of your cabinet handles. For upper cabinets, handles are typically installed 2 to 4 inches from the bottom corner of the door. For lower cabinets, position handles 2 to 4 inches from the upper corner.
- Marking: Use a pencil to mark where each handle will be installed. Double-check measurements and ensure consistency across all cabinets for a uniform appearance.
Installing Cabinet Handles
Method 1: Installing Cabinet Handles Without a Template
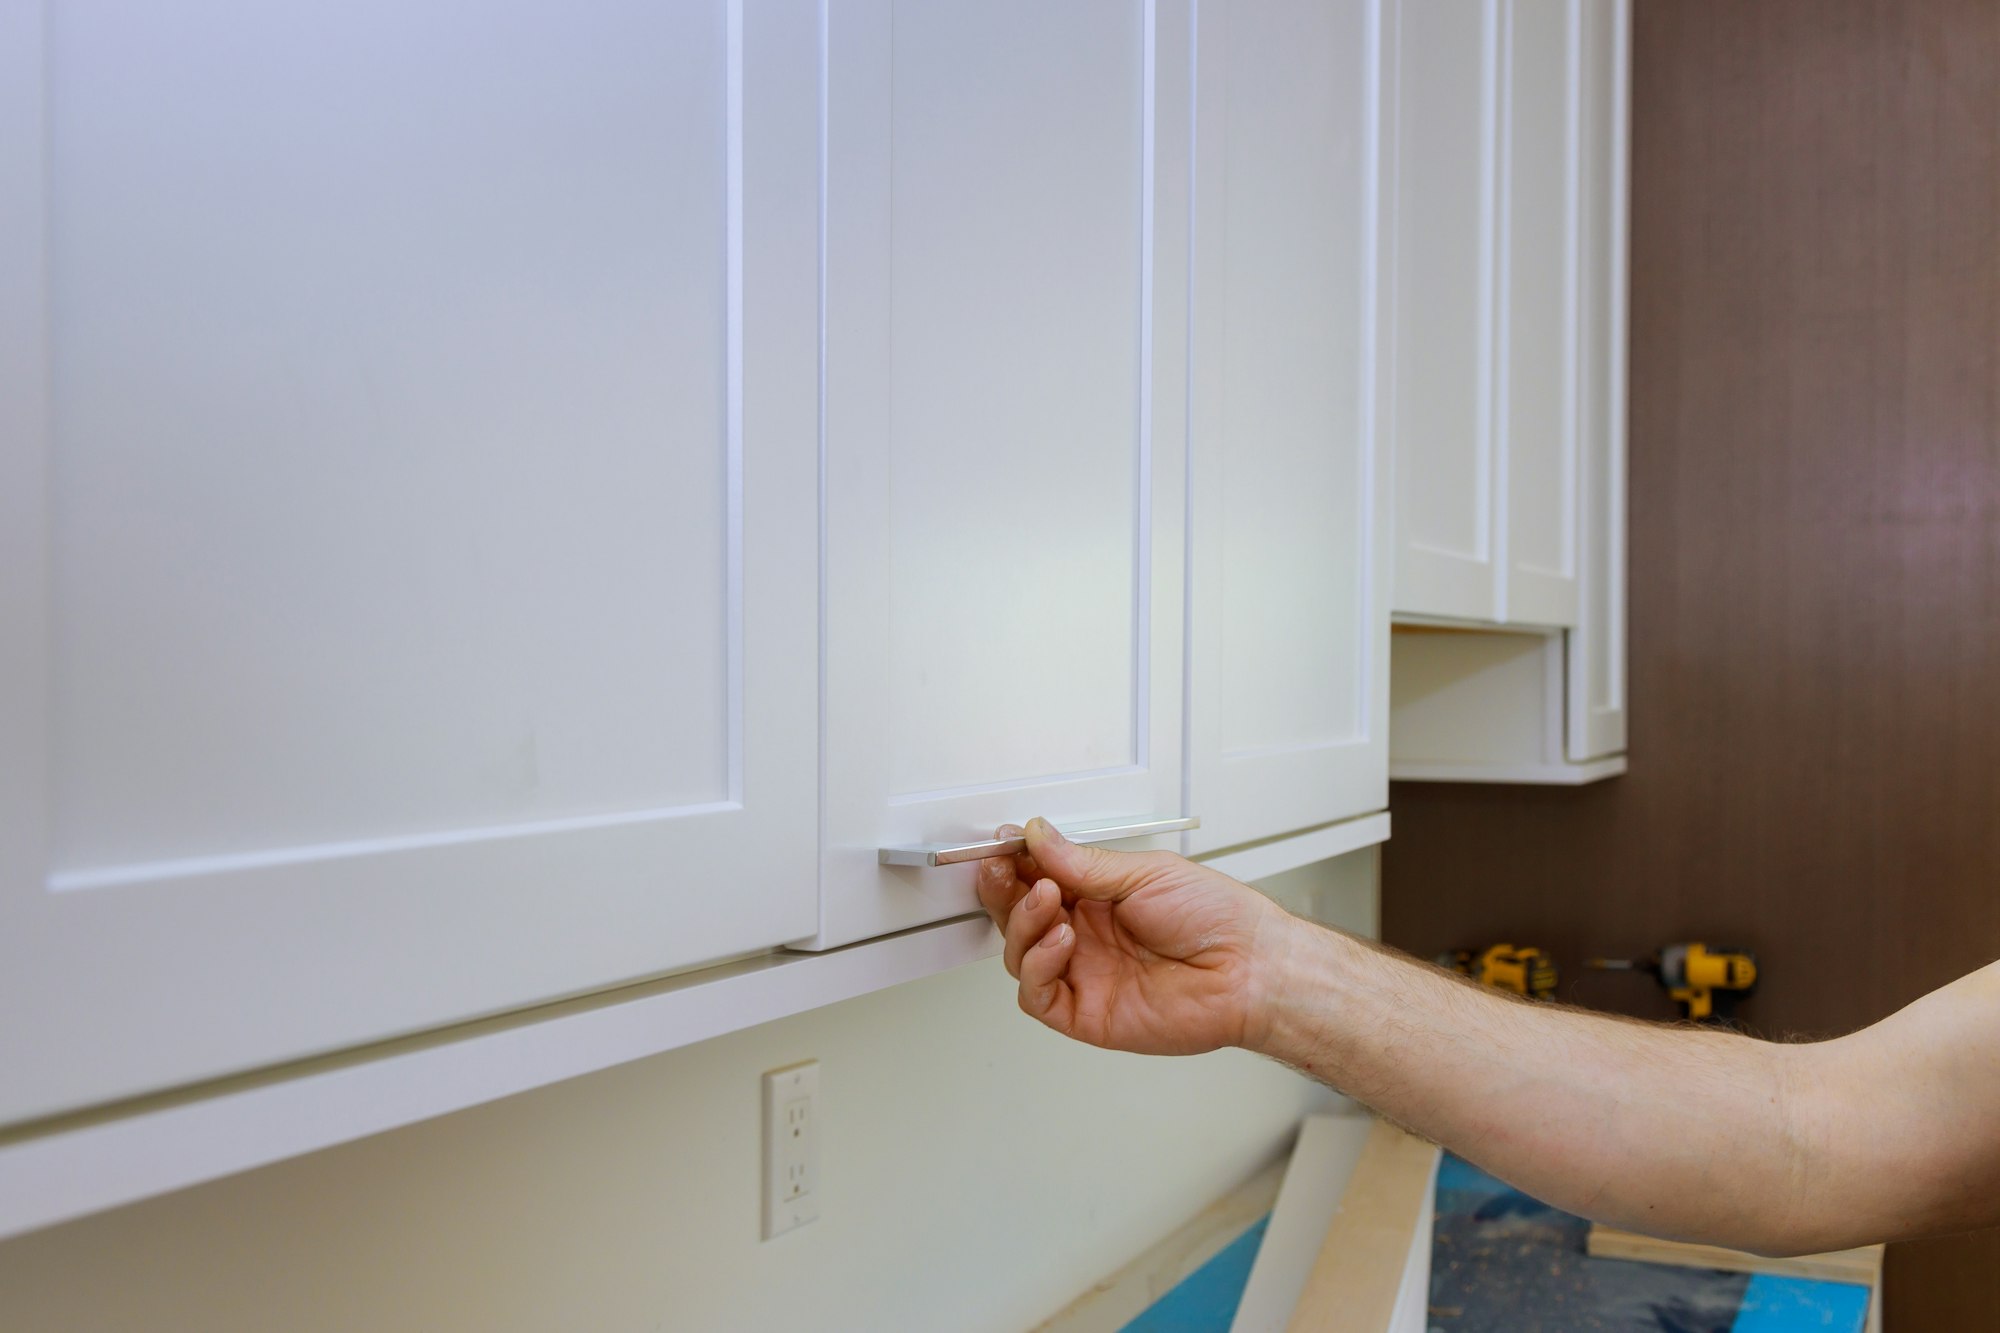
- Marking Drill Points: Hold the handle up to the cabinet door, ensuring it lines up with the marks you made with the pencil. Mark the drill points through the mounting holes of the handle with a pencil.
- Drilling Holes: Don your protective eyewear. Use a drill bit that is just smaller than the screws that came with the handles to drill pilot holes at the indicated locations.
- Attaching Handles: Align the handle with the drilled holes and attach it using screws and a screwdriver. Ensure the handle is straight by using a level.
Method 2: Using a Template to Install Cabinet Handles
- Positioning the Template: Position the handle template on the cabinet door according to your measurements. Secure it in place with masking tape to prevent slipping.
- Marking Drill Points: Use a pencil to mark through the template’s holes onto the cabinet door. These marks indicate where to drill pilot holes.
- Drilling Holes: Drill pilot holes at the marked points through the template.
- Attaching Handles: Remove the template and align the handle with the drilled holes. Secure the handle using screws and a screwdriver.
Additional Tips for Installation
- Checking Alignment: Use a level to ensure handles are installed straight and aligned with each other across multiple cabinets.
- Testing Before Drilling: Position handles against the cabinet to visualize placement and comfort before drilling.
- Choosing the Right Hardware: Select handles that complement your cabinets in style and size.
FAQs (Frequently Asked Questions)
Q1: How do I know the correct placement for cabinet handles?
A1: For upper cabinets, handles are typically installed 2 to 4 inches from the bottom corner of the door. For lower cabinets, position handles 2 to 4 inches from the upper corner for optimal functionality and aesthetics.
Q2: Do I need a template to install cabinet handles?
A2: While not essential, a template simplifies installation by ensuring precise hole placement across multiple cabinets. It’s especially useful for large projects where uniformity is crucial.
Q3: What size drill bit should I use for pilot holes?
A3: Use a drill bit slightly smaller than the screws provided with your cabinet handles to ensure a snug fit and prevent splitting of the wood.
Q4: Can I install cabinet handles without drilling?
A4: No, drilling pilot holes is necessary to secure the handles firmly and prevent damage to your cabinets.
Conclusion
Putting on cabinet handles is a fun do-it-yourself job that makes your cabinets look better and more useful immediately. Following these steps and using these tips will help you get a professional finish that makes your kitchen or furniture look better and work better.
Precision and Aesthetics
Accurate fitting is important for making your cabinets look better overall. When handles are lined up correctly, they give your kitchen or furniture a clean, organized look. Before you drill, take the time to measure and mark correctly so that all of the cabinet doors are the same.
Functional Considerations
Beyond aesthetics, the placement of cabinet handles affects usability. Position handles ergonomically, considering ease of use for different cabinet heights and door sizes. For upper cabinets, placing handles 2 to 4 inches from the bottom corner of the door ensures comfortable access. Lower cabinets benefit from handles positioned similarly from the upper corner.
Choosing the Right Hardware
It’s important to choose handles that match the style and size of your cabinet. Think about the general style of your kitchen or furniture when choosing handles, and pick ones that complement what you already have. The right hardware can tie the whole room together, whether you choose sharp, modern handles or classic ones.
Utilizing Templates for Efficiency
A handle template simplifies installation, especially for larger projects involving multiple cabinets. Templates ensure precise hole alignment across all doors, saving time and effort while maintaining uniformity. Secure the template firmly with masking tape before marking and drilling to prevent slipping and ensure accuracy.
Testing and Adjustments
Before committing to drilling, experiment with handle placement by holding them against the cabinet doors. Visualize how the handles will look and feel in use. Make adjustments as needed to achieve optimal positioning and ergonomic comfort.
Safety and Preparation
During the assembly process, safety should always come first. Wear safety goggles if you want to keep your eyes safe while digging. To keep your cabinets from getting damaged and to make sure the handle stays in place, use the drill bits and screws that the handle’s maker suggests.
Maintenance and Longevity
Once installed, periodically check and tighten handle screws to maintain secure attachment. Clean handles regularly to preserve their appearance and functionality. Simple maintenance practices prolong the lifespan of your cabinet handles and keep your kitchen or furniture looking its best.
By following these detailed steps and considerations, you can confidently install cabinet handles to achieve a professional finish that enhances both your cabinets’ visual appeal and usability. Whether renovating your kitchen or updating furniture, precise installation ensures a seamless integration of style and functionality.
Ready to transform your kitchen? Visit ContractorHomeQuotes.com to get free quotes from top-rated professionals today!
About Eric Andrew

How to Review Contractor Profiles: A Homeowner Guide
Learn how to review contractor profiles to avoid costly mistakes. This homeowner guide covers licenses, reviews, red flags, and tips for choosing the right pro.

Why Multiple Quotes Are Important for Home Repairs
Learn why multiple quotes are important for home repairs. Comparing contractor estimates saves money, prevents poor workmanship, and protects your home's value.

How to Request Home Service Quotes and Save on Repairs
Learn how to request home service quotes, compare contractor estimates, and avoid costly repairs. Step-by-step advice for homeowners.
Find a Pro!
"*" indicates required fields

